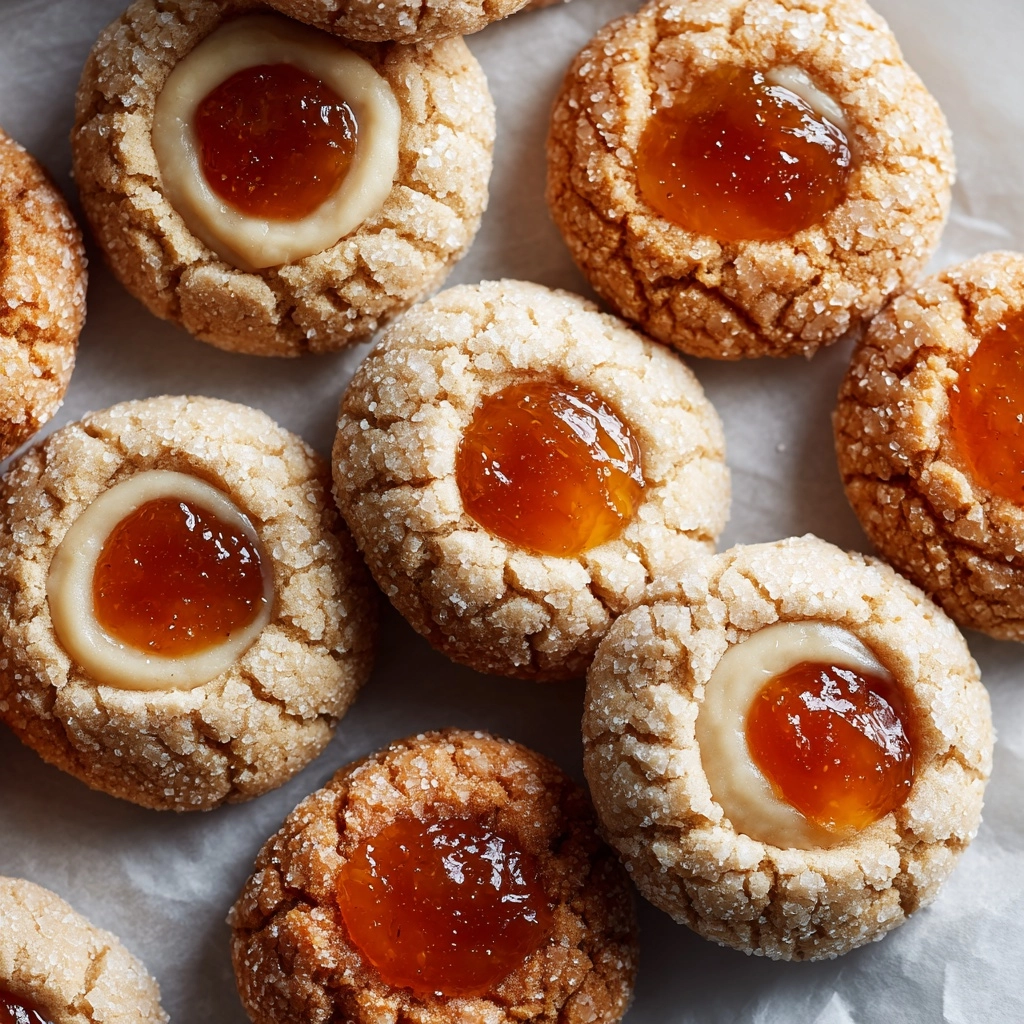
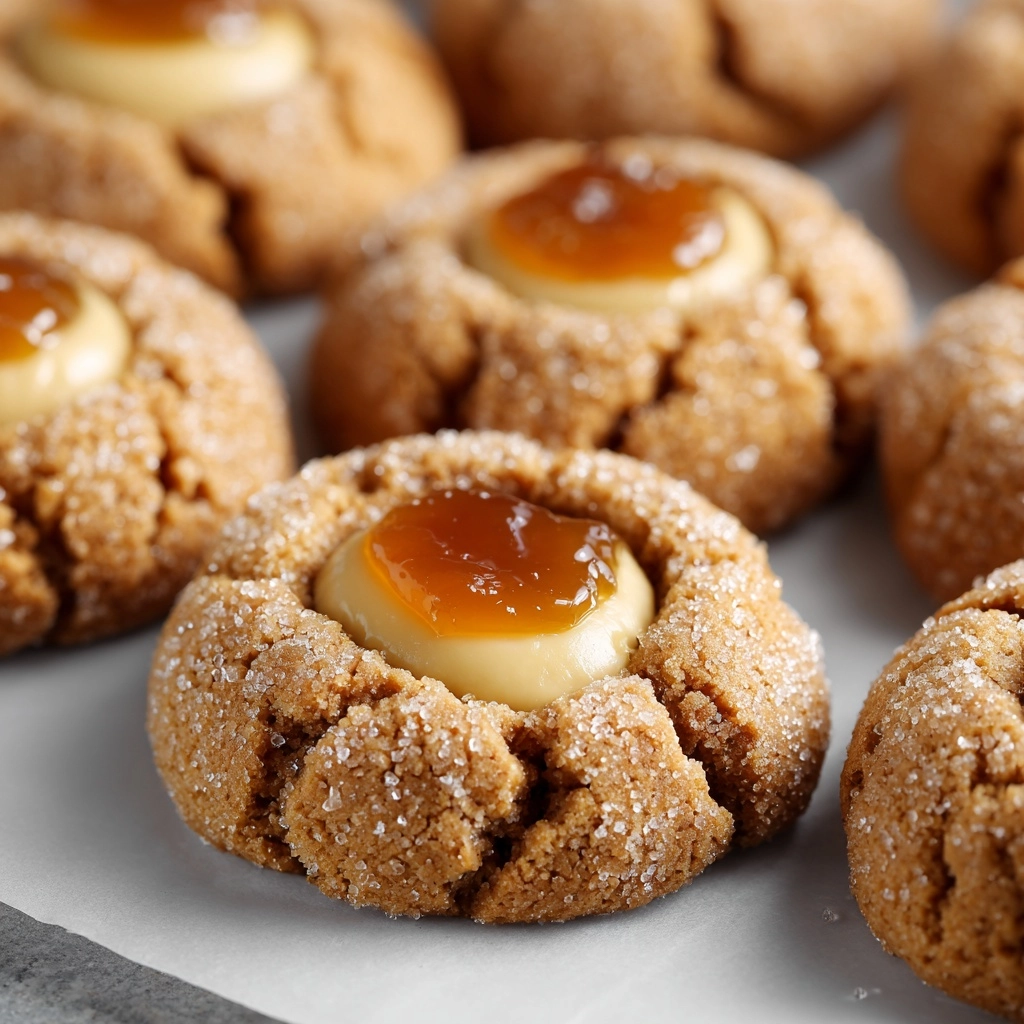
If you ever wished your favorite childhood snickerdoodles could get a delightfully gooey upgrade, then these Snickerdoodle Thumbprint Cookies are about to become your new best friend. Wonderfully soft and cinnamon-kissed, each classic cookie is given a thumbprint well, then filled with golden dulce de leche or caramel, creating an irresistible treat that balances nostalgia with an indulgent twist. Whether for a holiday cookie tray, a bake sale, or just to bring more sweetness to an ordinary afternoon, these little beauties promise both comfort and a wow-factor in every bite.
Ingredients You’ll Need
Ingredients You’ll Need
The beauty of Snickerdoodle Thumbprint Cookies is in their simple, honest ingredients—each one plays an important role in building that familiar cozy flavor and irresistible texture. Let’s take a closer look at what makes these cookies so memorable.
- Unsalted Butter (1 cup, softened): Gives the cookies a tender, rich crumb and helps them hold their shape.
- Granulated Sugar (1 cup): Provides sweetness and that signature snickerdoodle crunch on the outside.
- Brown Sugar (1/2 cup): Adds moisture and a hint of caramel undertone to the dough.
- Large Eggs (2): Binds the dough and contributes to the chewy center.
- Vanilla Extract (1 teaspoon): Rounds out the flavors with a warm, aromatic note.
- All-Purpose Flour (3 cups): Gives the cookies structure for the perfect thick and soft bite.
- Baking Soda (1/2 teaspoon): Provides lift so the cookies don’t bake up too dense.
- Cream of Tartar (1/2 teaspoon): That special ingredient for a classic tangy snickerdoodle flavor and chewy texture.
- Salt (1/2 teaspoon): Balances out the sweetness and intensifies the cinnamon.
- Granulated Sugar (1/4 cup, for rolling): Creates that classic sparkling, crispy outside.
- Ground Cinnamon (2 teaspoons): The essential spice that makes a snickerdoodle a snickerdoodle!
- Dulce de Leche or Caramel Sauce (1/2 cup, for filling): Adds creamy, dreamy richness to each thumbprint center.
How to Make Snickerdoodle Thumbprint Cookies
Step 1: Prep the Oven and Baking Sheet
Begin by getting your oven warmed up to 350°F (175°C). Meanwhile, line a large baking sheet with parchment paper—this trick guarantees easy cleanup and helps your cookies release smoothly with perfectly golden bottoms.
Step 2: Cream the Butter and Sugars
In a large bowl, take your softened butter and both the granulated and brown sugars. Using a hand mixer or stand mixer, cream them together until the mixture is pale, fluffy, and irresistibly smooth. This step is key for soft, tender Snickerdoodle Thumbprint Cookies, so don’t rush it!
Step 3: Add Eggs and Vanilla
Crack in the eggs one at a time, beating after each addition, then splash in the vanilla extract. Mix until just combined, ensuring your dough is silky and evenly mixed. This is where all those homey snickerdoodle aromas start coming together.
Step 4: Combine Dry Ingredients
In a separate bowl, whisk together the flour, baking soda, cream of tartar, and salt. Gradually add these dry ingredients to your wet mixture, mixing just until a soft, cohesive dough forms. Resist the urge to overmix—gentle is best for perfectly fluffy cookies.
Step 5: Prepare Cinnamon Sugar Coating
Mix together the remaining 1/4 cup of granulated sugar and the ground cinnamon in a small bowl. This magical duo is what gives Snickerdoodle Thumbprint Cookies their charming crackly top and unmistakable cinnamon warmth.
Step 6: Shape and Coat the Dough
Scoop out tablespoon-sized portions of dough, then roll each into a smooth ball with your hands. Drop each ball into the cinnamon sugar, rolling to coat every side generously for that perfect spiced crust. Lay the coated cookie dough balls on your prepared baking sheet, spacing them about 2 inches apart.
Step 7: Create the Thumbprints
Gently press your thumb or the back of a teaspoon into the center of each dough ball, creating a generous well for the caramel filling. Don’t worry if some cracks appear—that’s a sign of true homemade charm!
Step 8: Bake
Slide the tray into your preheated oven and bake for 10 to 12 minutes. The cookies should be set at the edges and just barely golden, with soft centers that will firm up as they cool. If the thumbprint wells puff up during baking, simply re-press them gently after they come out of the oven.
Step 9: Fill and Finish
Let your cookies cool completely, then spoon about a teaspoon of dulce de leche or caramel sauce into each thumbprint center. Now, take a moment to admire your beautiful Snickerdoodle Thumbprint Cookies—and get ready for that first gooey bite!
How to Serve Snickerdoodle Thumbprint Cookies
Garnishes
For a little extra sparkle, dust the dulce de leche-filled centers with a whisper of cinnamon or a pinch of sea salt right before serving. If you love a festive touch, a drizzle of melted white chocolate or a few holiday sprinkles can make these cookies look ready for any occasion.
Side Dishes
Snickerdoodle Thumbprint Cookies are absolute stars with a mug of strong coffee or a frothy hot chocolate. Set them alongside fresh berries, vanilla ice cream, or even a light fruit salad for an extra-refreshing contrast to their indulgent sweetness.
Creative Ways to Present
Stack these cookies on a tiered dessert stand or arrange them in a gift box lined with parchment for a homemade present that’s sure to impress. For parties, try layering them with other cookies for a colorful, flavorful display that’ll have guests coming back for seconds and thirds.
Make Ahead and Storage
Storing Leftovers
Pop any extra Snickerdoodle Thumbprint Cookies into an airtight container and keep them at room temperature for up to five days. They stay soft and delightful, and that caramel center actually gets even more velvety over the next day or so.
Freezing
If you want to get ahead, you can freeze the formed, unbaked dough balls (before filling) or the fully baked, unfilled cookies for up to three months. Thaw at room temperature, then fill just before serving so they look and taste bakery-fresh.
Reheating
To gently revive day-old cookies, pop them in a 300°F (150°C) oven for 2–3 minutes. This will nudge the caramel slightly melty again and revive that just-baked aroma—not quite as magical as the first time, but oh so close!
FAQs
Can I use a different filling instead of dulce de leche?
Absolutely! While classic Snickerdoodle Thumbprint Cookies shine with caramel or dulce de leche, you can swap in chocolate ganache, fruit jam, lemon curd, or even Nutella for a different twist. It’s the perfect canvas for your favorite flavors.
Do I need to chill the dough before baking?
No chilling is required for this recipe, which means you get delicious cookies faster! The dough holds its shape beautifully, but if your kitchen is especially warm, a quick chill for 15 minutes can help prevent spreading.
Can I double the batch for a party?
Definitely! This recipe scales up with ease. Just make sure to bake in batches and keep an eye on the baking time—sometimes larger batches need a minute or two more, depending on your oven and pan size.
What’s the best way to get neat thumbprints?
Using the back of a round teaspoon yields a perfect indent if you want every Snickerdoodle Thumbprint Cookie to look extra polished—just press gently and twist a little to smooth the edges. Don’t worry if they’re not identical; the homemade look is part of their charm!
Can I make these cookies gluten-free?
Yes! Substitute your favorite 1-to-1 gluten-free baking flour for the all-purpose flour, and they’ll still bake up soft, tender, and just as delicious. Double-check that all other ingredients are gluten-free, especially the caramel.
Final Thoughts
Whether you’re baking for the holidays or just because, Snickerdoodle Thumbprint Cookies are a recipe you’ll want in your back pocket forever. Each bite delivers the best of cinnamon-spiced tradition and gooey caramel goodness. Give them a try and watch how quickly they disappear from your cookie jar!