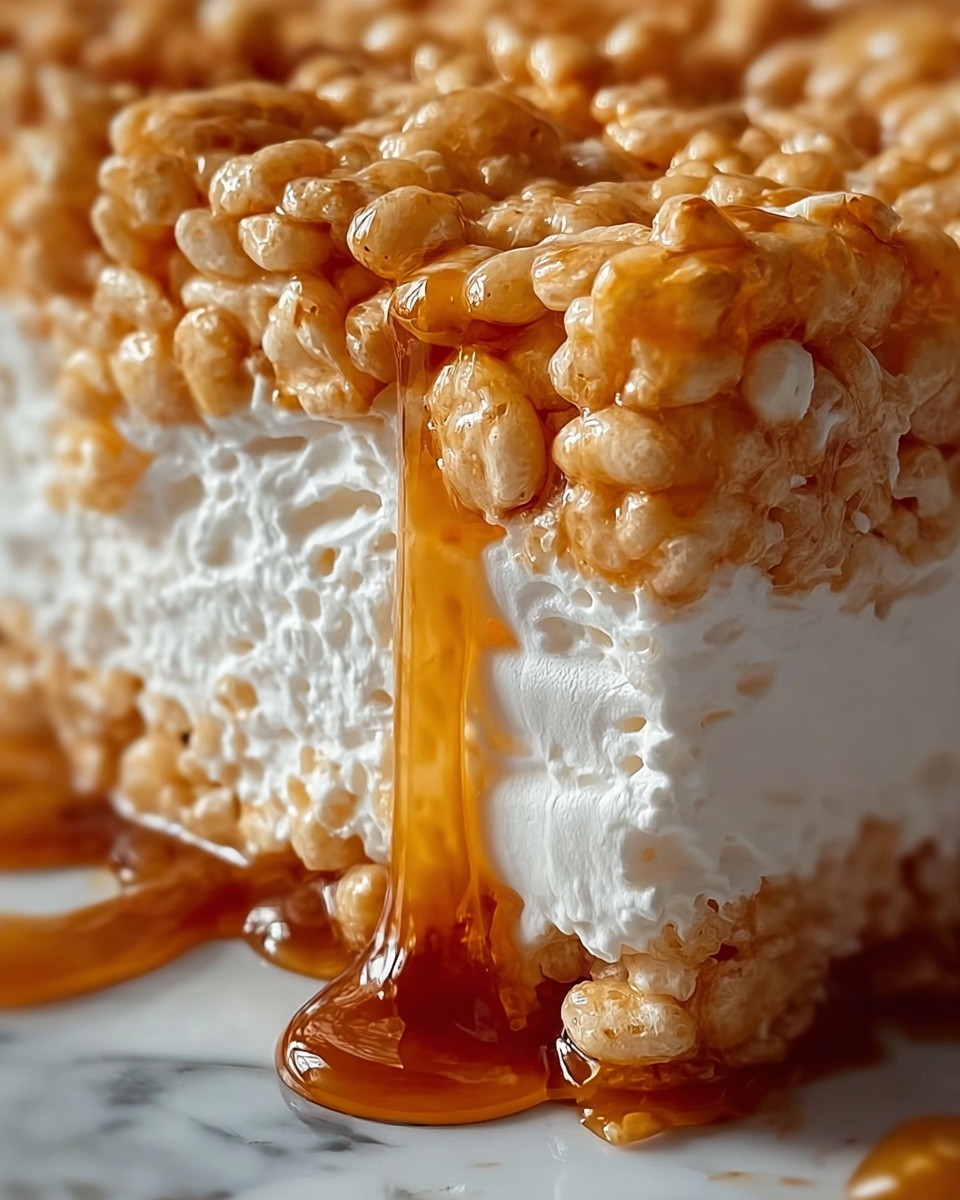
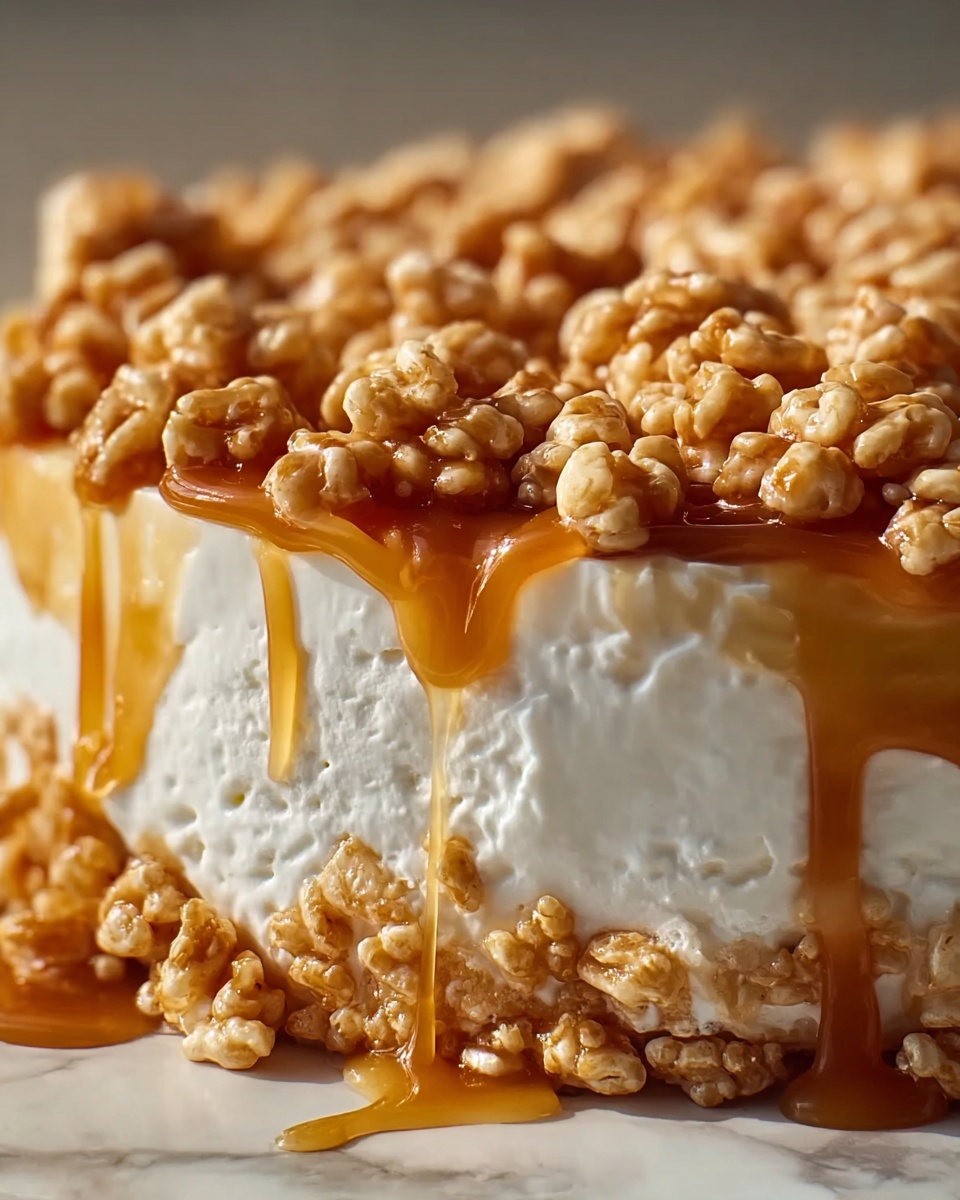
There is something truly magical about the Rice Krispie Treat Cheesecake Recipe that combines two beloved desserts into one irresistibly delightful treat. Imagine a crunchy, buttery Rice Krispie crust hugging a whipped, creamy cheesecake filling with subtle notes of vanilla, marshmallow, and nostalgia. This no-bake masterpiece is not only easy to make but perfect for any occasion when you want to impress without spending hours in the kitchen. Whether you’re a Rice Krispie fan or a cheesecake lover, this recipe is guaranteed to become a new favorite you’ll want to share with everyone you know.
Ingredients You’ll Need
This recipe strikes the perfect balance of simplicity and flavor—the ingredients are straightforward but each plays an essential role in creating the rich texture and mouthwatering taste. From the gooey mini marshmallows that bring sweetness and stickiness to the crunchy Rice Krispies cereal that forms a crispy crust, through to the smooth cream cheese and fluffy whipped cream in the filling, every element works together beautifully.
- Unsalted butter (4 tablespoons): Adds richness and helps bind the crust with a silky, smooth texture.
- Mini marshmallows (1 bag, 10 oz): Melt into a luscious sticky base that holds the Rice Krispies together perfectly.
- Rice Krispies cereal (6 cups): Delivers that signature crispy snap everyone loves while keeping the crust light.
- Cream cheese (16 oz, softened): Provides the creamy, tangy foundation of the cheesecake filling for that luscious mouthfeel.
- Granulated sugar (1/2 cup): Sweetens the filling just right without overpowering the delicate flavors.
- Vanilla extract (1 teaspoon): Lends warmth and depth that elevates the whole dessert experience.
- Heavy whipping cream (1 cup): Whipped to stiff peaks, it lightens the filling, making it airy and indulgent.
- Optional toppings: Extra marshmallows, more Rice Krispies, or a drizzle of melted white chocolate to add visual appeal and texture contrast.
How to Make Rice Krispie Treat Cheesecake Recipe
Step 1: Prepare the Crust
Start by greasing a 9-inch springform pan to ensure your cheesecake comes out beautifully without any sticking issues. In a large saucepan over low heat, melt the butter gently, then add the mini marshmallows. Stir continuously until the marshmallows become completely melted and smooth, creating a glossy, gooey mixture. Remove from heat and immediately fold in the Rice Krispies cereal until every piece is evenly coated. Working quickly before the mixture cools and hardens, press it firmly into the bottom and slightly up the sides of your pan. This step forms a sturdy, crispy base that will hold the creamy filling perfectly. Allow the crust to cool completely — patience here means a better set cheesecake!
Step 2: Whip Up the Cheesecake Filling
This filling is what transforms the dessert from good to incredible. In a large bowl, beat the softened cream cheese with sugar and vanilla extract until the texture is silky and lump-free. Separately, whip the heavy cream until stiff peaks form, a critical step for an airy finish. Then, gently fold the whipped cream into the cream cheese mixture with a spatula. This folding technique keeps the filling light and fluffy, preventing it from deflating. The result? A luscious, creamy filling that perfectly complements the crispy crust below.
Step 3: Assemble and Chill
Spoon the gorgeous cheesecake filling over the cooled Rice Krispie crust and smooth the top evenly. Cover the springform pan tightly with plastic wrap or foil to protect it from absorbing any fridge odors. Refrigerate for at least four hours, ideally overnight. This chilling time is essential as it allows the cheesecake to set firmly so you can slice neat, clean pieces with that perfect creamy texture. When ready, gently release the sides of the springform pan to reveal your stunning cheesecake creation.
How to Serve Rice Krispie Treat Cheesecake Recipe

Garnishes
Topping your Rice Krispie Treat Cheesecake Recipe adds a final festive touch that can elevate each slice visually and flavor-wise. Sprinkle extra mini marshmallows on top for a pillowy texture, or scatter some crushed Rice Krispies for an extra crunch. A drizzle of melted white chocolate is a simple but elegant way to add sweetness and beautiful contrast. Remember, garnishes are your playground to customize and delight!
Side Dishes
This cheesecake shines on its own as a decadent dessert, but pairing it with fresh fruit like sliced strawberries or raspberries adds a bright, tangy counterpoint. A dollop of freshly whipped cream or even a scoop of vanilla bean ice cream can make the experience feel extra indulgent. These accompaniments balance the richness and provide variety in every bite.
Creative Ways to Present
Think outside the classic slice! Try serving mini no-bake cheesecake cups by layering the Rice Krispie crust and filling in individual glasses for an elegant party presentation. Or make cheesecake pops by chilling the assembled dessert, cutting into cubes, and sticking on lollipop sticks before dipping in melted chocolate. These playful options are perfect for gatherings and sure to impress guests of all ages.
Make Ahead and Storage
Storing Leftovers
If you’re lucky enough to have leftovers from your Rice Krispie Treat Cheesecake Recipe, store them in an airtight container in the refrigerator. The cheesecake will stay fresh and maintain its texture for up to 3 days, making it a perfect make-ahead treat to enjoy over time without losing quality.
Freezing
You can freeze this cheesecake by wrapping it tightly with plastic wrap and placing it in a freezer-safe container. Freezing preserves the flavors and texture for up to one month. When you’re ready to enjoy, thaw in the refrigerator overnight; this slow thaw ensures your cheesecake retains its perfect creamy consistency.
Reheating
This dessert is best served chilled, so reheating isn’t necessary. If you prefer a softer texture, simply leave a slice out at room temperature for 10 to 15 minutes before serving. This brings out the flavors beautifully while keeping the structure intact.
FAQs
Can I use regular marshmallows instead of mini marshmallows for the crust?
Absolutely! If you only have regular marshmallows, you can chop them into smaller pieces before melting. They will work just as well to bind the Rice Krispies in your crust.
Is it necessary to use a springform pan for this recipe?
A springform pan is highly recommended because it allows for easier removal of the cheesecake without damaging the crust or sides. However, if you don’t have one, a regular 9-inch cake pan lined with parchment paper will work too.
Can I add chocolate chips or other mix-ins to the cheesecake filling?
Definitely! Mixing in mini chocolate chips or even crushed candy pieces into the filling adds delightful bursts of flavor and texture. Just fold them in gently before spreading the filling over the crust.
How long does the cheesecake need to chill before it sets properly?
It’s best to refrigerate for at least four hours. For the best texture and ease of slicing, overnight chilling is ideal. This gives the filling enough time to firm up nicely.
Is this recipe gluten-free?
Yes! Since Rice Krispies cereal is made from rice and the other ingredients are gluten-free, this cheesecake is safe for those avoiding gluten. Just be sure to check your cereal brand’s packaging to confirm.
Final Thoughts
If you’re looking for a dessert that combines nostalgia, ease, and impressive flavor, the Rice Krispie Treat Cheesecake Recipe is an absolute must-try. It’s a no-fuss recipe that delivers big on taste and texture, making it a showstopper at any event or cozy family night. Whip one up, gather your loved ones, and watch how this delightful treat becomes an instant classic in your home!