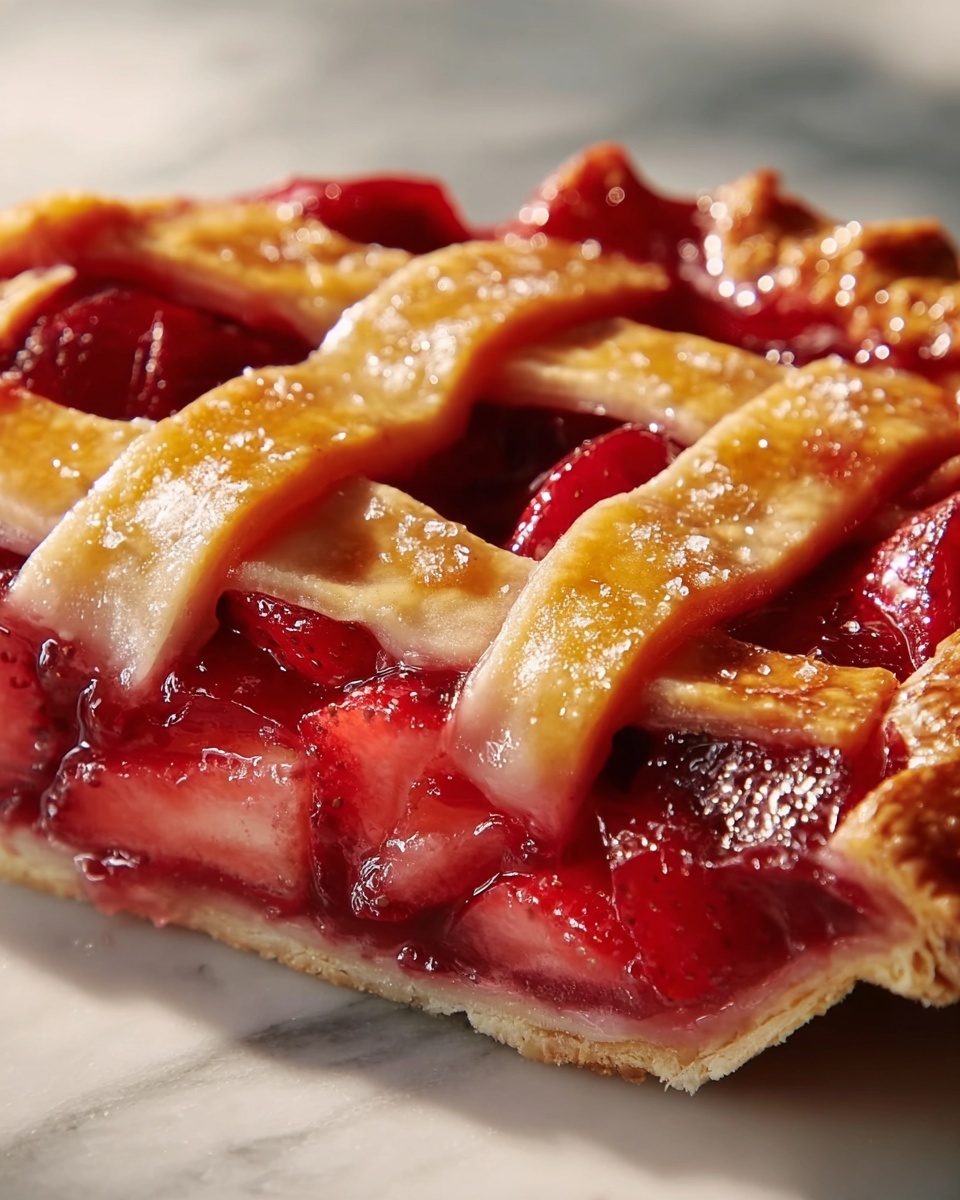
If you are searching for a delightful treat that perfectly balances tangy fruit and creamy sweetness, the Rhubarb Cheesecake Dream Bars Recipe is precisely what your kitchen needs. These bars feature a buttery crust, a luscious cheesecake layer, and a vibrant, slightly tart rhubarb topping that comes together in perfect harmony. The combination is both refreshing and indulgent, making these bars an irresistible dessert for any occasion. Trust me, once you try this Rhubarb Cheesecake Dream Bars Recipe, you will be hooked on its unique flavor and satisfyingly rich texture.
Ingredients You’ll Need
The ingredient list for this recipe is wonderfully straightforward, showcasing simple pantry staples and fresh produce that combine to create an unforgettable dessert. Each ingredient plays a vital role, from the crumbly crust to the silky cheesecake and the bright rhubarb topping, ensuring every bite is packed with flavor and texture.
- 1 cup all-purpose flour: Forms the sturdy yet tender base crust that holds the bars together beautifully.
- 1/2 cup cold unsalted butter, cubed: Adds richness and helps create a deliciously crumbly crust.
- 1/4 cup powdered sugar: Sweetens the crust delicately without overpowering the other layers.
- 1 package (8 oz) cream cheese, softened: The star of the cheesecake layer, providing that creamy and smooth texture that melts in your mouth.
- 1/2 cup granulated sugar: Sweetens the cheesecake layer perfectly to balance the rhubarb’s tartness.
- 1 large egg: Binds the cheesecake mixture and adds richness.
- 1 teaspoon vanilla extract: Enhances the flavor of the cheesecake with warm, inviting notes.
- 2 cups fresh or frozen rhubarb, chopped: Offers the signature tart fruitiness that makes these bars so refreshing.
- 1/4 cup granulated sugar (for rhubarb topping): Sweetens and balances the natural tartness of rhubarb.
- 1 tablespoon cornstarch: Thickens the rhubarb topping to ensure it stays perfectly set on top of the cheesecake.
How to Make Rhubarb Cheesecake Dream Bars Recipe
Step 1: Prepare Your Baking Pan and Oven
Start by preheating your oven to 350°F (175°C). Line an 8×8-inch baking pan with parchment paper or lightly grease it to ensure your bars come out cleanly and easily once baked. This simple step sets you up for success in baking the perfect bars with an even crust.
Step 2: Make the Crust
In a mixing bowl, combine the all-purpose flour, powdered sugar, and cold, cubed unsalted butter. Use a pastry cutter or your fingers to work the butter into the dry ingredients until the mixture resembles coarse crumbs. This texture is crucial for that crumbly, tender crust. Press the mixture firmly and evenly into the bottom of your prepared pan, creating a solid base that will hold the cheesecake and rhubarb layers perfectly.
Step 3: Bake the Crust
Bake the crust in the preheated oven for 12-15 minutes until it turns a lovely light golden color. This initial baking step partially cooks the crust so it won’t become soggy underneath the cheesecake and rhubarb toppings. Once baked, remove it from the oven and set it aside to cool slightly while you prepare the next layers.
Step 4: Prepare the Cheesecake Layer
In a clean bowl, beat the softened cream cheese with 1/2 cup of granulated sugar until smooth and creamy. Add the egg and vanilla extract, continuing to mix until the filling is luxuriously smooth without lumps. Spread this cheesecake mixture evenly over the warm crust, creating a thick and creamy layer that will bake into a melt-in-your-mouth center for the bars.
Step 5: Cook the Rhubarb Topping
In a small saucepan, combine the chopped rhubarb, 1/4 cup granulated sugar, and cornstarch. Cook over medium heat, stirring frequently until the topping thickens and the rhubarb softens – about 5 to 7 minutes. This cooking step transforms the rhubarb into a sweet-tart, jammy topping that will contrast beautifully with the creamy cheesecake. Allow the mixture to cool slightly before proceeding.
Step 6: Assemble the Bars
Spoon the thickened rhubarb mixture evenly over the cheesecake layer in the baking pan. Spread it gently to cover the entire surface, making sure each bar will have a perfect balance of tangy fruit and creamy richness.
Step 7: Bake the Bars
Return the pan to the oven and bake for an additional 25 to 30 minutes. The cheesecake layer should set fully but still remain moist and creamy inside. This baking time locks all the flavors together, creating that irresistible “dream bar” texture you’ll want to return to again and again.
Step 8: Cool and Chill
Remove the bars from the oven and let them cool completely at room temperature. Then refrigerate for at least 2 hours before slicing into bars. Chilling is key for those clean, perfect cuts and for allowing the cheesecake layer to firm up properly.
How to Serve Rhubarb Cheesecake Dream Bars Recipe
Garnishes
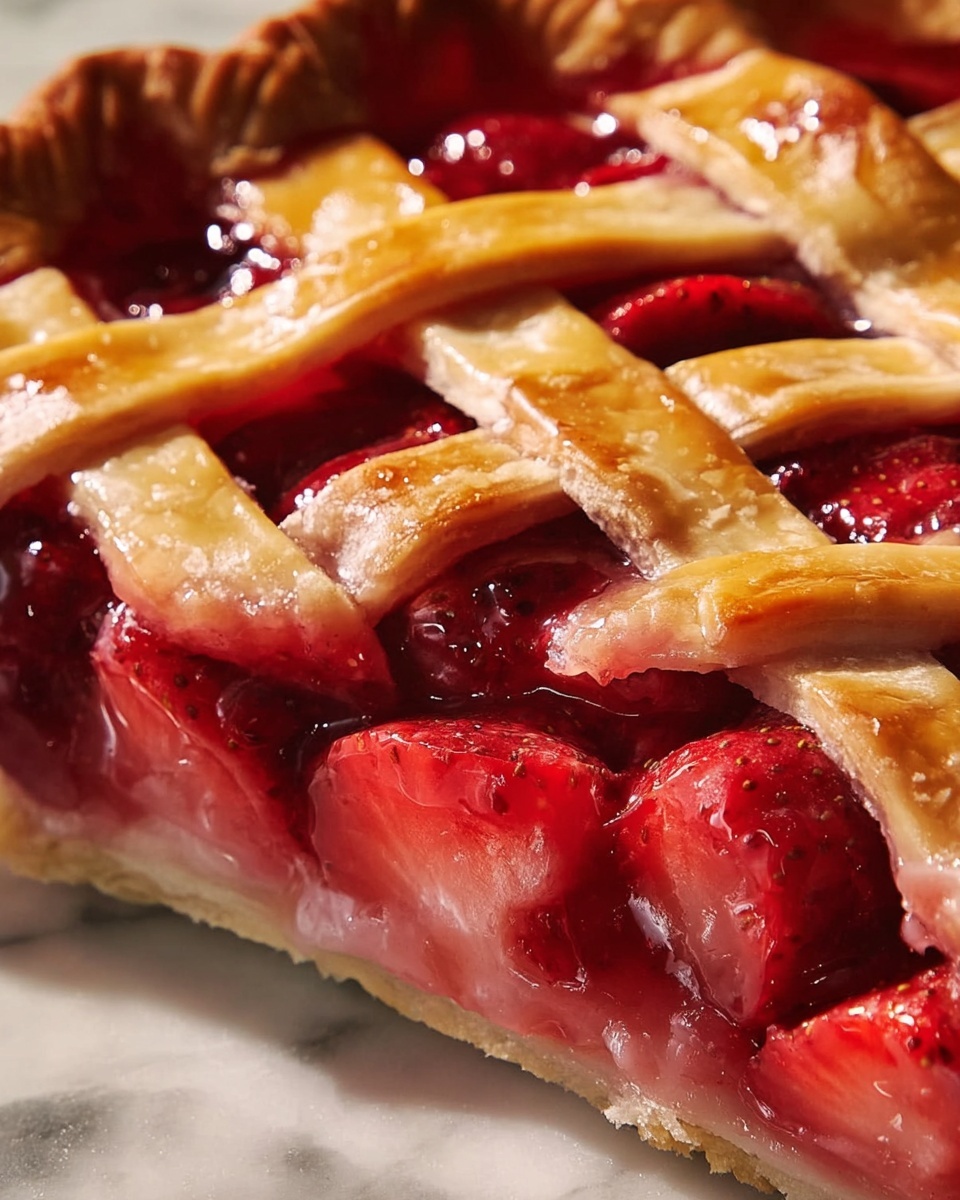
These bars are already stunning on their own, but a few simple garnishes can elevate them further. Consider a light dusting of powdered sugar for a touch of elegance or a sprig of fresh mint to add a pop of green and aromatic freshness. A dollop of whipped cream on the side complements the creamy texture wonderfully and is always a crowd-pleaser.
Side Dishes
If you want to serve these bars as part of a larger dessert spread, fresh berries like strawberries or raspberries make an excellent side, bringing a bright, juicy contrast. For a cozy pairing, offer a scoop of vanilla ice cream or a small cup of strong coffee or tea to balance the richness of the cheesecake and the fruity punch of rhubarb.
Creative Ways to Present
Try layering these bars in a clear dessert trifle dish with extra rhubarb compote and whipped cream for a visually stunning presentation at your next gathering. Alternatively, serve mini bar-sized portions on bite-sized plates with edible flowers or fruit coulis drizzled artistically for that special touch that will wow your guests.
Make Ahead and Storage
Storing Leftovers
Store any leftover Rhubarb Cheesecake Dream Bars in an airtight container in the refrigerator. They will stay fresh for up to 4 days, and the flavors tend to deepen and meld further after a day or two, making them even tastier.
Freezing
If you want to make these bars ahead of time or save some for later, they freeze beautifully. Wrap individual bars tightly in plastic wrap and place them in a freezer-safe container or bag. They can be frozen for up to 2 months. When ready to enjoy, thaw them overnight in the fridge for the best texture.
Reheating
For warm bars, gently reheat thawed bars in a microwave for about 15-20 seconds or in a low oven (300°F) for 5-7 minutes. Be careful not to overheat, as the cheesecake layer can become too soft or separate. Warm bars paired with a scoop of ice cream are pure bliss.
FAQs
Can I use frozen rhubarb for this recipe?
Absolutely! Frozen rhubarb works great and can even save you time. Just make sure to thaw and drain it well before cooking to avoid excess liquid in the topping.
Is it necessary to chill the bars before slicing?
Yes, chilling is crucial to set the cheesecake layer properly and to achieve clean slices. Without chilling, the bars may crumble or sell apart when cut.
Can I substitute the crust with a graham cracker base?
While a graham cracker crust can add nice flavor, it won’t provide the exact chewy, crumbly texture that the buttery flour crust does. However, you can experiment if you prefer a quicker, easier base.
How tart will the rhubarb topping be?
The recipe balances the natural tartness of rhubarb with sugar and thickening from cornstarch, resulting in a pleasantly tangy but not overpowering topping. You can adjust the sugar if you prefer sweeter or more tart bars.
Can these bars be made dairy-free?
For a dairy-free version, substitute the butter with a non-dairy alternative and use a plant-based cream cheese. Keep in mind this may slightly change the texture but can still yield tasty bars.
Final Thoughts
The Rhubarb Cheesecake Dream Bars Recipe is a true gem for anyone who loves desserts that blend creamy richness and bright fruit flavors. Simple ingredients combine in a way that feels special and indulgent but never complicated. I encourage you to try making these bars soon — they are perfect for impressing guests or simply treating yourself to a slice of happiness.
