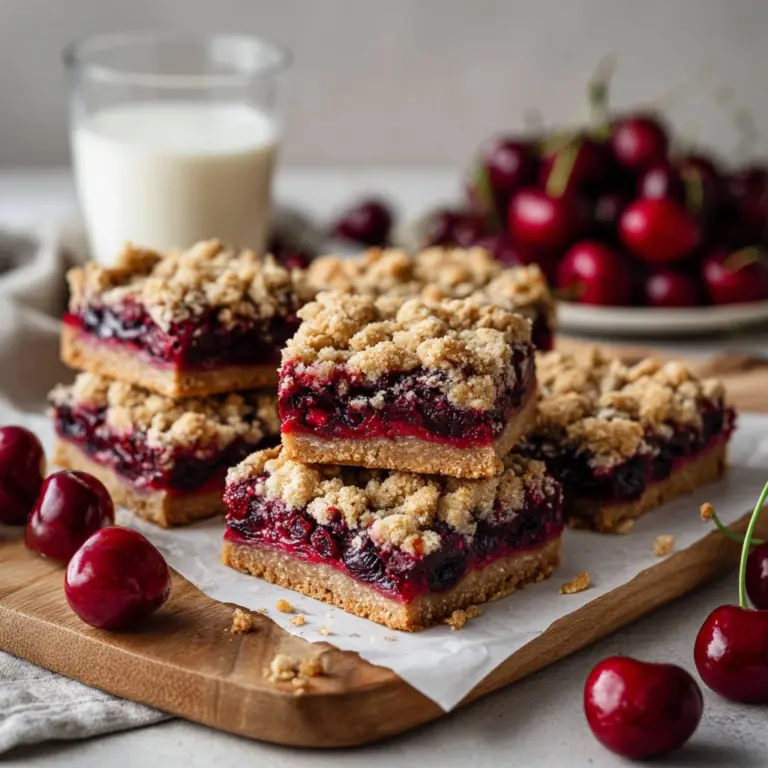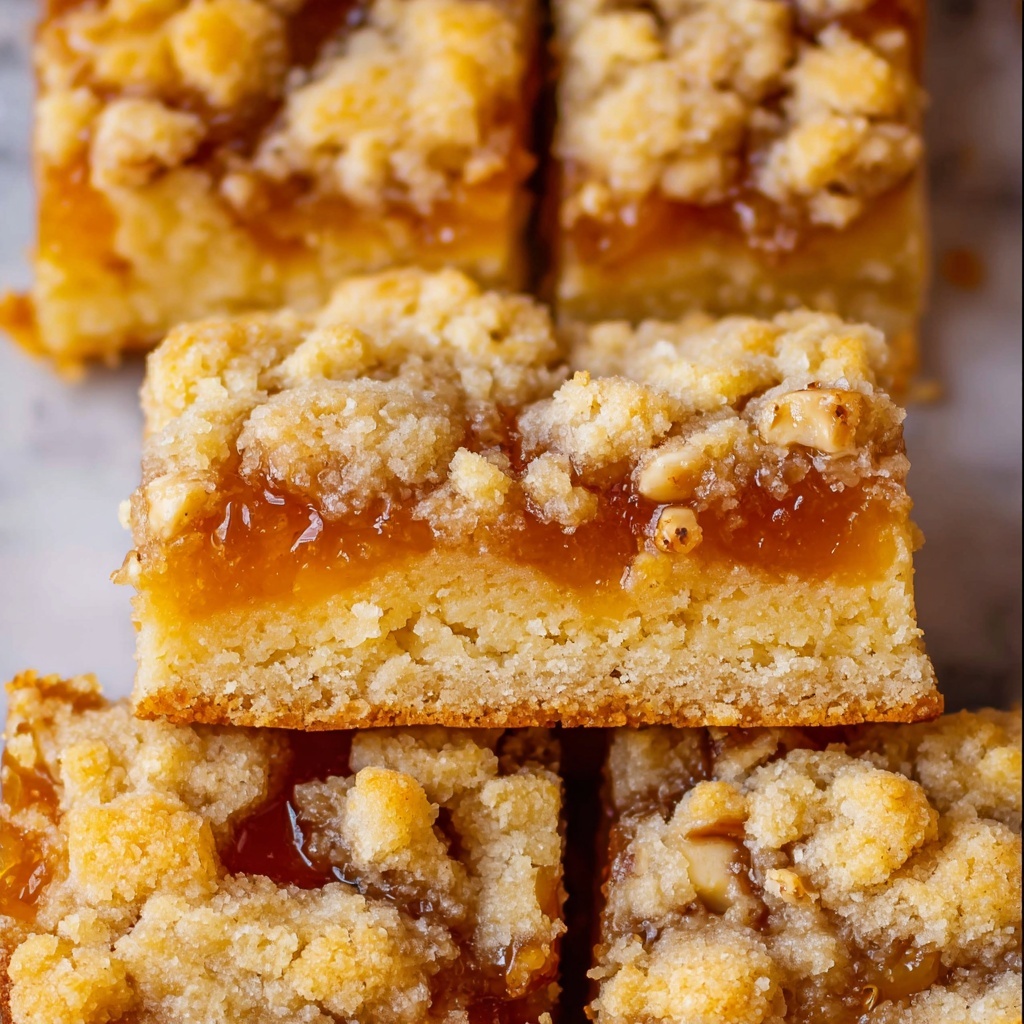
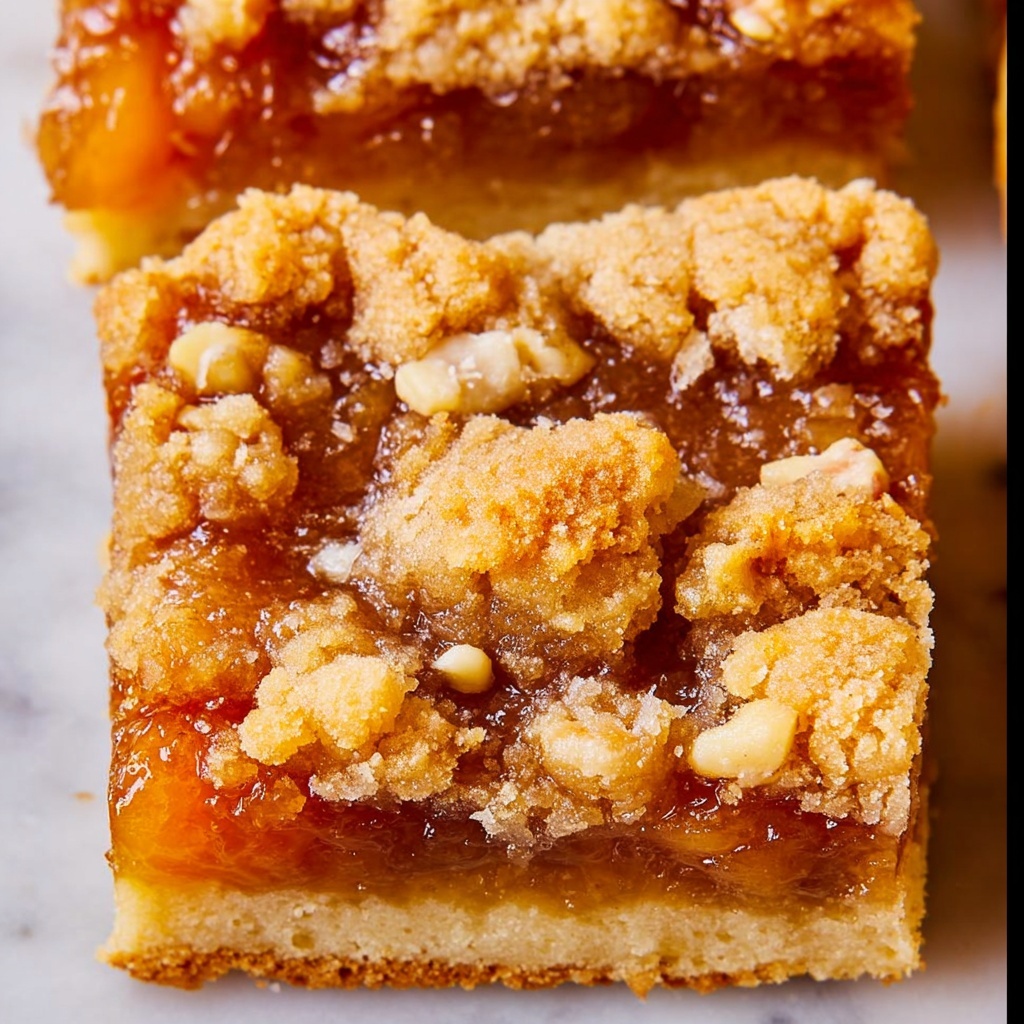
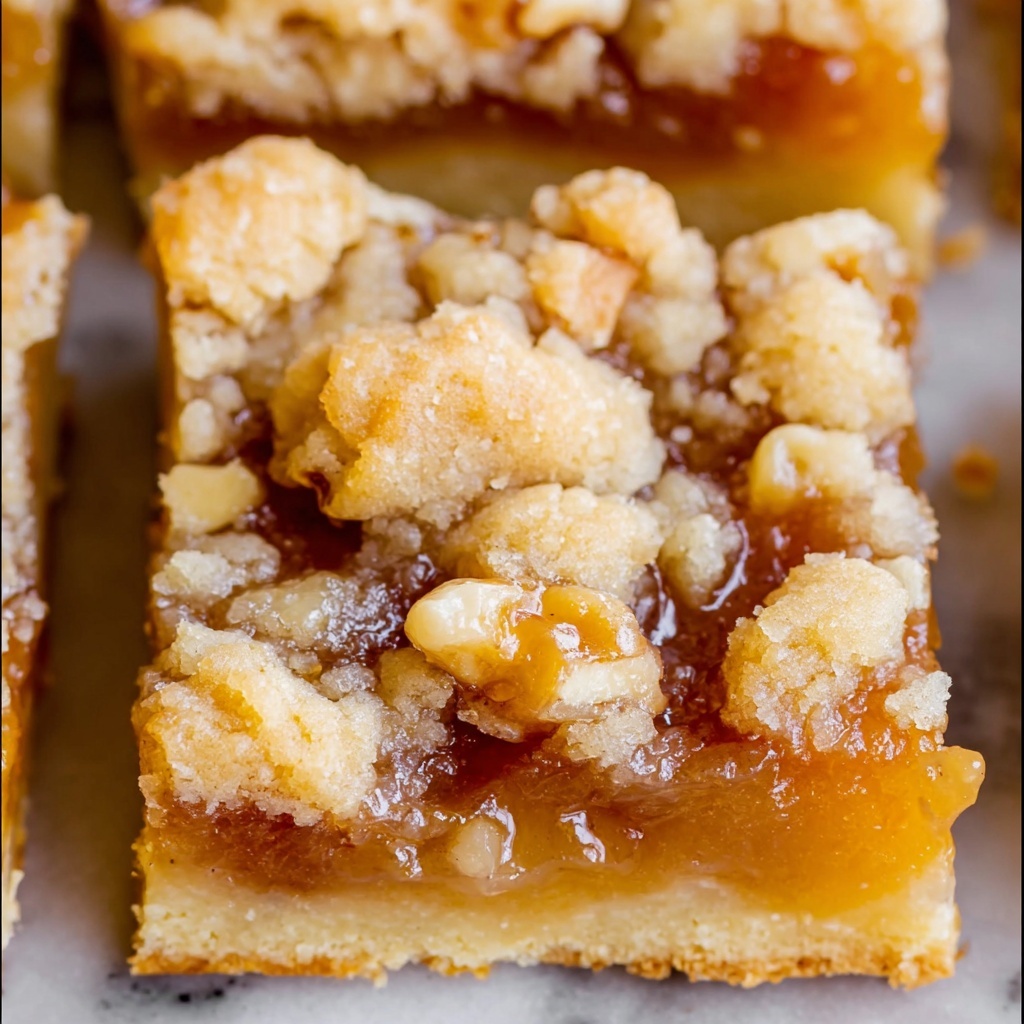
Oh, get ready to fall in love with every bite of this Rainier Cherry Pie Bars Recipe! These bars are the perfect marriage of buttery, flaky shortbread crust and sweet-tart Rainier cherries, offering a vibrant pop of sunny color and juicy flavor in every square. Whether you’re craving a summery dessert or a show-stopping treat for guests, this recipe brings the sunshine of fresh cherries front and center in a delightful, easy-to-share form. Trust me, these bars will quickly become your go-to when cherries are in season and your kitchen needs a slice of happiness.
Ingredients You’ll Need
This recipe calls for simple, pantry-friendly ingredients that come together beautifully to create flavorful bars with an irresistible texture. Each component—spanning rich butter, fresh Rainier cherries, and a hint of almond extract—plays a crucial role in making these bars truly shine in both taste and appearance.
- 2 cups butter (softened, 4 sticks): The backbone for a rich, flaky shortbread crust that melts in your mouth.
- 1 cup granulated sugar: Adds the perfect balance of sweetness to the crust.
- 1 teaspoon vanilla extract: Brings warmth and depth to the dough.
- 1 teaspoon almond extract: Enhances the cherry flavor with a subtle nutty aroma.
- 1 & 1/2 teaspoons kosher salt: Amplifies all the flavors and balances the sweetness.
- 4 cups flour (spooned and leveled): Creates the structure for a tender but sturdy crust.
- 1/2 cup toasted walnuts (chopped): Adds a delightful crunch and toasty flavor contrast.
- 2 & 1/2 pounds Rainier cherries (pitted, about 8 cups): Bright yellow and red cherries that are juicy and sweet-tart, the star of the filling.
- 1 & 1/4 cups granulated sugar: Sweetens the cherry filling perfectly.
- 1/4 cup fresh lemon juice (from 1 large lemon): Provides acidity to brighten the cherry filling.
- 1 & 1/2 tablespoons cornstarch: Thickens the cherry filling so it holds together beautifully.
- 1/4 teaspoon kosher salt: Balances the fruit’s natural sweetness.
How to Make Rainier Cherry Pie Bars Recipe
Step 1: Toast the Walnuts
First things first, decide whether you want to include walnuts. Spoiler: you totally do. Toasting walnuts brings out a lovely nutty fragrance and crunch. Spread them on a dry baking sheet and bake at 375 degrees Fahrenheit, stirring frequently, until golden and aromatic. Set them aside to cool while you prep everything else.
Step 2: Prepare the Pan
Line a 9×13 inch pan with parchment paper or generously grease it to keep those bars from sticking. This step ensures your bars come out in perfect squares without a fuss.
Step 3: Make the Shortbread Crust
Start by beating the softened butter until smooth. Then add sugar and keep beating until the mixture is light and fluffy—this gives us that tender, melt-in-your-mouth base. Next, stir in vanilla, almond extract, and salt to layer on flavor.
Step 4: Add Flour
Gradually add the flour one cup at a time, mixing each addition just until incorporated. Be sure to scrape the bowl well to ensure an even dough without overmixing. A slightly manual finish with a wooden spoon can help if your mixer slows down.
Step 5: Press and Chill the Base
Separate about two-thirds of the dough and press it firmly into the bottom of your prepared pan. Wetting your hands lightly will prevent sticking. Pop the pan into the fridge for about 20 minutes. Chilling before baking guarantees that perfect flaky texture.
Step 6: Mix Walnuts Into Remaining Dough
Fold your toasted walnuts into the remaining dough. Cover and chill this nutty topping dough while your crust bakes. This step pairs each bar with that irresistible crunch.
Step 7: Bake the Crust
After chilling, bake the crust at 375 degrees Fahrenheit for about 18 to 20 minutes until you see golden edges and a matte center. If using a glass pan, allow it to rest room temp briefly to avoid cracking. Once out of the oven, let it cool.
Step 8: Prepare the Cherry Filling
Lower your oven temperature to 350 degrees Fahrenheit. Pit your Rainier cherries (you want whole pieces for that gorgeous bite) and place them in a pot with sugar, lemon juice, cornstarch, and salt. Heat over high, stirring until the mixture boils and thickens into a bubbling, fragrant filling. This luscious filling is the heart of the Rainier Cherry Pie Bars Recipe.
Step 9: Assemble the Bars
Pour the hot cherry filling over the cooled crust. Then quickly crumble the walnut shortbread dough on top in small pieces, scattering enough to cover but still revealing the cherries beneath. For extra dimension, sprinkle with a touch of demerara sugar for crunch if you like.
Step 10: Final Bake
Bake the assembled bars at 350 degrees for 25 to 30 minutes until the top is lightly browned. Once baked, cool completely on a wire rack — patience here means cleaner slices and a better texture.
How to Serve Rainier Cherry Pie Bars Recipe
Garnishes
A simple dusting of powdered sugar adds a lovely, delicate touch to these bars, but my favorite is a scoop of vanilla ice cream melting over a warm square—the perfect balance of hot and cold, creamy and fruity.
Side Dishes
Pair the bars with fresh whipped cream or a dollop of Greek yogurt for a tangy contrast. A light cup of herbal tea or a crisp white wine can round out a delightful dessert experience.
Creative Ways to Present
Try arranging these bars on a rustic wooden board accompanied by fresh whole Rainier cherries and mint sprigs for a festive display. Cutting them into mini bite-sized pieces also makes for perfect finger food at parties or picnics.
Make Ahead and Storage
Storing Leftovers
Keep your Rainier Cherry Pie Bars in an airtight container at room temperature for up to two days. After that, refrigeration is best to preserve freshness and prevent drying out, where they’ll keep well for about a week.
Freezing
These bars freeze beautifully! Wrap individual pieces tightly in plastic wrap and place them in a freezer-safe bag or container. They’ll stay delicious for up to 3 months — just thaw overnight in the fridge when ready to enjoy.
Reheating
Warm the bars gently in a low oven or microwave to revive that fresh-baked feeling before serving. Adding a scoop of ice cream right after reheating is pure indulgence.
FAQs
Can I use frozen Rainier cherries for this recipe?
While fresh Rainier cherries are ideal for their vibrant flavor and texture, you can use frozen cherries as long as you thaw and drain them well. Keep in mind the filling may be a bit softer due to extra moisture.
What if I’m allergic to nuts? Can I skip the walnuts?
Absolutely! The walnuts add texture and a toasty flavor, but the bars will still be delicious without them. You might consider substituting with seeds like pumpkin or sunflower if you want some crunch.
How do I prevent the cherry filling from being too runny?
Using the right amount of cornstarch and cooking the filling until it thickens and bubbles will ensure your filling sets nicely. Make sure to maintain a steady simmer and stir frequently during cooking.
Can I make these bars in smaller pans?
You can scale down this recipe for smaller pans, but keep an eye on baking times as they may adjust. Smaller pans might yield thicker bars, so a slightly longer bake might be needed.
What’s the best way to cut neat squares?
Wait until the bars have fully cooled and set, even chilling them briefly if needed, before slicing with a sharp knife. Wiping the blade clean between cuts helps keep the edges tidy.
Final Thoughts
You really can’t go wrong making this Rainier Cherry Pie Bars Recipe a staple in your dessert lineup. With its buttery shortbread, jewel-like cherry filling, and nutty crunch, these bars bring joy to every occasion. I can’t wait for you to try them, share with your loved ones, and watch those smiles light up the room!