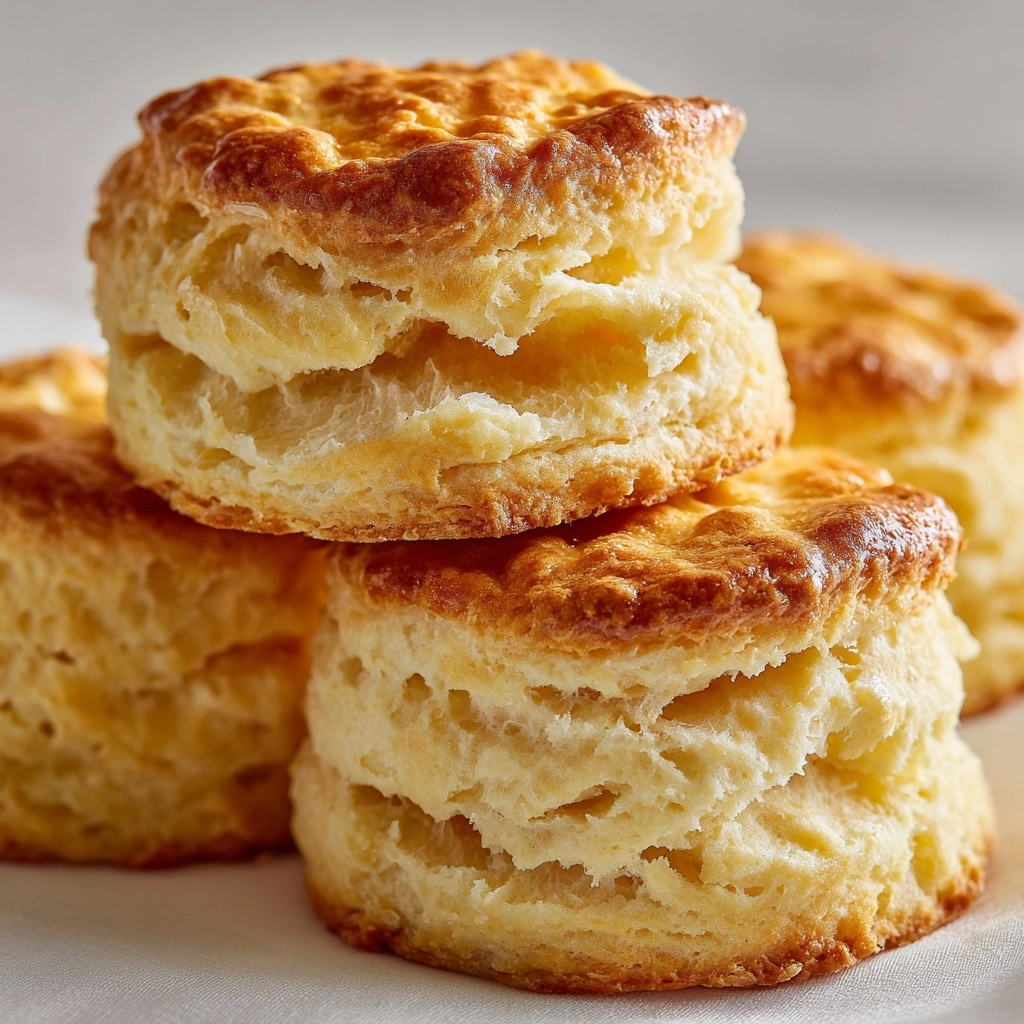
If you’ve never experienced the joy of biting into a freshly baked batch of Nun’s Puffs, you’re in for a delightful treat! With their crisp, golden exterior and airy, custardy center, these pillowy pastries are pure magic—impossibly elegant yet shockingly easy to whip up from a handful of basic ingredients. Nun’s Puffs are that rare recipe you’ll reach for when you want to impress breakfast guests or treat yourself to something special with your afternoon coffee. They’re a celebration of buttery goodness and simple technique, perfect for anyone who loves an old-fashioned dessert with a little bit of flair.
Ingredients You’ll Need
Let’s celebrate how uncomplicated but crucial each component is in creating Nun’s Puffs. Every ingredient has a starring role: from rich butter that builds flavor and moisture, to humble pantry staples that work alchemy in your oven. Here’s what you’ll need:
- Butter: Adds rich flavor and a beautifully tender crumb—don’t be shy, use the real stuff!
- Milk: Gives the puffs their light, custardy interior and ensures a subtle richness.
- All-purpose flour: The backbone for structure, helping the puffs hold their delightful shape and spring.
- Granulated sugar: Just a touch, for a hint of sweetness that lets the buttery flavor shine.
- Salt: Balances the flavors and brings out the delicate buttery notes.
- Large eggs: The real secret weapon here—eggs create that airy lift and lovely golden color.
- Powdered sugar (optional): For dusting over the top; adds a gentle, sweet finish and visual wow factor.
How to Make Nun’s Puffs
Step 1: Prepare Your Oven and Pan
Begin by preheating your oven to 375°F (190°C). This is key for that initial burst of heat that helps Nun’s Puffs rise tall. Lightly grease or line a standard 12-cup muffin tin, making sure every cup is ready to cradle that pillowy batter. Trust me, a little extra prep here keeps puffs from sticking later!
Step 2: Make the Choux Base
In a medium saucepan over medium heat, melt the butter with the milk, stirring gently until the mixture just comes to a soft boil. This creates the foundation for the classic choux pastry texture at the heart of Nun’s Puffs—rich, aromatic, and ready to rise.
Step 3: Add Dry Ingredients
Lower the heat and add the flour, sugar, and salt all at once. Here’s where you need to be quick: stir vigorously with a sturdy wooden spoon until the mixture thickens, forms a smooth ball, and pulls away from the sides of the pan. This takes about one to two minutes and gives you that silky, cohesive dough (and a mini arm workout!).
Step 4: Cool Slightly and Add Eggs
Take the pan off the heat and let the dough cool for about 5 minutes. You want it warm, not hot, or the eggs might scramble. Then, one at a time, beat in the eggs—making sure each is fully combined before adding the next. By the last egg, your dough should look glossy, thick, and a tad sticky—perfect for spooning.
Step 5: Fill the Muffin Tin
Divide the batter evenly among the prepared muffin cups, filling each about halfway. The batter will be sticky, so don’t worry if your spooning isn’t seamless—these puffs rise up beautifully all on their own. Effortless elegance!
Step 6: Bake Without Peeking
Bake the Nun’s Puffs for 30 to 35 minutes, until they’re deeply golden, tall, and firm to the touch. This is the toughest part: do not open the oven, even if you’re wildly tempted! The steam inside the oven is their secret weapon, helping them puff gorgeously. Opening the door early can make them collapse.
Step 7: Cool, Dust, and Devour
Once baked, let the puffs cool in the pan for a few minutes. When slightly warm, carefully lift them out and transfer to a wire rack. For that final touch, a light shower of powdered sugar is optional—but highly recommended. Enjoy them warm, when the contrast between the crisp shell and custardy center is absolute perfection!
How to Serve Nun’s Puffs
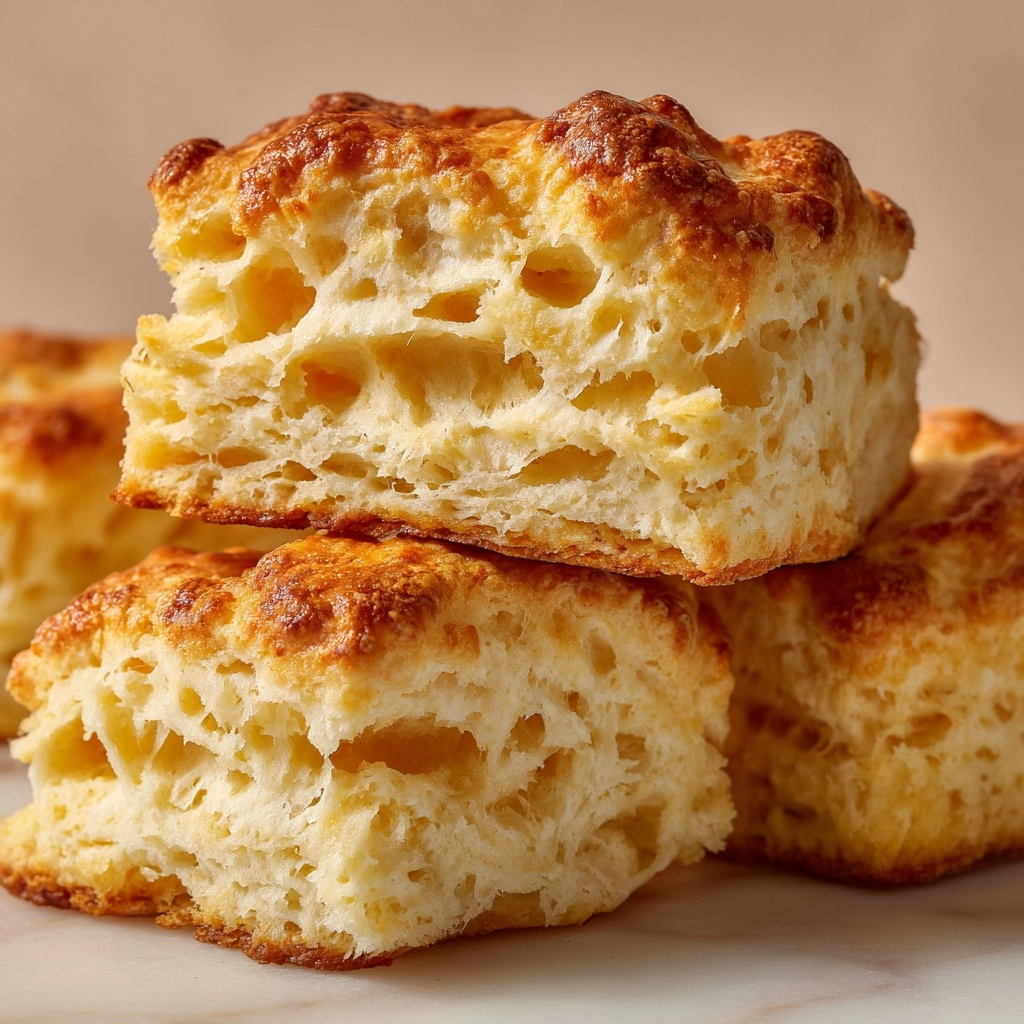
Garnishes
For pure indulgence, dust your Nun’s Puffs with powdered sugar just before serving. A drizzle of honey adds a gorgeous sheen and sticky sweetness. If you’re feeling fancy, a little grated lemon or orange zest takes things up a notch—you’ll love the citrus perfume mingling with the butter.
Side Dishes
Nun’s Puffs pair beautifully with a bowl of fresh berries and a dollop of whipped cream or Greek yogurt. For a brunch spread, serve alongside fruit salad, sliced peaches, or a tangy marmalade. They’re also simply delightful with a steaming mug of tea or strong coffee.
Creative Ways to Present
You can split warm Nun’s Puffs and stuff them with lightly sweetened ricotta, lemon curd, or raspberry jam for an encore performance. For parties, serve them as mini “sandwiches” with whipped cream and a sprinkle of cinnamon, or display them in a dramatic tower for a showstopper dessert centerpiece.
Make Ahead and Storage
Storing Leftovers
If you’re lucky enough to have leftover Nun’s Puffs, store them in an airtight container at room temperature for up to one day. They’re best enjoyed fresh but hold their own for a quick next-day treat. For longer storage, consider freezing.
Freezing
Nun’s Puffs freeze surprisingly well! Let them cool completely, place on a baking sheet to freeze individually, then transfer to a freezer bag or container. They’ll keep for up to three months. To enjoy, thaw at room temperature or gently reheat before serving.
Reheating
To restore that heavenly crispness, reheat Nun’s Puffs in a preheated 325°F (160°C) oven for about 5–8 minutes. Avoid microwaving, which can make them soggy. After a quick warm-up, they’ll taste almost as good as new.
FAQs
Why are my Nun’s Puffs flat after baking?
Nun’s Puffs can deflate a bit once out of the oven due to steam escaping—this is totally normal! Just make sure not to open the oven during baking, as the sudden temperature change can cause a dramatic collapse.
Can I make Nun’s Puffs ahead of time for a special occasion?
Absolutely! Bake them a day ahead, cool completely, then store in an airtight container. Re-crisp in the oven just before serving, and they’ll be as lovely as the day you made them.
Can I add flavors to the batter?
Definitely! Try whisking a bit of vanilla extract or citrus zest into the dough for added aroma, or sprinkle cinnamon sugar on top before baking for a cozy twist.
What if I don’t have a muffin tin?
No muffin tin? No problem. You can bake Nun’s Puffs on a parchment-lined baking sheet, leaving plenty of space between dollops to allow for expansion. Shape will be more rustic—but every bit as tasty!
Are Nun’s Puffs gluten-free or dairy-free?
As written, this recipe uses wheat flour and dairy. However, you can experiment with gluten-free baking blends and plant-based butter or milk if needed, though the texture may vary slightly.
Final Thoughts
I hope you fall in love with Nun’s Puffs just as much as I have. Each bite is a taste of simple joy—light, buttery, and completely irresistible. Give this recipe a try and let the magic fill your kitchen. Happy baking!
