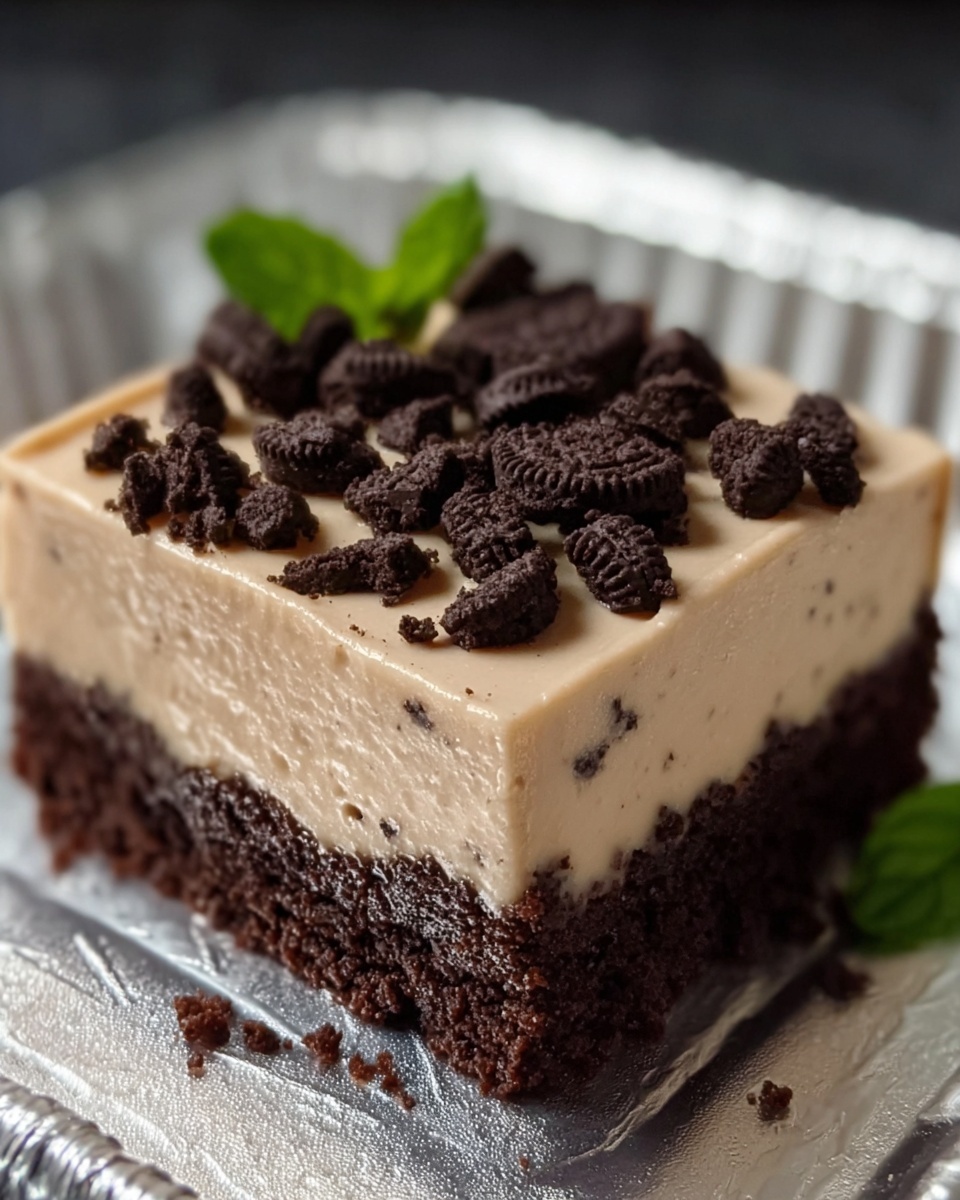
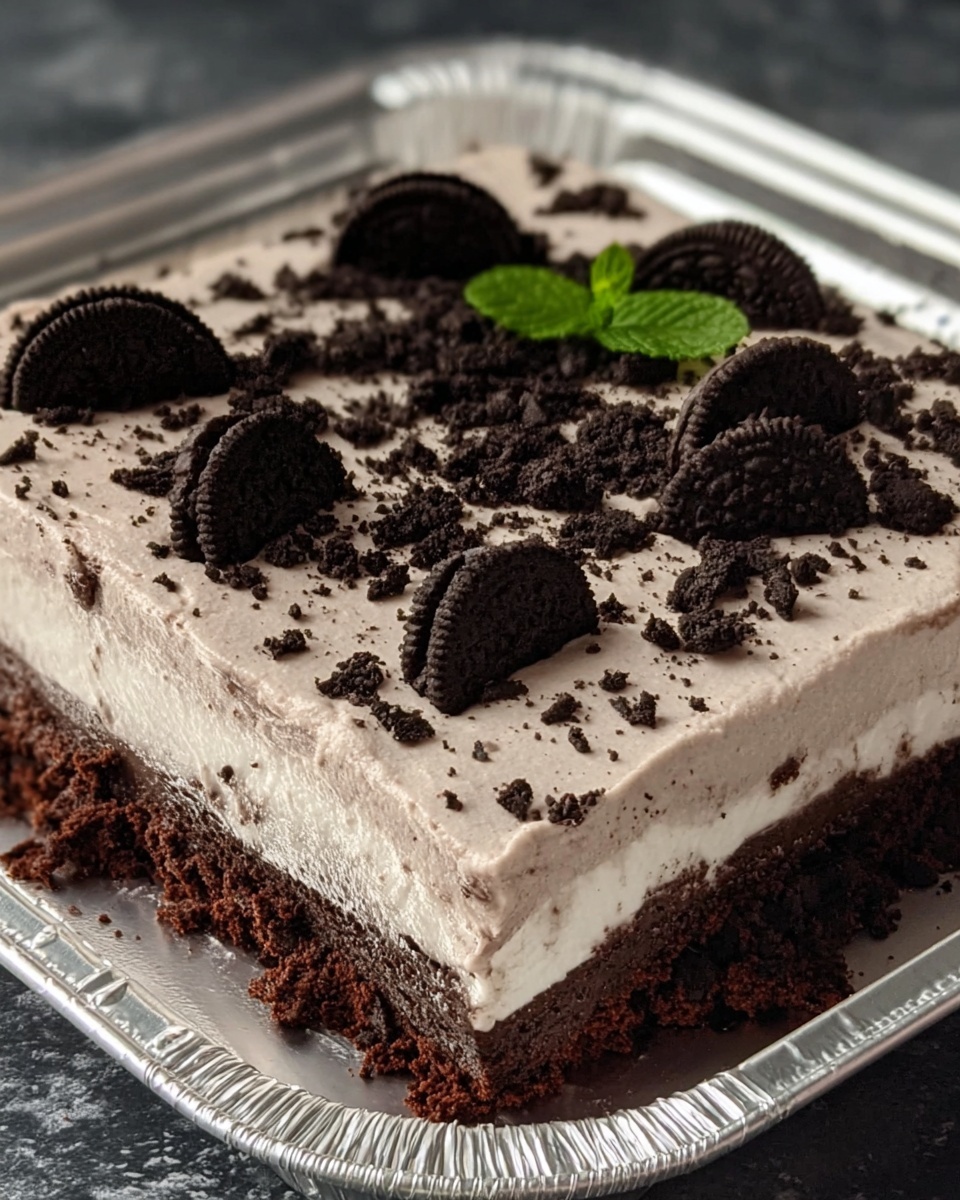
If you have a sweet tooth and love a decadent dessert that comes together with no fuss, this No-Bake Oreo Mud Pie Recipe is an absolute must-try. It’s rich, creamy, and packed with the irresistible crunch and chocolatey goodness of Oreos, all without turning on your oven. Whether you’re looking for a quick treat to impress guests or a weekend indulgence, this dessert hits all the right notes with smooth pudding, fluffy Cool Whip, and layers of crushed cookies that make every bite pure bliss.
Ingredients You’ll Need
Keep things simple and delightful with ingredients that are easy to find but essential for creating the perfect blend of textures and flavors in this pie. Each component plays its role in delivering creaminess, crunch, and that classic chocolatey Oreo taste that you crave.
- Chocolate pudding mix: The base that gives the pie its luscious, velvety chocolate flavor and creamy texture.
- Whole milk: Helps set the pudding perfectly while adding richness to the dessert.
- Cool Whip (two containers): Adds lightness and a fluffy texture that balances the density of the pudding.
- Oreos (two sleeves): One sleeve is crushed and folded into the filling for texture; the other is sprinkled on top for that satisfying crunch and visual appeal.
How to Make No-Bake Oreo Mud Pie Recipe
Step 1: Prepare the Pudding
Begin by taking your chocolate pudding mix and whisking it together with 2 cups of whole milk in a bowl. You want to whisk until the pudding thickens — this usually takes a few minutes and ensures your base is silky smooth and ready to set into a dreamy filling.
Step 2: Mix in Cool Whip
Next, gently fold both containers of Cool Whip into the thickened pudding. This step is crucial because it lightens the mixture, giving the pie a wonderfully airy texture without losing any richness. Be careful not to overmix so you keep that fluffy consistency intact.
Step 3: Add Crushed Oreos
Crush one sleeve of Oreos to your desired size – whether you like small chunks or finer bits, it works either way. Fold these crushed cookies into your pudding and Cool Whip blend, adding that signature Oreo crunch and bursts of chocolate throughout the filling.
Step 4: Layer the Mixture
Pour half of the Oreo pudding mixture into your serving dish or a pie pan, smoothing it evenly with a spatula. This thick layer lays the foundation for your pie’s indulgent texture and lets the flavors meld as it chills.
Step 5: Top with More Oreos
Sprinkle the second sleeve of crushed Oreos evenly over the top of the first layer. This adds a delightful crunch and extra chocolate flavor that makes every forkful even more exciting.
Step 6: Chill
Place your pie in the refrigerator to chill for at least two hours. This waiting time allows the layers to firm up perfectly and the flavors to marry, giving you that authentic “mud pie” consistency that melts in your mouth.
Step 7: Serve and Enjoy
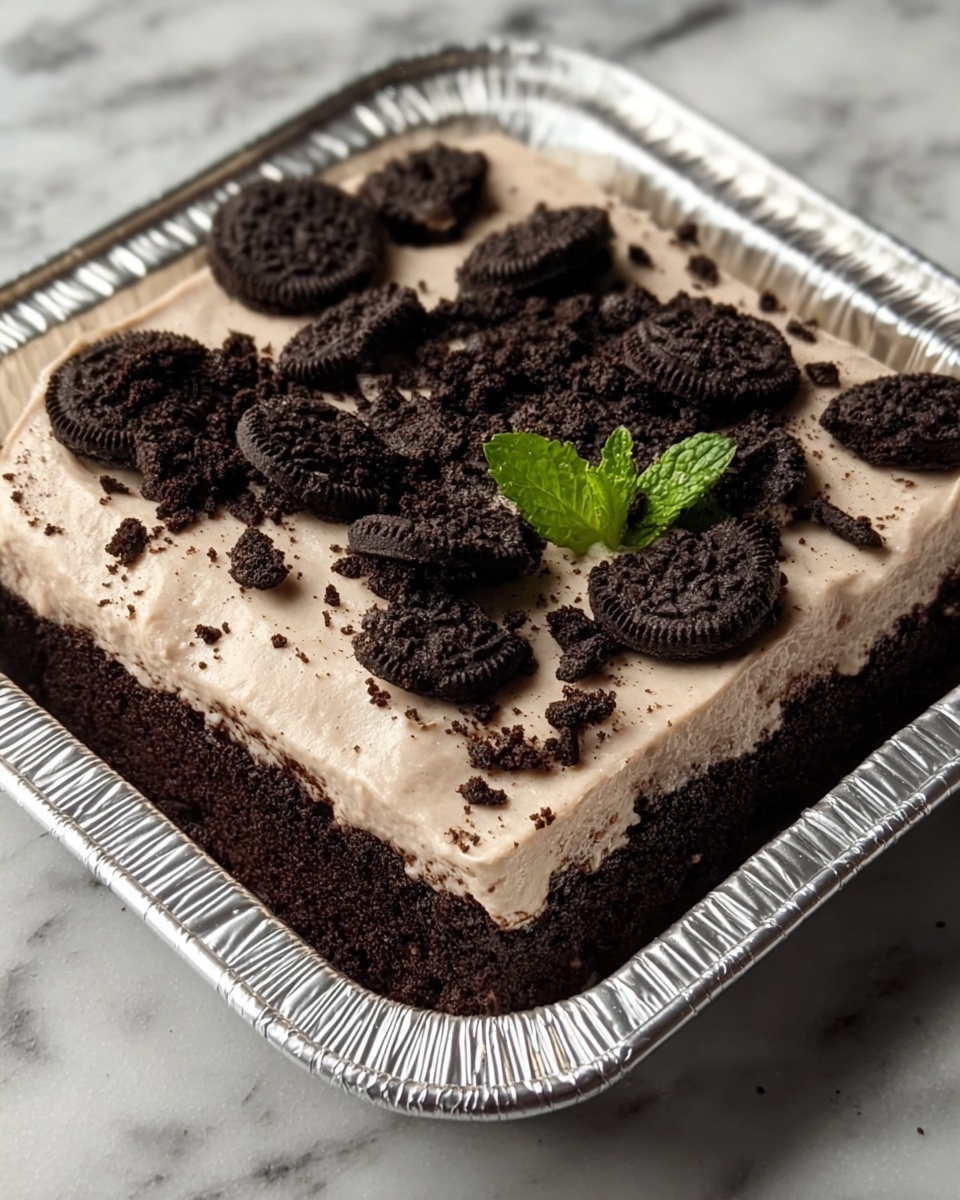
Once chilled, your No-Bake Oreo Mud Pie is ready to dive into! Serve it as is or jazz it up with a dollop of extra whipped cream or an Oreo crumb garnish for a picture-perfect finish.
How to Serve No-Bake Oreo Mud Pie Recipe
Garnishes
Adding garnishes to your pie can take it from delicious to dazzling. Consider extra crushed Oreos, a swirl of whipped cream, or even a drizzle of chocolate syrup for an elegant presentation that invites everyone to dig in.
Side Dishes
Although this dessert shines brightly on its own, pairing it with fresh fruit like strawberries or raspberries provides a bright, tart contrast that balances the rich chocolate flavors beautifully.
Creative Ways to Present
Try serving individual portions in clear glasses or mason jars for a fun twist, layering the Oreo mud pie mixture with whipped cream or fruit between layers. These single servings look impressive and are perfect for parties or special occasions.
Make Ahead and Storage
Storing Leftovers
Store any leftover No-Bake Oreo Mud Pie covered tightly with plastic wrap or in an airtight container in the refrigerator. It will keep well for up to 3 days, maintaining its creamy texture and fresh Oreo flavor.
Freezing
You can freeze this pie if you want to enjoy it later; just cover it well with foil and plastic wrap to protect it. When properly stored, it can last up to one month in the freezer. Thaw it overnight in the fridge before serving to preserve that ideal consistency.
Reheating
Since this is a chilled, no-bake dessert, reheating is not necessary or recommended. It’s best served cold so you can savor the luxurious texture and cool, refreshing flavors.
FAQs
Can I use light milk or a milk alternative to make this pie?
Yes, you can use light milk or a non-dairy milk substitute, but keep in mind the pudding may be less rich and could set differently. Whole milk gives the creamiest, most luscious results for the best texture.
Is it okay to substitute Cool Whip with homemade whipped cream?
Absolutely! Homemade whipped cream adds a lovely freshness and can be slightly sweeter or less sweet depending on your preference. Just be sure it’s well whipped to maintain the airy texture needed.
Can I make this dessert gluten-free?
To make this recipe gluten-free, use gluten-free chocolate pudding mix and substitute the Oreos with a gluten-free cookie alternative that has a similar crunch and flavor.
How long can I prepare the No-Bake Oreo Mud Pie Recipe in advance?
This dessert can be made a day ahead and kept chilled, making it an excellent option for meal prep or entertaining. Just be sure to keep it covered in the fridge to maintain freshness.
What is the best way to crush Oreos for this recipe?
You can crush Oreos by placing them in a sealed plastic bag and gently pounding with a rolling pin or using a food processor for faster, finer crumbs. Choose the texture you prefer for your pie’s filling and topping.
Final Thoughts
There’s something truly comforting about a dessert that’s both easy to prepare and utterly indulgent, and this No-Bake Oreo Mud Pie Recipe fits the bill perfectly. It’s quick to whip up, no oven required, and loaded with all the chocolate and cookie goodness you could want. Give it a try—you might just find it becoming your go-to dessert for any occasion!