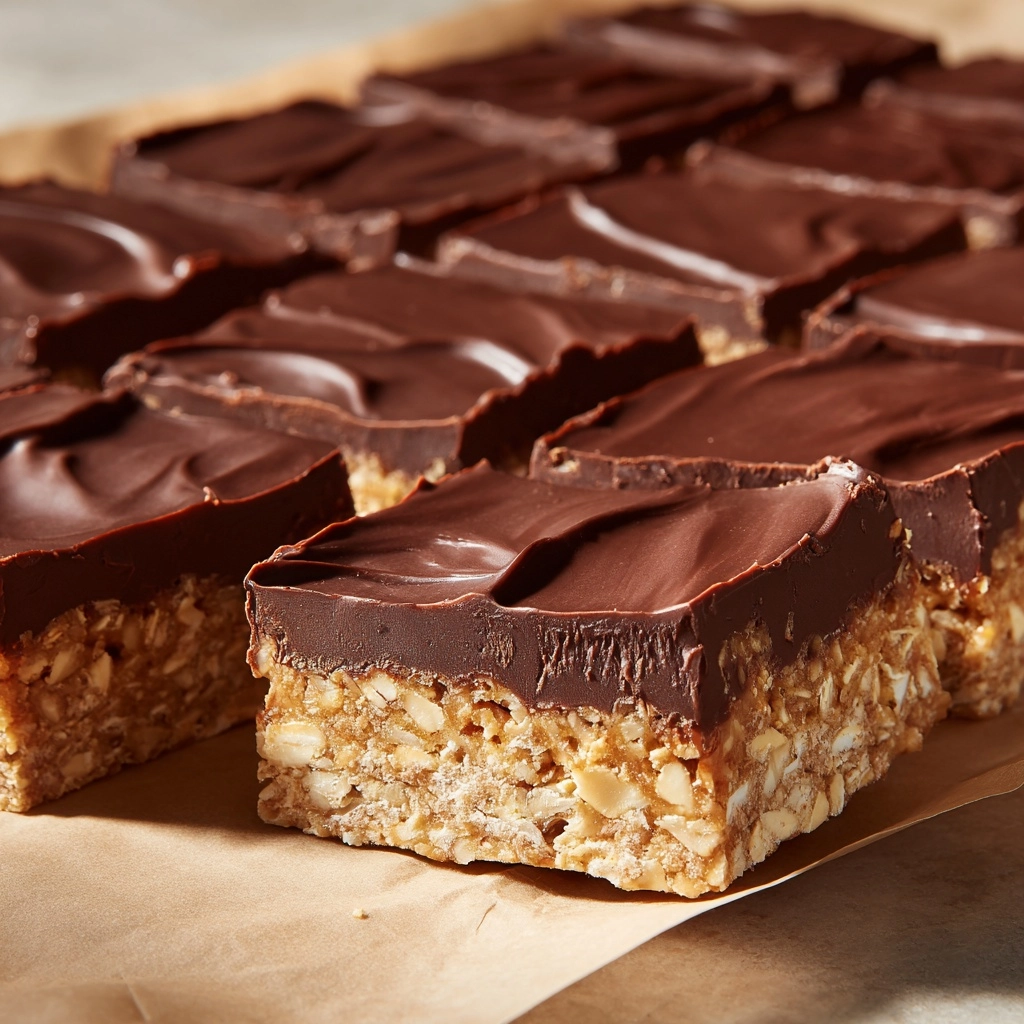
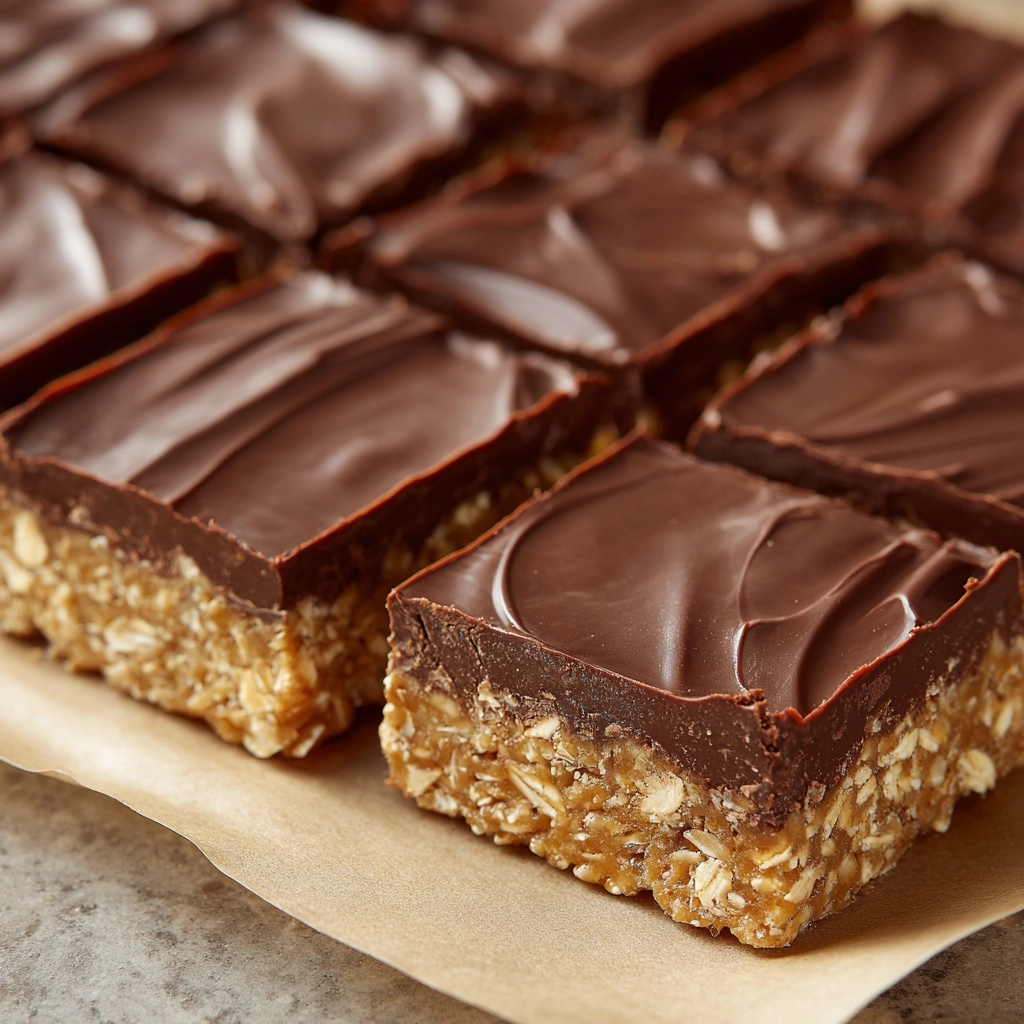
If you have a sweet tooth and love a deliciously simple treat that doesn’t require turning on the oven, this Homemade Crunch Bars Recipe will quickly become one of your go-to snacks. These no-bake bars combine rich, melted chocolate with crispy rice cereal to create the perfect balance of smoothness and crunch. Whether you need a quick dessert fix or a fun treat to share, these bars are incredibly easy to make and sure to satisfy any chocolate craving with their irresistible texture and flavor.
Ingredients You’ll Need
Making this Homemade Crunch Bars Recipe requires just a handful of straightforward ingredients that come together beautifully. Each component plays a key role, whether it’s adding creaminess, crunch, or that perfect chocolatey touch.
- Semisweet or milk chocolate chips: The star ingredient that melts smoothly to coat the cereal and deliver that rich chocolate flavor.
- Coconut oil or butter (optional): Helps create a silkier chocolate texture and makes the bars easier to slice once set.
- Crispy rice cereal: Adds the much-loved crunch that defines these bars and brings a light, airy texture.
How to Make Homemade Crunch Bars Recipe
Step 1: Prepare Your Pan
Start by lining an 8×8-inch baking dish with parchment paper, making sure to leave some overhang on the sides. This handy trick makes it easy to lift out your bars once they’re firm, saving you from any sticky situations.
Step 2: Melt the Chocolate
Place the chocolate chips in a microwave-safe bowl. If you’re using coconut oil or butter to smooth things out, add it here. Microwave in 30-second bursts, stirring well between each interval until the chocolate is melted and glossy. This slow melting process prevents the chocolate from burning and keeps its silky texture perfect for your bars.
Step 3: Mix in the Crispy Rice Cereal
Gently fold the crispy rice cereal into the melted chocolate until every bit is fully coated. This step is crucial because you want every morsel covered in chocolate to get that signature crunch combined with indulgent sweetness.
Step 4: Press and Chill
Pour the chocolate and cereal mixture into your prepared pan and press it down firmly but gently into an even layer. This ensures your bars are compact enough to hold together but still light and crispy. Pop the dish into the fridge for at least one hour, allowing the bars to set and firm up.
Step 5: Slice and Enjoy
Once the mixture is completely set, use the parchment overhang to carefully lift the whole slab out of the pan. Slice into squares or bars of your preferred size, then serve chilled or let them sit at room temperature for a few minutes if you prefer a softer bite.
How to Serve Homemade Crunch Bars Recipe
Garnishes
Though the bars are delightful on their own, feel free to sprinkle a pinch of flaky sea salt or drizzle melted white chocolate on top before chilling to add contrast and a touch of elegance. Toasted coconut flakes or crushed nuts also add wonderful texture and flavor nuances if you’re hosting guests.
Side Dishes
Pair your Homemade Crunch Bars with a tall glass of cold milk for a nostalgic classic combo, or serve alongside fresh berries for a burst of brightness. They also make a perfect snack to pack with a coffee or tea break, elevating any moment into a sweet indulgence.
Creative Ways to Present
For parties, cut the bars into fun shapes using cookie cutters and arrange them on a festive platter. Wrapping individual bars in parchment and tying with a ribbon is a charming way to gift these homemade treats. You can even layer the bars with whipped cream and fruit in a parfait glass for a quick no-bake dessert twist.
Make Ahead and Storage
Storing Leftovers
Your Homemade Crunch Bars Recipe keeps beautifully in an airtight container stored in the refrigerator for up to one week. Keeping them chilled preserves their crisp texture while maintaining that melt-in-your-mouth chocolate goodness.
Freezing
For longer storage, wrap the bars tightly in plastic wrap and place them in a freezer-safe bag or container. Frozen bars last for several months and thaw quickly at room temperature, making them convenient to prepare in advance for spontaneous cravings.
Reheating
Since these bars are best enjoyed chilled or at room temperature, reheating isn’t necessary. However, if you prefer them softer, simply let the bars sit out for about 10 minutes before eating, allowing the chocolate to soften just enough for a velvety bite.
FAQs
Can I use dark chocolate instead of semisweet or milk chocolate?
Absolutely! Dark chocolate adds a richer, slightly bitter edge that complements the sweetness of the crispy rice cereal beautifully. Just be sure to choose a high-quality chocolate for the best flavor.
Is it possible to make these bars vegan?
Yes, by using dairy-free chocolate chips and substituting butter with coconut oil, you can enjoy a delicious vegan version of this Homemade Crunch Bars Recipe without sacrificing flavor or texture.
Can I add nuts or other mix-ins?
Feel free! Chopped nuts, dried fruit, or even mini marshmallows can be folded into the mixture for added variety. Just keep an eye on the overall volume so the bars hold together well.
What if I don’t have a microwave?
You can melt the chocolate and coconut oil or butter using a double boiler on the stovetop. Stir constantly over simmering water until the mixture is smooth and fully melted before mixing with the cereal.
How do I know when the bars are set properly?
The bars should be firm to the touch and easily lift out of the pan with the parchment paper. If they’re still soft or sticky after an hour, give them more refrigeration time until fully hardened.
Final Thoughts
This Homemade Crunch Bars Recipe is a wonderfully simple way to treat yourself or friends to something comforting and crunchy with minimal effort. The delightful combination of smooth chocolate and crispy cereal is timeless, and the no-bake method means you can whip it up anytime with ease. Give it a try and watch as everyone asks for more of these delicious bars that are as fun to make as they are to eat!