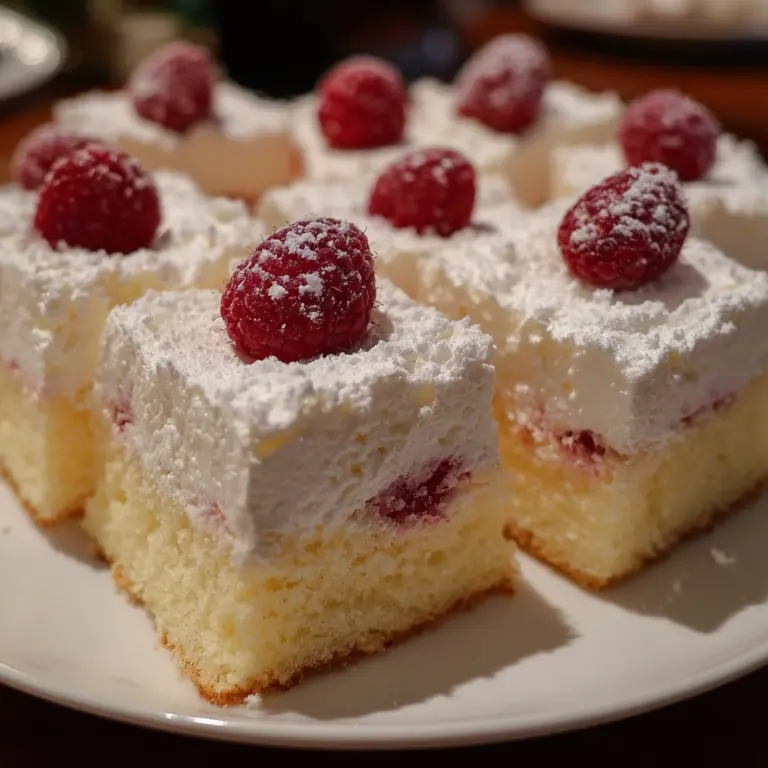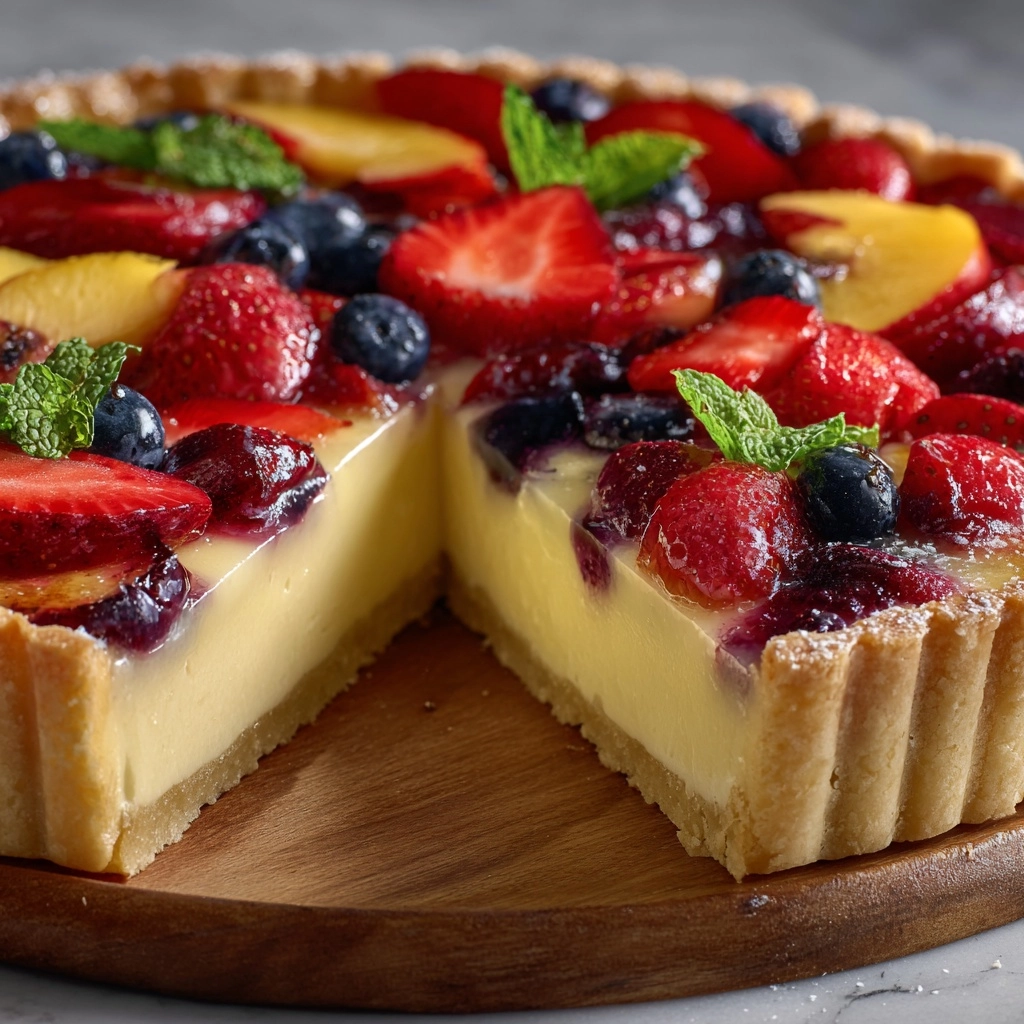
If you love desserts that are as beautiful as they are delicious, you’re going to adore this Fruit Tart Recipe. Imagine a golden, buttery crust filled with a dreamy cream cheese filling and piled high with vibrant, juicy fresh fruit, all glistening under a sweet apricot glaze. It’s a showstopper for celebrations or a lovely way to brighten up any occasion, and best of all, it’s easier to make than it looks! This dessert brings together so many textures and flavors that every bite feels like pure joy.
Ingredients You’ll Need
Gathering your ingredients is half the fun—each one plays a key role in crafting the ultimate fruit tart. Simple pantry staples and seasonal fruit come together to create a dessert that’s bursting with taste, color, and freshness.
- All-purpose flour (1 1/4 cups): Provides the perfect structure and tenderness for the tart crust.
- Powdered sugar (1/2 cup): Adds a touch of sweetness and makes the crust delightfully soft.
- Salt (1/4 teaspoon): Just enough to highlight and balance all the flavors.
- Unsalted butter (1/2 cup, cold and cut into cubes): Ensures a flaky crust with a melt-in-your-mouth texture.
- Large egg yolk (1): Enriches the dough and helps bind it together for a tender bite.
- Ice water (2 tablespoons): Keeps the butter cold, crucial for a perfect, crumbly tart shell.
- Cream cheese (8 oz, softened): Lends richness and tang to the creamy, dreamy filling.
- Granulated sugar (1/4 cup): Sweetens the filling just enough without overpowering the fresh fruit.
- Vanilla extract (1/2 teaspoon): Brings warmth and depth to the filling’s flavor.
- Lemon zest (1/2 teaspoon): Adds a whisper of brightness that loves to mingle with the fruit.
- Heavy cream (1/2 cup): Lightens and fluffs up the filling for that luscious, cloud-like texture.
- Mixed fresh fruit (2 cups, such as strawberries, blueberries, kiwi, raspberries, or mandarin oranges): The star of the show—choose your favorites for bursts of color and excitement.
- Apricot jam (1/4 cup): Melts into a shiny glaze that makes the tart look straight out of a bakery window.
- Water (1 tablespoon): Loosens the glaze to the perfect brushing consistency.
How to Make Fruit Tart Recipe
Step 1: Make and Bake the Tart Shell
Set your oven to 375°F to preheat. In a food processor, pulse together the flour, powdered sugar, and salt. Add the cold cubes of butter and pulse again until your mixture starts to look like coarse crumbs—almost like damp sand with tiny pebbles. Drop in the egg yolk and ice water, and pulse just until the dough begins to clump together. Press this dough gently and evenly into a 9-inch tart pan with a removable bottom, making sure to push it up the sides. Prick the base with a fork a few times (this prevents bubbles), then refrigerate the shell for 20 minutes to chill. Once set, bake for 18–22 minutes until it’s delicately golden. Let it cool completely before filling.
Step 2: Prepare the Creamy Filling
While the tart shell cools, beat the softened cream cheese with granulated sugar, vanilla extract, and lemon zest until smooth and creamy—you want no lumps here! In a separate bowl, whip the heavy cream to stiff peaks for that signature fluffy texture, then gently fold it into the cream cheese mixture. This merging creates a light, airy filling that will sit perfectly in your tart.
Step 3: Assemble with Fresh Fruit
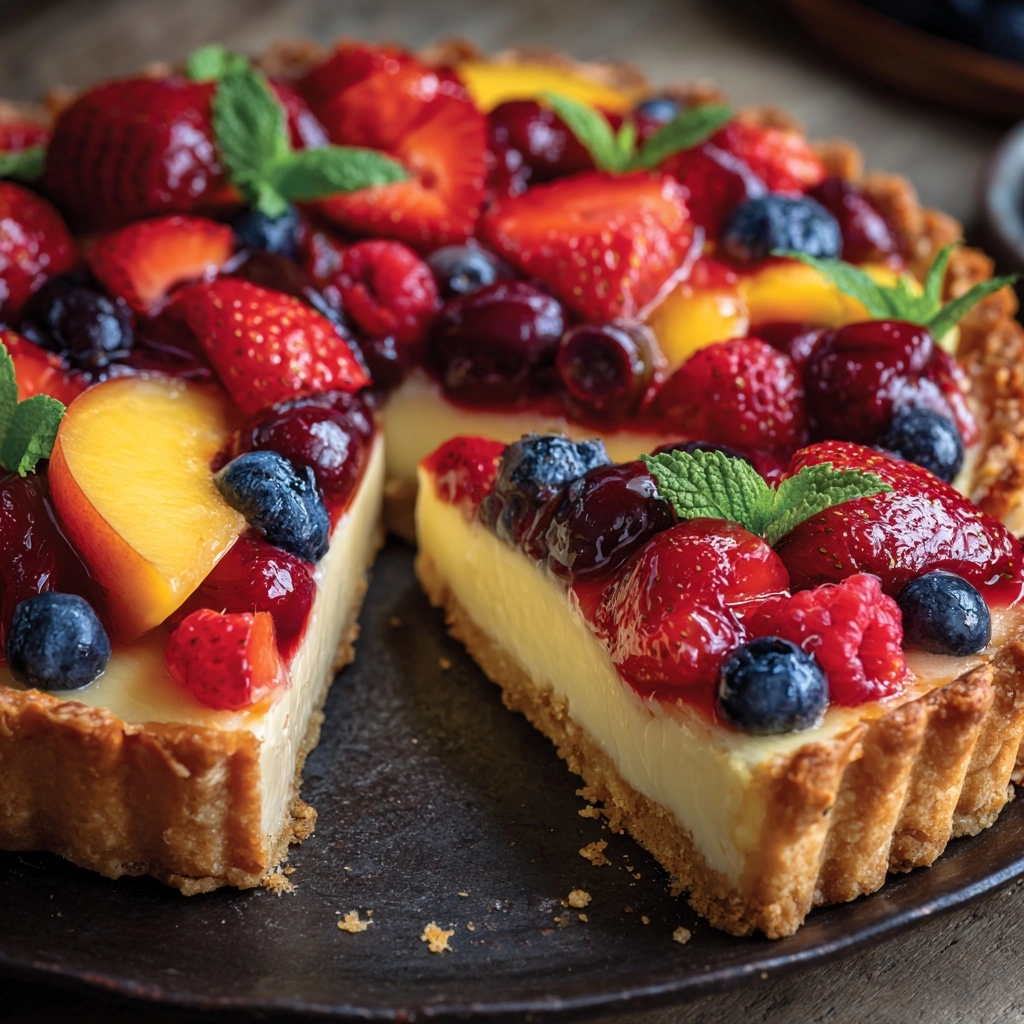
Once your tart shell is completely cool, spread the cream cheese filling evenly over the base. Here’s where you can let your creativity fly! Arrange sliced strawberries, plump blueberries, vibrant kiwi, juicy raspberries, or mandarin segments in any decorative pattern you like. Overlapping rings, stripes, or freestyle—they all look (and taste) wonderful.
Step 4: Make the Apricot Glaze
In a small saucepan over low heat, gently warm the apricot jam with the water until it becomes smooth and runny. Remove from the heat and, using a pastry brush, lightly brush the glaze over your fruit topping. This not only adds a stunning sheen but also helps keep your fruit fresh and vibrant.
Step 5: Chill and Serve
Place the finished fruit tart in the refrigerator and let it chill for at least one hour. This allows the filling to set and the flavors to meld. When ready to serve, remove the tart from the pan, slice, and enjoy each gorgeous piece!
How to Serve Fruit Tart Recipe

Garnishes
Enhance your Fruit Tart Recipe with a sprinkle of finely chopped pistachios or a delicate dusting of powdered sugar for extra elegance. Mint leaves add a pop of green and a hint of refreshing flavor. For a playful touch, a few edible flowers can transform your tart into an edible bouquet!
Side Dishes
Let the tart shine by pairing it with simple sides like a dollop of whipped cream, a scoop of vanilla bean ice cream, or a light fruit sorbet. These accompaniments balance the tartness and add extra decadence without stealing the spotlight.
Creative Ways to Present
Instead of one large tart, use mini tart pans for individual servings—perfect for parties or picnics. Or, slice the Fruit Tart Recipe into delicate wedges, and serve alongside a small glass of sparkling wine or fruity iced tea for a sophisticated twist. You can even try making tartlets in mason jar lids for a trendy, portable treat!
Make Ahead and Storage
Storing Leftovers
Store any leftover Fruit Tart Recipe covered in the refrigerator. It will stay fresh for up to 2 days, though the fruit is at its prettiest on day one. Cover lightly with plastic wrap or place it in an airtight container to keep the filling smooth and the crust crisp.
Freezing
While the tart crust and cream cheese filling freeze well separately, it’s best not to freeze the assembled tart with fresh fruit, as the fruit can become watery upon thawing. If you’d like, freeze the pre-baked tart shell and filling, then thaw and top with fresh fruit just before serving for best results.
Reheating
This Fruit Tart Recipe is meant to be served chilled, so there’s no need to reheat. If your crust feels a bit firm straight from the fridge, let your slice sit at room temperature for 10 minutes before enjoying—that way, every bite is creamy, dreamy perfection.
FAQs
Can I use a different type Dessert
Absolutely! The Fruit Tart Recipe is endlessly customizable. Choose your favorites—just be sure to dry off any extra-juicy fruits first to keep the crust crisp and the filling picture-perfect.
Do I need a tart pan with a removable bottom?
It’s highly recommended for easy, beautiful presentation, but you can use a standard pie pan in a pinch. Just be gentle when serving—the removable bottom ensures clean slices and keeps the crust intact.
Is it possible to make this recipe gluten-free?
You bet! Swap the all-purpose flour for your favorite gluten-free blend. Look for one that is a cup-for-cup substitute to keep the crust texture as close to classic as possible.
Can the tart be made ahead of time?
Yes! Prepare the crust and filling a day in advance. Wait to add the fruit and glaze until just before serving, so everything stays crisp, colorful, and fresh.
What if I don’t have a food processor for the crust?
No worries—just use a pastry blender or even your fingertips to work the butter into the dry ingredients until it looks like coarse crumbs. It might take an extra minute, but you’ll still get that signature flaky crust in your Fruit Tart Recipe.
Final Thoughts
Give this Fruit Tart Recipe a try, and don’t be surprised if it becomes your new go-to for dessert gatherings or just because. There’s truly something magical about the combination of sweet fruit, silky filling, and a perfectly golden crust. So gather your favorite fruits and treat yourself—and everyone lucky enough to share a slice!