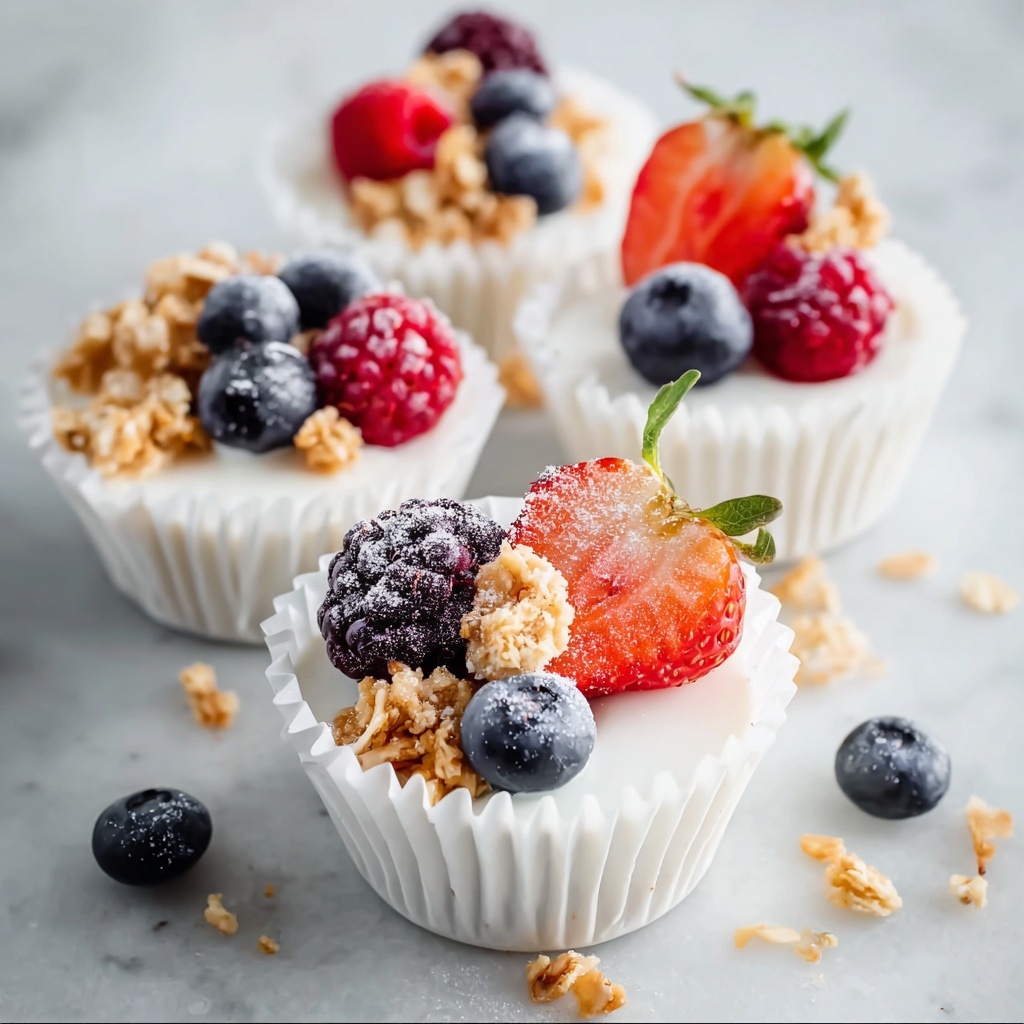
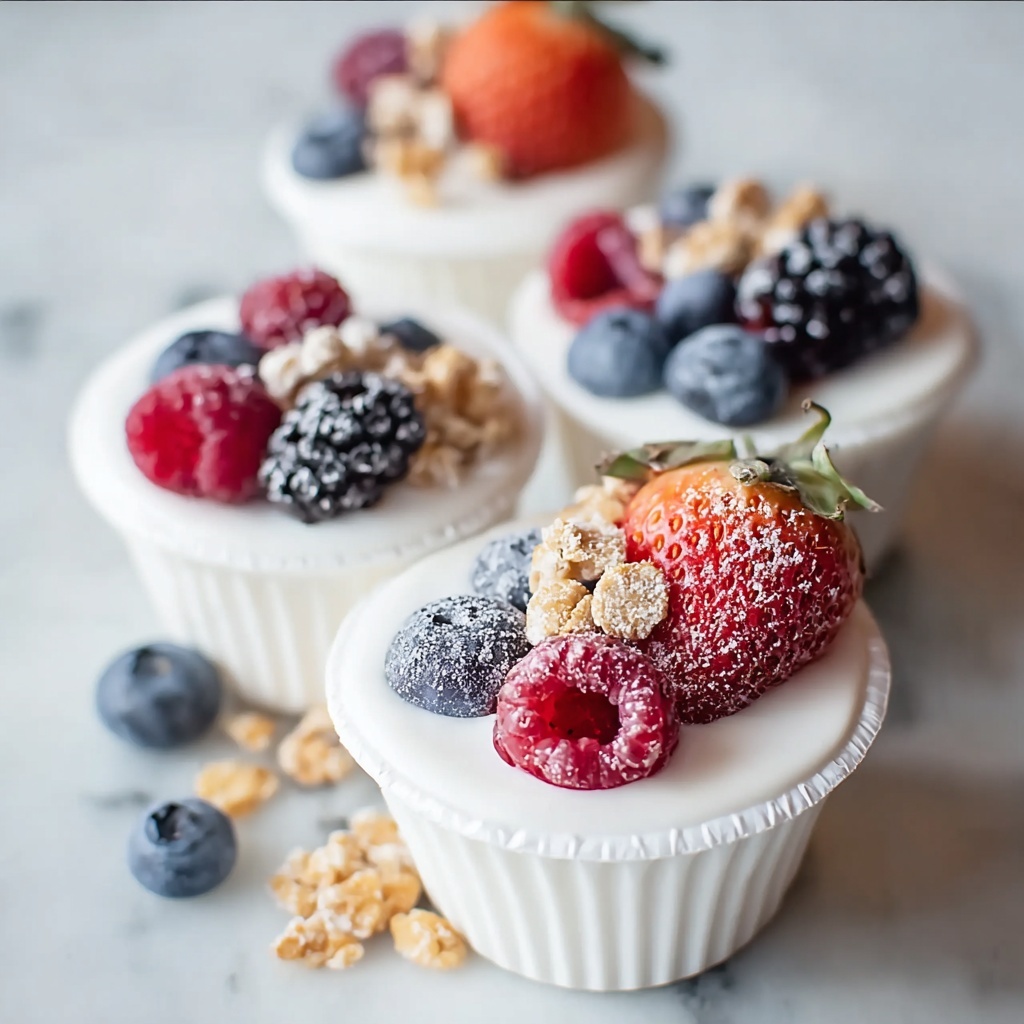
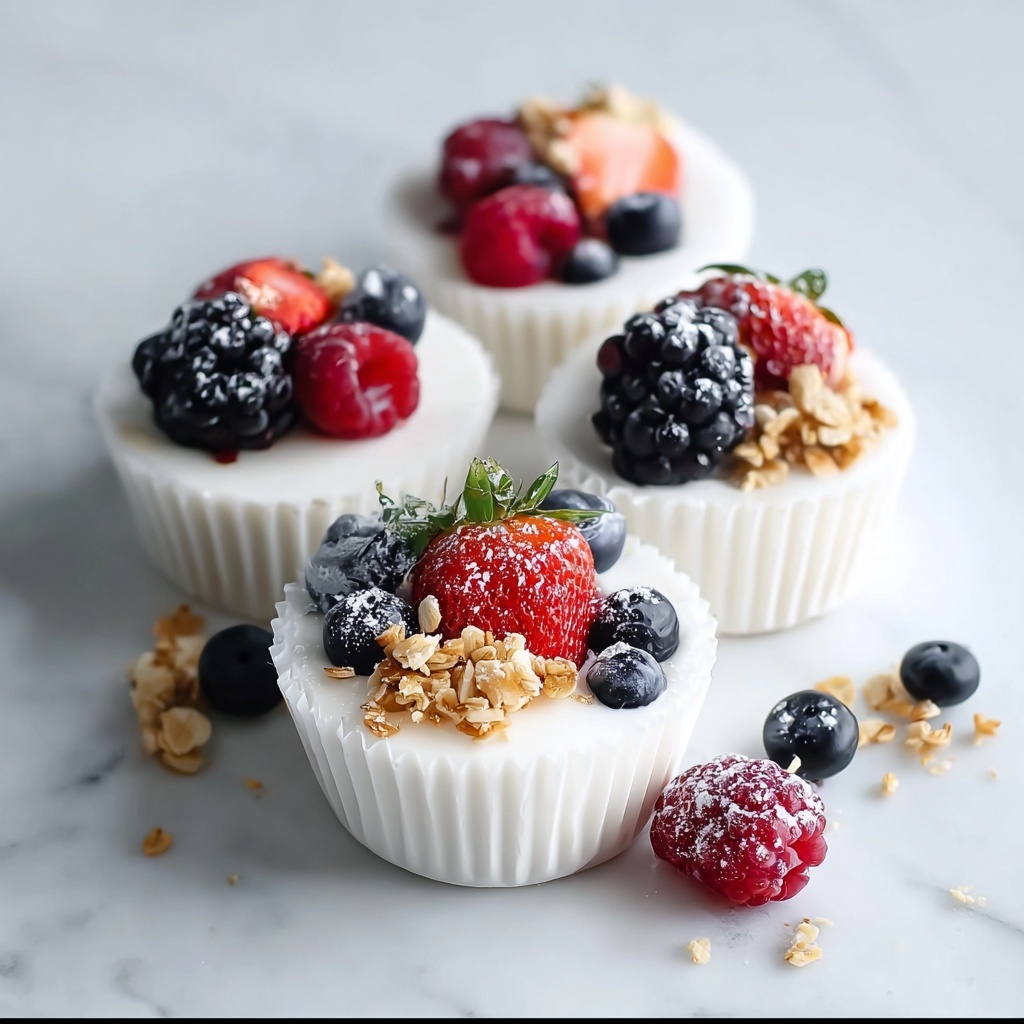
If you are on the hunt for a refreshing yet wholesome treat, the Frozen Yogurt Granola Cups Recipe fits perfectly into that craving. Imagine crunchy, cinnamon-spiced granola forming a crisp cup, filled with creamy Greek yogurt and topped with vibrant, fresh berries. This delightful combination offers a harmonious balance of textures and flavors that make every bite a little celebration. Easy to prepare and wonderfully satisfying, it’s a recipe you’ll want to keep handy for breakfasts, snacks, or even a light dessert that feels indulgent but stays healthy.
Ingredients You’ll Need
Gathering just a handful of simple, wholesome ingredients brings this Frozen Yogurt Granola Cups Recipe to life. Each component is crucial, adding layers of taste, texture, and visual appeal that make these cups irresistible.
- Oats: The hearty foundation that gives the granola its satisfying crunch.
- Cinnamon: This warm spice adds a subtle depth and cozy aroma.
- Almond Butter: Acts as the natural binder, providing creaminess and healthy fats.
- Honey: Brings just the right amount of natural sweetness and moisture.
- Vanilla Extract: Lifts the flavors with a sweet, fragrant note.
- Greek Yogurt: The creamy, tangy filling that contrasts beautifully with the crunchy cups.
- Fresh Berries: Vibrant and juicy, they add color and a pop of freshness.
How to Make Frozen Yogurt Granola Cups Recipe
Step 1: Prepare the Granola Dough
Begin by mixing the oats, cinnamon, almond butter, honey, and vanilla extract in a bowl. Stir everything together until it forms a sticky dough. If the mixture feels too dry to come together, add a little more almond butter and honey. This sticky dough is the magic that holds your granola cups together.
Step 2: Form the Granola Cups
Line your muffin pan with liners to make removal effortless later on. Spoon a portion of the granola mixture into each muffin cup, pressing it down firmly with your fingers. This step creates a sturdy base so your cups hold their shape when frozen—take your time to ensure a compact layer.
Step 3: Add the Yogurt and Toppings
Now spoon a generous amount of Greek yogurt into each granola base. Top with fresh berries for a juicy burst of flavor and scatter any remaining granola dough on top to add extra crunch and texture with each bite. This layering creates a delightful contrast between creamy and crunchy that’s just dreamy.
Step 4: Freeze to Set
Place your filled muffin pan in the freezer for at least four hours. This allows the yogurt to firm up, and the granola cups to hold their shape perfectly. Patience here pays off with a treat that’s as sturdy as it is delicious.
Step 5: Serve and Enjoy
Once set, remove the cups from the freezer and let them soften for a couple of minutes. This brief thaw makes them perfectly creamy and easy to eat without melting too fast. Then dive in and savor the dynamic flavors and textures of these frozen delights.
How to Serve Frozen Yogurt Granola Cups Recipe
Garnishes
Fresh berries are classic, but feel free to experiment with sliced almonds, a drizzle of honey, or even a sprinkle of chia seeds. These little touches enhance the texture and add visual appeal, making your frozen yogurt granola cups even more inviting.
Side Dishes
This treat works beautifully alongside light and fresh options like a simple fruit salad or a tall glass of iced herbal tea. The coolness and crunch of the Frozen Yogurt Granola Cups Recipe complement summery, refreshing sides perfectly.
Creative Ways to Present
Serve the granola cups in colorful muffin liners or place them on a decorative platter surrounded by whole fruits and herbs. You can also layer them in clear mini jars for an elegant, portable option. Presentation can turn this simple recipe into a party showstopper!
Make Ahead and Storage
Storing Leftovers
If you have extras, keep your frozen yogurt granola cups in an airtight container in the freezer. Properly stored, they maintain their texture and flavor beautifully for up to a week, ready whenever you need a quick, healthy snack.
Freezing
This recipe shines thanks to freezing, which sets the yogurt and hardens the granola cups for that perfect crunch. You can prep the entire batch ahead of time and freeze them for easy access to a nutritious treat whenever the craving strikes.
Reheating
Reheating isn’t necessary or recommended for these cups since their charm is in being cold and refreshing. Instead, simply let the granola cups thaw at room temperature for a few minutes before enjoying.
FAQs
Can I use regular yogurt instead of Greek yogurt?
While Greek yogurt provides a thicker and creamier texture that holds up well in this recipe, you can use regular yogurt, but expect a softer filling. For best results, consider straining regular yogurt to thicken it before using.
What other toppings can I use besides berries?
Feel free to mix it up with chopped nuts, coconut flakes, or even small pieces of dark chocolate. The Frozen Yogurt Granola Cups Recipe is very flexible, so your toppings can reflect whatever flavors you love.
Is almond butter necessary, or can I substitute it?
Almond butter helps bind the granola base and adds richness, but you can substitute it with other nut butters such as peanut or cashew. Just keep an eye on texture and adjust amounts if needed for stickiness.
How long can I keep these granola cups frozen?
You can keep them frozen in an airtight container for up to one week. Beyond that, texture and flavor might start to degrade, so for the freshest experience, consume within that timeframe.
Can I make the granola base ahead of time?
Yes, you can prepare the granola dough a day ahead and store it in the refrigerator. When ready, press it into muffin cups and proceed with the recipe as usual. This makes the process even quicker on the day you want to enjoy them.
Final Thoughts
These Frozen Yogurt Granola Cups Recipe truly feels like a little indulgence wrapped in wholesome goodness. Whether you’re serving them for breakfast, a snack, or a cool dessert, they bring joy with every bite. I encourage you to try this recipe soon and watch as it quickly becomes a favorite in your kitchen and beyond.