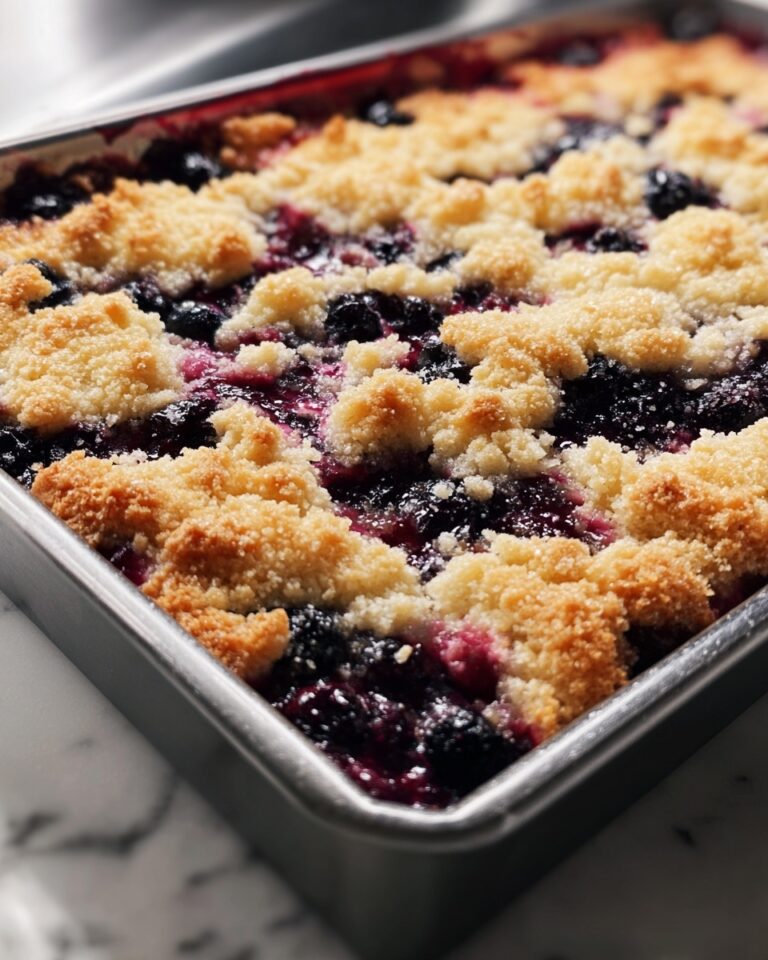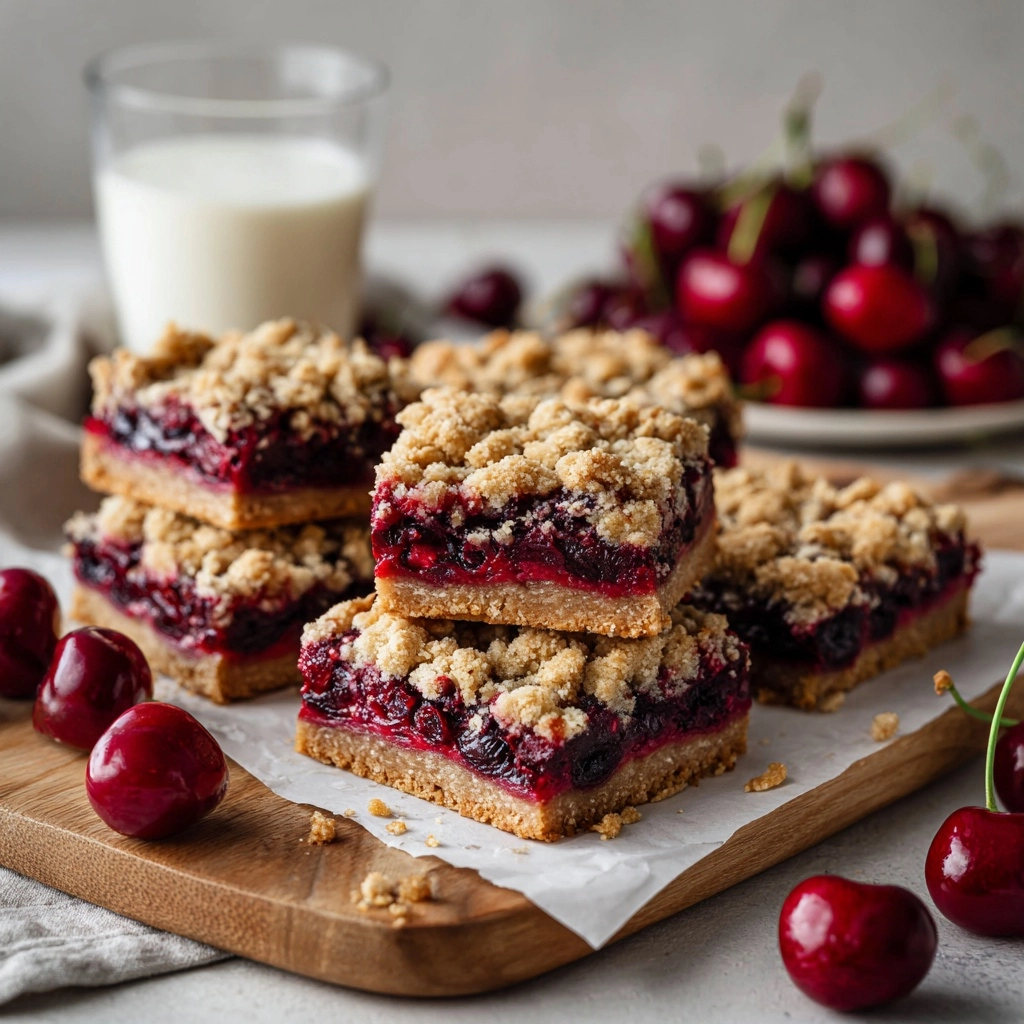
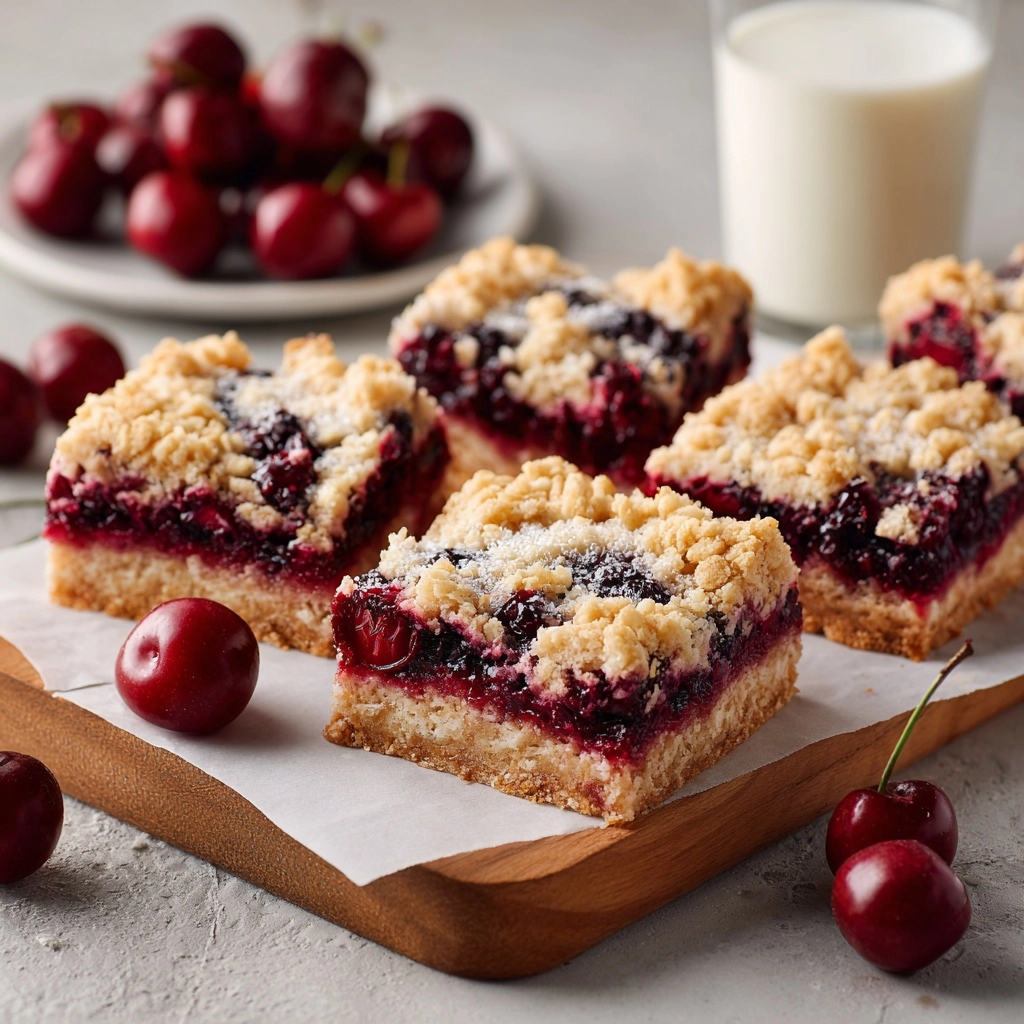
If you’re looking for the ultimate way to showcase juicy cherries in a dreamy, buttery treat, these Cherry Crumble Bars are about to become your go-to recipe. Imagine golden oat crumble hugging a sweet-tart cherry filling, all in an easy-to-slice bar form—perfect for picnics, potlucks, or just a cozy afternoon at home. Whether cherries are in peak season or you’re dipping into your stash of frozen fruit, these bars deliver that unbeatable homemade taste, making them a standout dessert you’ll want to share (or not!) all year round.
Ingredients You’ll Need
The beauty of Cherry Crumble Bars is in their simplicity—every ingredient plays a key role in building flavor, texture, and eye-catching color. Here’s a look at what you’ll need, plus a few quick tips for baking success!
- All-purpose flour: The backbone of the bars, providing structure and helping the crumble hold together just right.
- Old-fashioned rolled oats: These add heartiness and a rustic chew that makes the topping irresistible.
- Light brown sugar (packed): For just the right amount of sweetness and a touch of caramel flavor in every bite.
- Baking soda: A little goes a long way to help keep the bars tender instead of dense.
- Salt: Enhances every flavor and keeps the sweetness in check—don’t skip it!
- Unsalted butter (melted): Melted butter brings moisture and that classic, rich taste—plus, it binds the crumble perfectly.
- Vanilla extract: Just a splash deepens the overall flavor and adds a cozy aroma.
- Fresh or frozen pitted cherries (halved): The absolute star of the show; use them straight from the freezer for total convenience.
- Granulated sugar: Balances the natural tartness of cherries and helps make a glossy filling.
- Cornstarch: The secret to a luscious, not-runny cherry layer that cuts neatly every time.
- Lemon juice: Brightens up the filling and makes the cherry flavor sing.
How to Make Cherry Crumble Bars
Step 1: Prep the Oven and Pan
Start by preheating your oven to 350°F (175°C). Line an 8×8-inch baking pan with parchment paper, letting a bit hang over the sides for easy lifting later. This step guarantees minimal sticking and those beautifully intact bars when it’s time to slice.
Step 2: Make the Oat Crumble Mixture
In a large bowl, mix together the all-purpose flour, rolled oats, light brown sugar, baking soda, and salt. Stir in the melted butter and vanilla extract until the mixture forms coarse, sandy crumbs—the kind you’ll want to snack on before the bars even bake! This mix does double-duty as both the crust and the topping, so every bite gets that crumbly goodness.
Step 3: Press in the Crust
Scoop about two-thirds of the crumble mixture into your prepared pan. Press it down firmly and evenly to build a sturdy base for your Cherry Crumble Bars. Using the bottom of a measuring cup can help smooth things out for a tightly-packed crust that holds its shape.
Step 4: Mix the Cherry Filling
In a separate bowl, toss the halved cherries with granulated sugar, cornstarch, and lemon juice. Give them a gentle stir so every piece is coated. The sugar brings out the natural juices, the cornstarch thickens things up during baking, and the lemon juice wakes up all the flavors.
Step 5: Layer and Top with Crumble
Spread your cherry mixture evenly over the crust—pile everything in, juices and all. Then, take the remaining oat crumble and scatter it generously over the top. Don’t worry if some cherries peek through; those bubbling bits will only make your bars look more inviting.
Step 6: Bake to Perfection
Pop the pan into your preheated oven and bake for 35 to 40 minutes. You’re looking for a golden-brown topping and cherry filling bubbling up around the edges. Those visual cues mean the bars are ready—resist the urge to dig in right away!
Step 7: Cool and Slice
Patience pays off here. Let the bars cool completely in the pan on a wire rack. This lets the filling set up fully, so every slice holds together with that picture-perfect cherry layer sandwiched between crumbly, buttery oats. Once cool, use the parchment to lift the whole slab out and slice into neat bars.
How to Serve Cherry Crumble Bars

Garnishes
For a little flourish, dust your Cherry Crumble Bars with powdered sugar just before serving or add a dollop of freshly whipped cream. A scoop of vanilla ice cream on the side turns these into an all-out summer dessert celebration.
Side Dishes
If you’re serving these at a picnic or brunch, pair them with fresh fruit salad or a crisp green salad to balance the sweetness. They also make a delightful match for a cup of strong coffee or a glass of cold milk.
Creative Ways to Present
Cut Cherry Crumble Bars into bite-sized squares and stack them on a pretty plate for a rustic dessert board. Or wrap individual bars in parchment and string for the cutest, grab-and-go party favors at your next gathering.
Make Ahead and Storage
Storing Leftovers
To keep your Cherry Crumble Bars fresh, store them in an airtight container in the refrigerator. They’ll stay deliciously moist for up to five days, making them a perfect make-ahead treat for busy weeks or unexpected guests.
Freezing
The bars freeze beautifully! Place them in a single layer in an airtight container or zip-top bag, separating layers with parchment paper. They’ll last for up to three months in the freezer. Let them thaw in the fridge for a few hours before serving.
Reheating
If you like your bars a little warm, reheat individual slices in the microwave for 10 to 15 seconds or pop them in a 300°F (150°C) oven for a few minutes. This gives the crumble a just-baked feel and makes the filling extra juicy.
FAQs
Can I use other fruits in Cherry Crumble Bars?
Absolutely! While cherries are the star here, feel free to swap in blueberries, raspberries, or even a mix for a fun twist. Just keep the total fruit amount the same and follow the recipe as written.
Do I need to thaw frozen cherries first?
No need to thaw—frozen cherries can be used straight from the freezer. Toss them with sugar, cornstarch, and lemon juice as you would with fresh cherries, and the bars will bake up beautifully juicy.
How do I keep the bars from getting soggy?
The cornstarch in the filling helps thicken the cherry juices and prevents sogginess. Also, make sure to let the bars cool completely so the filling can set for neat, clean slices every time.
Can Cherry Crumble Bars be made gluten free?
Definitely! Simply swap the all-purpose flour for your favorite one-to-one gluten-free baking blend and double check that your oats are certified gluten free. The results are still deliciously crumbly and satisfying.
What’s the best way to cut neat squares?
For picture-perfect bars, let them cool completely, then use a sharp knife to cut. Wiping the blade between cuts helps keep the edges clean, especially if your cherries are particularly juicy.
Final Thoughts
It’s amazing how something as simple as Cherry Crumble Bars can conjure up comfort, nostalgia, and pure delight with every bite. If you’re craving an easy, crowd-pleasing dessert, don’t miss out—give this recipe a try, and get ready to fall in love with your new favorite fruity treat!