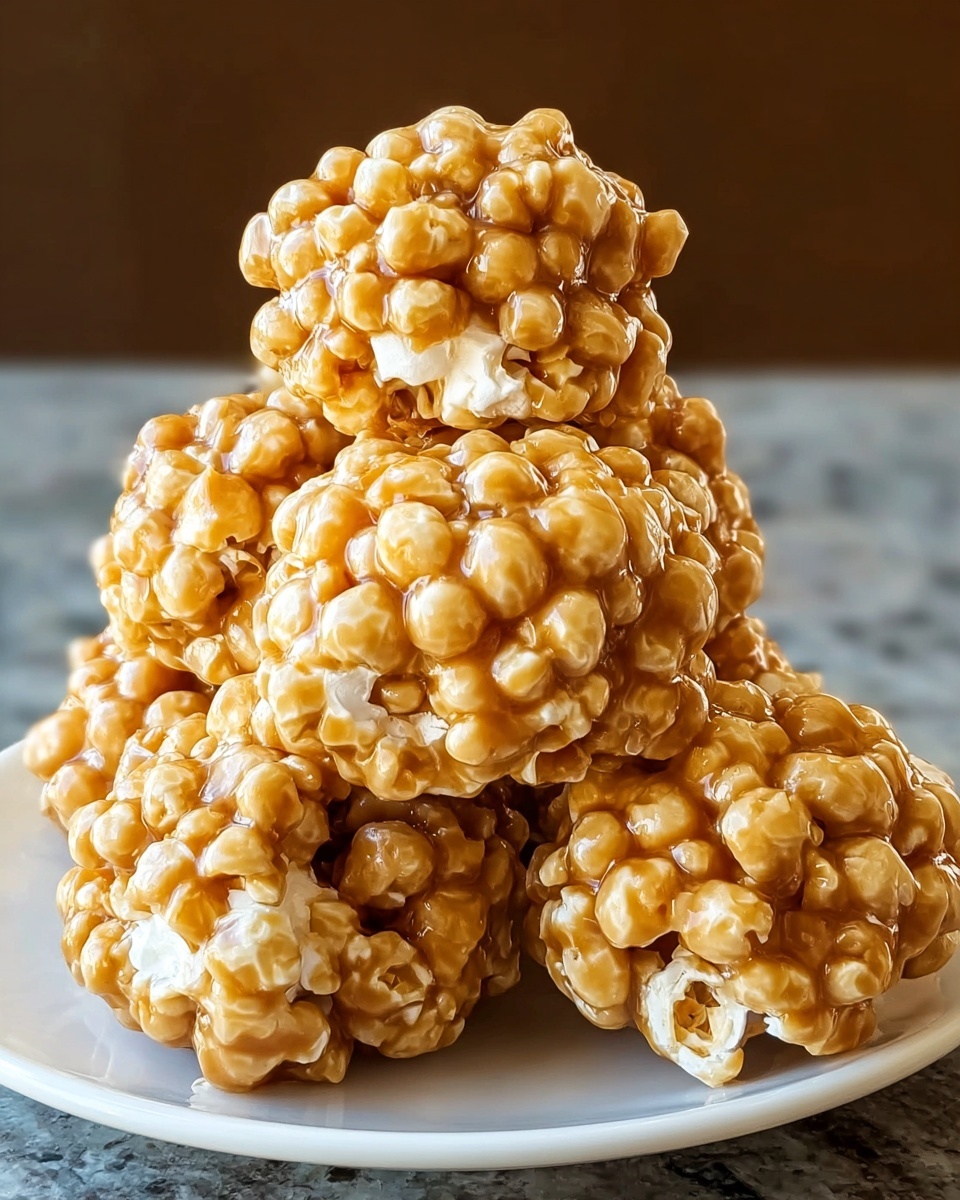
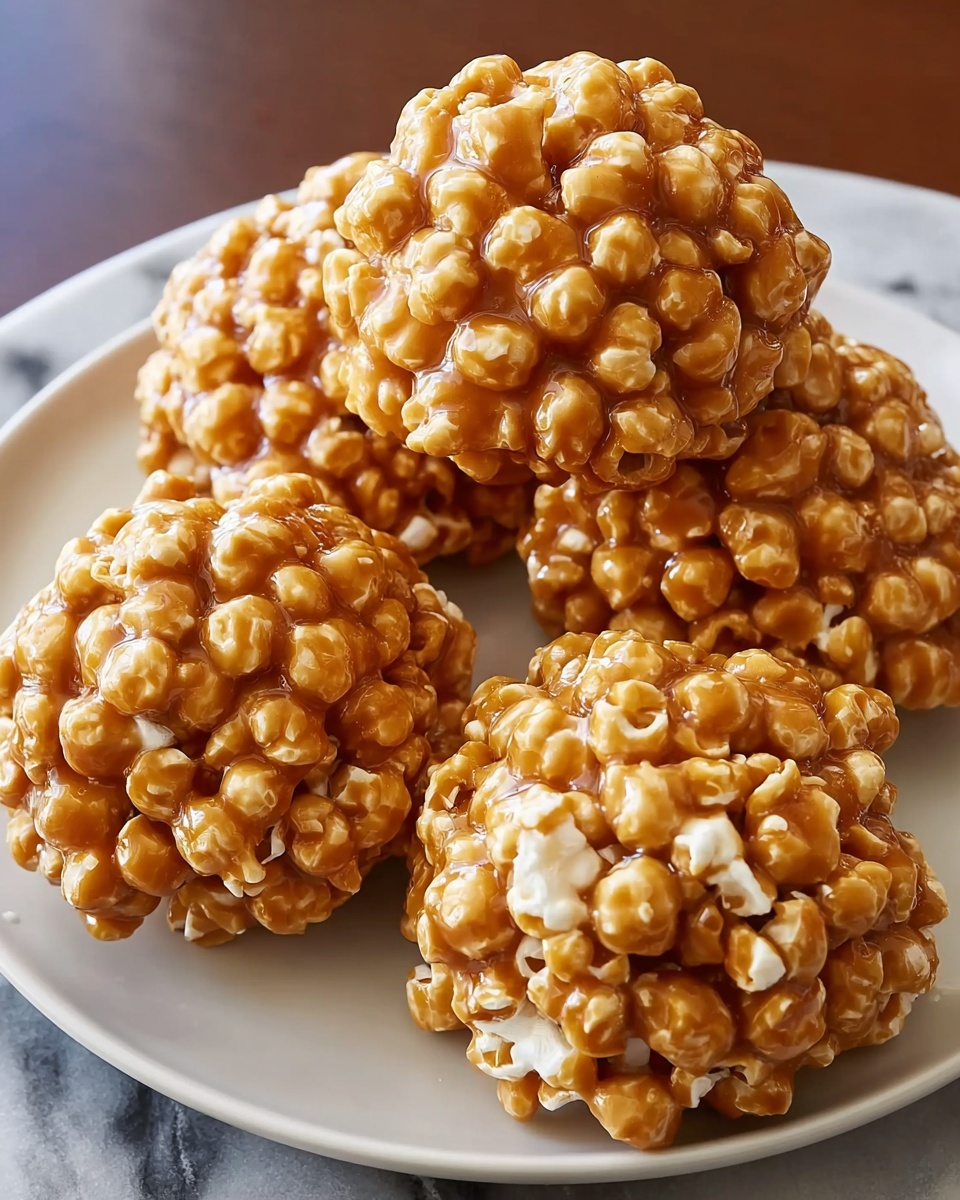
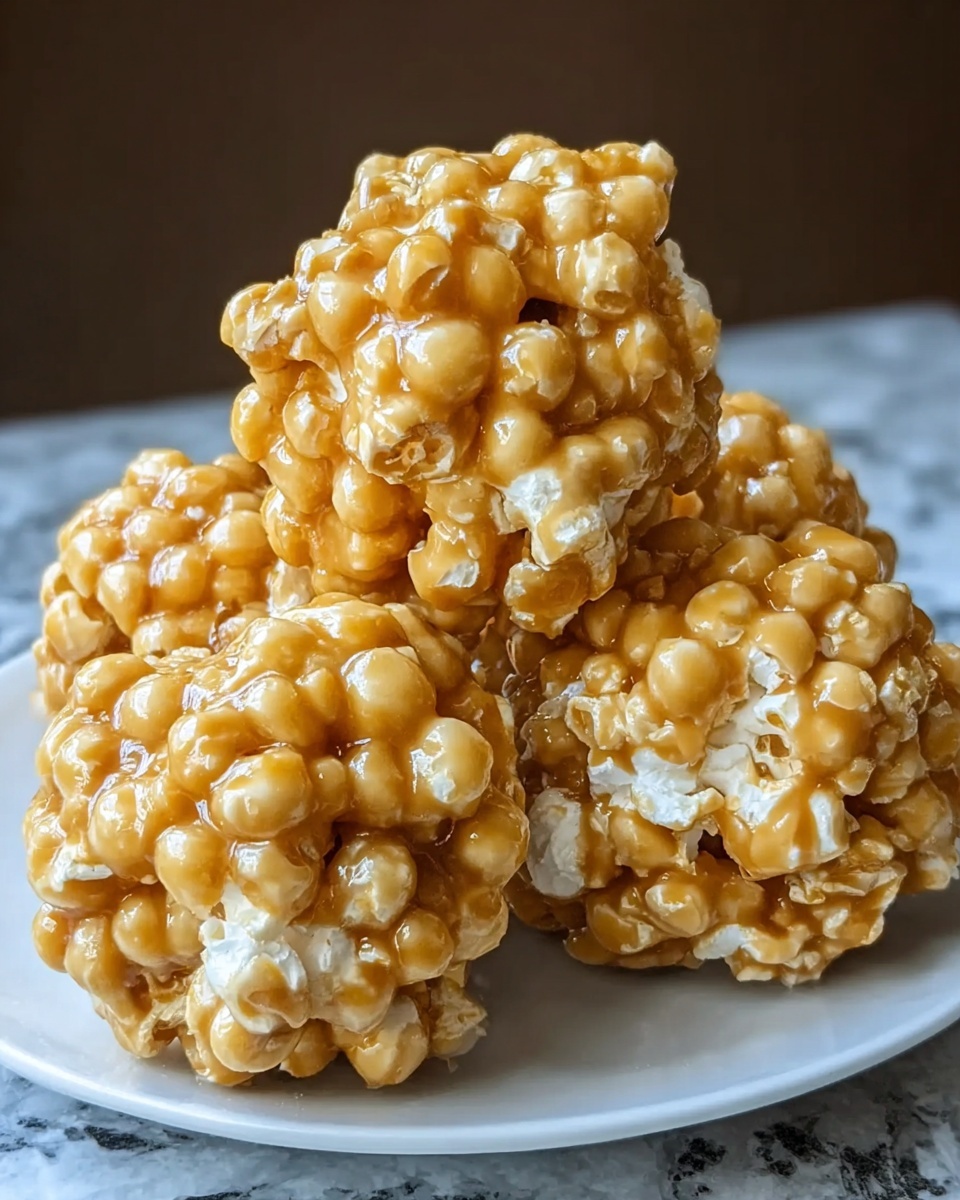
If you are looking for a sweet, crunchy treat that’s simple to make and irresistibly delicious, you have to try this Caramel Popcorn Balls Recipe. Imagine handfuls of popcorn coated in a glossy, buttery caramel that melts perfectly on your tongue while giving a satisfying crunch. These popcorn balls are perfect for parties, snack cravings, or gifting during the holidays. They bring together the perfect balance of sweetness and texture, making them a crowd-pleaser every time.
Ingredients You’ll Need
The beauty of this Caramel Popcorn Balls Recipe lies in its simplicity. With just a handful of everyday ingredients, each one plays an essential role in building the rich caramel flavor, the perfect crunch, and that wonderful golden color everyone loves.
- 10 cups popped popcorn: Using a light, airy popcorn like Skinny Pop ensures freshness and the perfect crunch.
- ½ cup unsalted butter: Melts into a rich base, lending a silky texture and buttery flavor.
- 1 cup light brown sugar, packed: Adds deep sweetness and a slight molasses note to your caramel.
- ¼ cup light corn syrup: Keeps the caramel smooth and prevents crystallization for that perfect coating.
- ½ teaspoon baking soda: Creates a light, foamy texture in the caramel, making the popcorn balls less dense.
- 1 teaspoon vanilla extract: Enhances flavor depth and adds a warm, fragrant finish.
- Pinch of salt: Balances the sweetness and intensifies the caramel’s flavor.
How to Make Caramel Popcorn Balls Recipe
Step 1: Get Ready
Start by preparing a large baking sheet with parchment paper or a light greasing. This will be where your caramel popcorn balls rest and set, so having it ready will keep things moving smoothly.
Step 2: Make the Caramel Base
In a medium saucepan over medium heat, melt the unsalted butter. Once it’s completely melted, stir in the packed light brown sugar, corn syrup, and a pinch of salt. Stir continuously until everything comes together and smooths out, setting the stage for that luscious caramel flavor.
Step 3: Boil the Caramel
Allow the mixture to come to a boil, then stop stirring. Let it cook for 4 to 5 minutes until the caramel develops that lovely light golden-brown hue. This step is crucial for creating that perfect chewy but not hard texture in your popcorn balls.
Step 4: Add Finishing Touches
Remove the pan from the heat promptly, then quickly stir in the baking soda and vanilla extract. The mixture will foam up, turning silky and airy, which is exactly what makes these caramel popcorn balls delightfully light.
Step 5: Coat the Popcorn
Pour the caramel mixture over your popped popcorn in a large bowl. Use a spatula or wooden spoon to gently and thoroughly coat every kernel. The goal is an even layer of that rich caramel goodness enveloping the fluffy popcorn.
Step 6: Shape the Popcorn Balls
Let the mixture cool for just a couple of minutes so it’s easier to handle. Grease your hands with butter or a little oil to prevent sticking, then shape the caramel-coated popcorn into balls about 3 inches in diameter. This part feels a bit like play, but trust me, it’s incredibly satisfying!
Step 7: Let Them Set
Place your popcorn balls on the prepared baking sheet and allow them to cool completely. This resting period helps the caramel harden just enough to hold its shape while staying chewy and delightful.
How to Serve Caramel Popcorn Balls Recipe
Garnishes
Sprinkle a little sea salt or finely chopped nuts over the popcorn balls just before they cool for an extra burst of flavor and texture. A drizzle of melted chocolate can also make these treats even more decadent and festive.
Side Dishes
Serve these caramel popcorn balls alongside a hot cup of cocoa or a chilled glass of milk for the perfect snack combo. Their sweet, buttery crunch pairs beautifully with beverages that either complement or contrast their flavor.
Creative Ways to Present
Wrap individual popcorn balls in clear cellophane tied with colorful ribbons for charming party favors or holiday gifts. You can also stack them in a decorative glass jar or arrange them on a platter with fresh fruit and nuts for a stunning snack table centerpiece.
Make Ahead and Storage
Storing Leftovers
Keep any leftover caramel popcorn balls in an airtight container at room temperature. They will stay fresh and chewy for up to a week, so you can enjoy this sweet treat anytime without hassle.
Freezing
If you want to stretch their shelf life, wrap each popcorn ball tightly in plastic wrap and place them in a freezer-safe bag. Frozen caramel popcorn balls can last up to a month and thaw quickly at room temperature when you’re ready to indulge.
Reheating
There’s no need to reheat caramel popcorn balls as they are perfect straight from storage. However, if you prefer a softer texture, a few seconds in the microwave can gently warm them up without melting the caramel too much.
FAQs
Can I use regular popcorn instead of Skinny Pop?
Absolutely! Any freshly popped popcorn will work great. Skinny Pop is just recommended for its lightness and lack of added flavors, but you can use your favorite brand or homemade popcorn as well.
Why is baking soda added to the caramel?
Baking soda reacts with the acidic ingredients in the caramel, creating tiny bubbles that lighten the texture. This is what stops the caramel from being too hard and makes the popcorn balls fun to bite into.
Can I make these popcorn balls gluten-free?
Yes! Popcorn is naturally gluten-free, but double-check your corn syrup and other ingredients to be sure they don’t contain gluten or have cross-contamination.
How long does it take for the popcorn balls to set?
It usually takes about 30 minutes at room temperature for the popcorn balls to cool and set properly. If you’re in a hurry, placing them in the fridge can speed up the process slightly.
Can I add other flavors or mix-ins?
Definitely! Feel free to toss in mini chocolate chips, nuts, or dried fruit once the popcorn is coated in caramel. These little additions can make your Caramel Popcorn Balls Recipe uniquely yours.
Final Thoughts
This Caramel Popcorn Balls Recipe is such a joyful treat to make and share. It brings together comforting flavors, fun textures, and a little nostalgic magic all in one bite. I hope you give this recipe a try and find it as delightful and easy as I do — your taste buds are going to thank you!