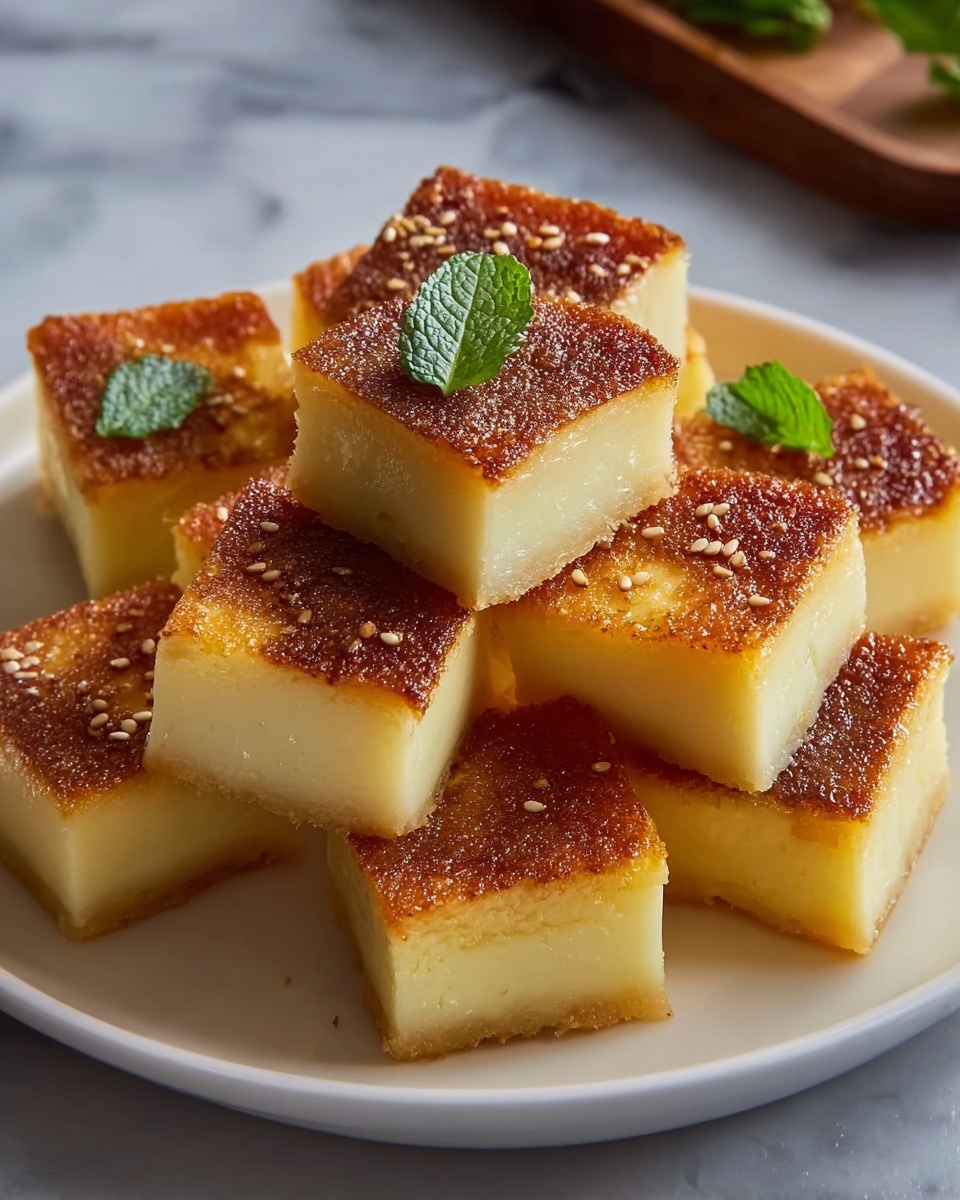
If you’ve ever craved a dessert that’s both chewy and buttery with just the right touch of coconut, then this Butter Mochi Recipe is going to become your new favorite. This Hawaiian classic brings together mochiko sweet rice flour and luscious butter in a perfect harmony that creates an irresistibly soft, slightly sticky, and oh-so-moist treat that melts in your mouth. Whether you’re sharing it at a family gathering or enjoying a quiet afternoon snack, Butter Mochi delivers warm, comforting flavors that will have you reaching for seconds without hesitation.
Ingredients You’ll Need
These ingredients are simple but each one plays a crucial role in building the perfect balance of texture and flavor in Butter Mochi. From the richness of butter to the creamy coconut milk, they come together to make a truly delightful dessert.
- Mochiko sweet rice flour (16 ounces): This gluten-free flour gives Butter Mochi its signature chewy texture that’s both tender and springy.
- Granulated sugar (1 1/2 cups): Adds the ideal level of sweetness without overpowering the subtle coconut notes.
- Baking powder (2 teaspoons): Helps the mochi rise slightly, giving it a light and airy bite.
- Salt (1/4 teaspoon): Just a pinch enhances all the flavors and balances the sweetness beautifully.
- Large eggs (4): Provide structure and richness, making the texture dense yet tender.
- Whole milk (2 cups): Adds creaminess and moisture for a smooth batter.
- Full-fat coconut milk (13.5 ounces): Infuses the dessert with that unmistakable tropical flavor and moisture.
- Unsalted butter (1/2 cup, melted): Brings a luscious buttery depth that elevates every bite.
- Vanilla extract (2 teaspoons): Rounds out the flavors with its warm, sweet aroma.
How to Make Butter Mochi Recipe
Step 1: Preheat and Prepare
Start by heating your oven to 350°F (175°C). While it’s warming up, lightly grease a 9×13-inch baking dish to ensure your Butter Mochi bakes up with a perfect golden crust and easy release from the pan.
Step 2: Combine Dry Ingredients
In a large mixing bowl, whisk together the mochiko sweet rice flour, granulated sugar, baking powder, and salt. This ensures that every pocket of batter benefits from a consistent rise and sweetness.
Step 3: Mix Wet Ingredients
In a separate bowl, whisk the large eggs thoroughly, then add the whole milk, coconut milk, melted butter, and vanilla extract. Blending these well helps the flavors marry beautifully and creates that luscious, creamy base for your mochi.
Step 4: Blend Wet and Dry
Pour the wet ingredients into the dry ingredients and whisk everything together until smooth and fully combined. You want a batter that is silky with no lumps, promising a tender and chewy texture when baked.
Step 5: Bake
Pour this wonderful batter into your prepared baking dish, spreading it out evenly. Bake for 55 to 60 minutes — wait until the top turns a gorgeous golden brown and a toothpick inserted in the center comes out clean. The aroma at this stage is simply mouthwatering.
Step 6: Cool and Slice
Once baked, allow the Butter Mochi to cool completely in the pan. This step is key for setting the texture so when you slice into it, you get those perfect squares that hold their shape but stay tender inside.
How to Serve Butter Mochi Recipe

Garnishes
While Butter Mochi is lovely on its own, sprinkling a little toasted shredded coconut or even a dusting of powdered sugar adds an inviting texture and visual appeal that’s sure to impress your guests.
Side Dishes
This dessert pairs delightfully well with a scoop of vanilla ice cream or a dollop of whipped cream, enhancing the creamy coconut notes and balancing the rich butter with a cool contrast.
Creative Ways to Present
For a fun twist, try layering Butter Mochi cubes in a parfait glass with fresh tropical fruits like mango or pineapple. It’s a playful way to elevate this Hawaiian classic for special occasions or summer gatherings.
Make Ahead and Storage
Storing Leftovers
If you find yourself with leftovers, no worries! Store Butter Mochi in an airtight container at room temperature for up to one day or pop it in the fridge where it will keep perfectly fresh for up to five days.
Freezing
Butter Mochi freezes well, too. Wrap individual squares tightly with plastic wrap and place them in a freezer-safe bag. They’ll stay delicious for up to two months — just make sure to thaw completely before reheating.
Reheating
To refresh your Butter Mochi, warm it in the microwave for 15 to 20 seconds or briefly in an oven at 300°F. This brings back its soft, chewy texture without drying it out.
FAQs
Can I use low-fat milk instead of whole milk?
While you can substitute low-fat milk, whole milk contributes to that rich, creamy texture critical to this Butter Mochi Recipe. Using low-fat milk might result in a slightly less tender mochi.
Is Butter Mochi gluten-free?
Yes! Since mochiko sweet rice flour is naturally gluten-free, this dessert is safe for those avoiding gluten. Just be sure all other ingredients haven’t been cross-contaminated.
Can I add shredded coconut to the recipe?
Absolutely! Adding shredded coconut to the batter introduces extra texture and enhances the tropical flavor, making your Butter Mochi even more delightful.
Why does my Butter Mochi come out sticky?
A slightly sticky texture is normal and actually one of the characteristics that makes Butter Mochi so unique. If it’s too sticky, try chilling it in the fridge before serving to firm it up.
Can I make the batter ahead of time?
It’s best to bake Butter Mochi batter fresh for optimal texture and flavor. However, if you must prepare in advance, keep the batter refrigerated and bake within a few hours for the best results.
Final Thoughts
Butter Mochi Recipe brings sunshine to your dessert table with its unique chewy texture, buttery richness, and tropical coconut notes. Once you try this recipe, it’s hard not to fall in love and keep making it again and again for friends and family. Dive into this Hawaiian delight—you’ll be so glad you did!