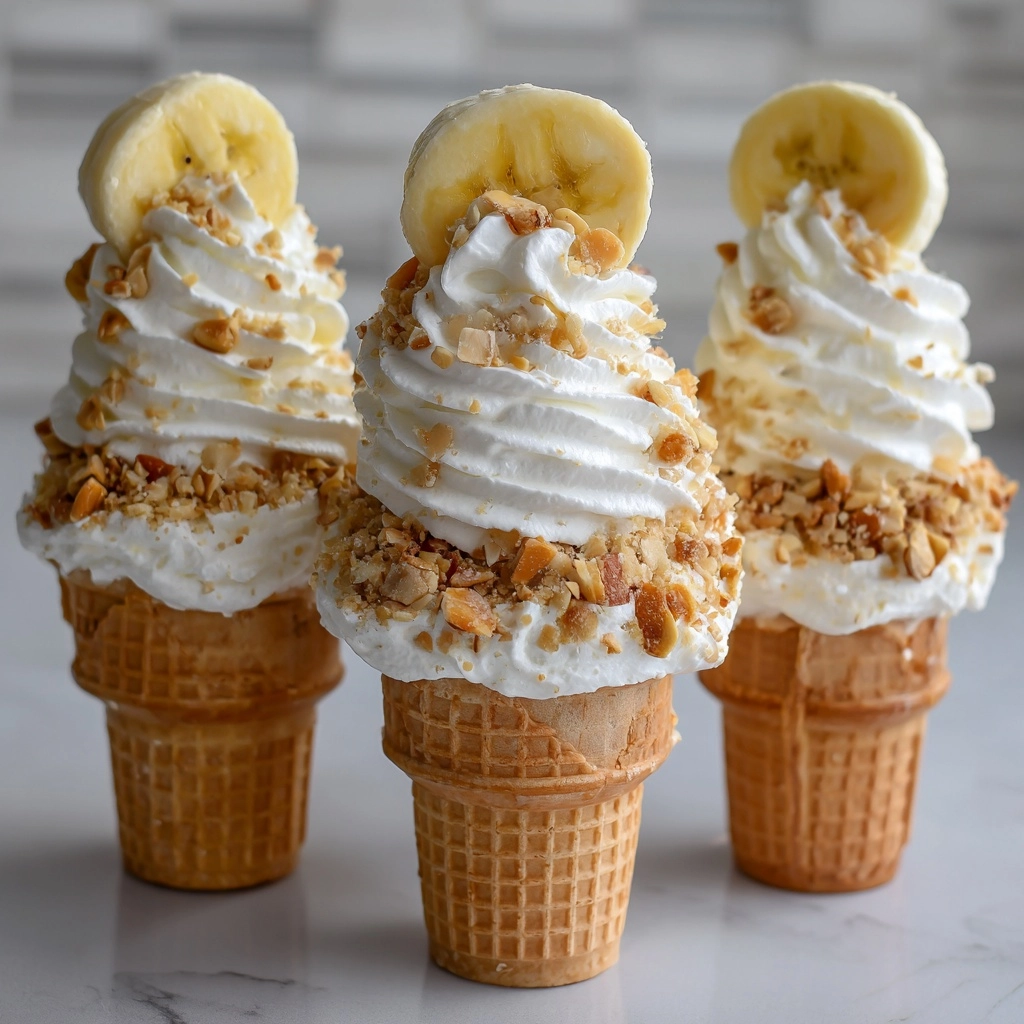
If you love the creamy richness of cheesecake mixed with the nostalgic, sweet comfort of banana pudding, you are going to adore this Banana Pudding Cheesecake Cones Recipe. This no-bake treat combines light, fluffy banana cheesecake filling with the satisfying crunch of waffle cones, creating a playful and indulgent dessert that’s perfect for warm days or anytime you want a fun twist on classic flavors. It’s easy to prepare, visually delightful, and sure to bring smiles with every bite.
Ingredients You’ll Need
These ingredients are simple, yet they each play an essential role in crafting the perfect balance of taste, texture, and color for the Banana Pudding Cheesecake Cones Recipe. From creamy cream cheese to crisp vanilla wafers, each component brings something special to this delightful dessert.
- Waffle cones: Provide a crispy, edible vessel to hold all the creamy goodness.
- Cream cheese (8 ounces, softened): The base of our cheesecake filling that adds richness and smoothness.
- Heavy whipping cream (1 cup): Whipped to stiff peaks for light and airy texture.
- Powdered sugar (½ cup): Adds sweetness and balances the tang of cream cheese.
- Vanilla extract (1 teaspoon): Brings warmth and depth to the filling.
- Instant banana pudding mix (3.4-ounce box): Gives the filling that unmistakable banana flavor and creamy texture.
- Cold milk (1 cup): Used to prepare the banana pudding mix for silkiness.
- Crushed vanilla wafers (1½ cups): Adds crunch and classic banana pudding flavor layers inside the cones.
- Banana (1, sliced): Fresh slices bring natural sweetness and freshness.
- Whipped cream and extra crushed wafers (optional): For topping and extra flair.
How to Make Banana Pudding Cheesecake Cones Recipe
Step 1: Prepare the Banana Pudding
Start by whisking together the instant banana pudding mix with cold milk in a medium bowl. Whisk for about two minutes until the mixture thickens into a silky, custard-like consistency. Set this aside, as it will soon be folded into your creamy cheesecake base and add that signature banana flavor you’re craving.
Step 2: Make the Cheesecake Filling
In a large bowl, beat the softened cream cheese until it’s completely smooth and lump-free. Then, add the powdered sugar and vanilla extract, mixing until everything is well combined. This blend is the rich, tangy heart of your dessert.
Step 3: Whip the Cream
In a separate bowl, beat the heavy whipping cream until stiff peaks form—that means when you lift your beaters, the cream holds its shape firmly. This whipped cream will lighten the filling, giving it a dreamy fluffy texture.
Step 4: Combine the Components
Gently fold the whipped cream into the cream cheese mixture until smooth and fluffy, taking care not to deflate those stiff peaks. Next, fold the prepared banana pudding into this mixture until fully incorporated. Now you have a luscious banana cheesecake filling ready to enjoy.
Step 5: Assemble the Cones
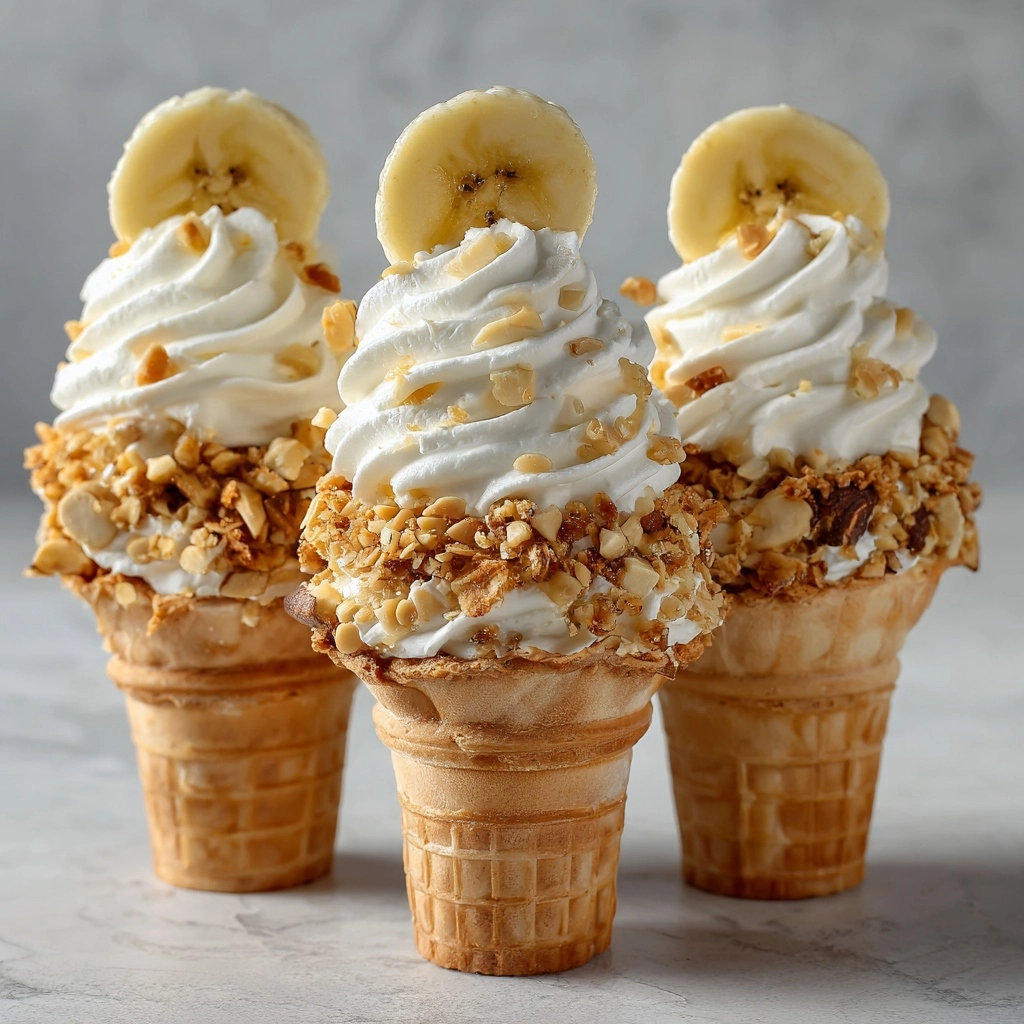
Start each waffle cone by spooning in a layer of crushed vanilla wafers at the bottom—it creates a crunchy surprise in every bite! Then, pipe or spoon in the banana cheesecake filling, layering it with more crushed wafers and banana slices if you like. Finish off with a swirl of whipped cream and a sprinkle of crushed wafers on top for that picture-perfect dessert. Serve immediately to keep the cone crisp, or chill briefly for a slightly firmer texture.
How to Serve Banana Pudding Cheesecake Cones Recipe
Garnishes
To elevate the Banana Pudding Cheesecake Cones Recipe, consider topping each cone with a dollop of whipped cream and an extra sprinkle of crushed vanilla wafers. Adding a thin banana slice or a drizzle of caramel sauce can also provide a stunning finishing touch that’s as tasty as it looks.
Side Dishes
These cones shine as a standalone dessert, but they also pair beautifully with a simple fresh fruit salad or a scoop of vanilla ice cream. Light, refreshing sides complement the creamy richness and keep the dessert experience balanced and enjoyable.
Creative Ways to Present
For a fun gathering, assemble the cones in a decorative stand or in a shallow box filled with rice or crushed cookies to keep them upright. You can even dip the rims of the waffle cones in melted white chocolate and roll them in extra crushed wafers before filling for a stunning, tasty border that will impress everyone at your table.
Make Ahead and Storage
Storing Leftovers
If you happen to have any leftover Banana Pudding Cheesecake Cones Recipe, store them in an airtight container in the refrigerator. For best texture, separate the filling from the cones if possible to avoid sogginess, and reassemble just before serving.
Freezing
This recipe freezes best as filling alone, not assembled in cones. Place the banana cheesecake filling in a freezer-safe container and freeze for up to one month. Thaw overnight in the fridge before serving, then fill fresh cones for the ultimate freshness.
Reheating
Since this is a chilled dessert, it’s best enjoyed cold. Bring any refrigerated leftovers to room temperature for 10-15 minutes if needed, but avoid heating as it will alter the texture and flavor of the filling.
FAQs
Can I use sugar instead of powdered sugar?
Powdered sugar dissolves more easily and helps keep the filling smooth and creamy. Using granulated sugar might result in a slightly grainy texture, so it’s best to stick with powdered sugar for this recipe.
Is it necessary to whip the heavy cream to stiff peaks?
Yes! Whipping the cream to stiff peaks ensures your filling is light and airy. If the cream is under-whipped, the cheesecake cones might be too dense and heavy.
Can I make this recipe dairy-free?
Dairy-free versions would require substitutes like vegan cream cheese and coconut whipped cream, but keep in mind the texture and flavor will be different. The classic Banana Pudding Cheesecake Cones Recipe really shines with traditional dairy ingredients.
How long before serving should I assemble the cones?
For the best crunchy texture of the waffle cones, assemble just before serving or chill the filling separately and fill the cones right before serving to avoid sogginess.
Can I add other fruits besides bananas?
Absolutely! Sliced strawberries or blueberries can complement the banana flavor beautifully, adding fresh bursts of sweetness and color to your cones.
Final Thoughts
There is something truly magical about the combination of creamy banana pudding and tangy cheesecake nestled inside a crunchy waffle cone. This Banana Pudding Cheesecake Cones Recipe is more than just a dessert—it’s a joyful experience that brings warmth and smiles. Whether you’re serving it for a special occasion or just treating yourself, these cones are easy to make and impossible not to love. Give it a try and watch everyone’s faces light up with delight!