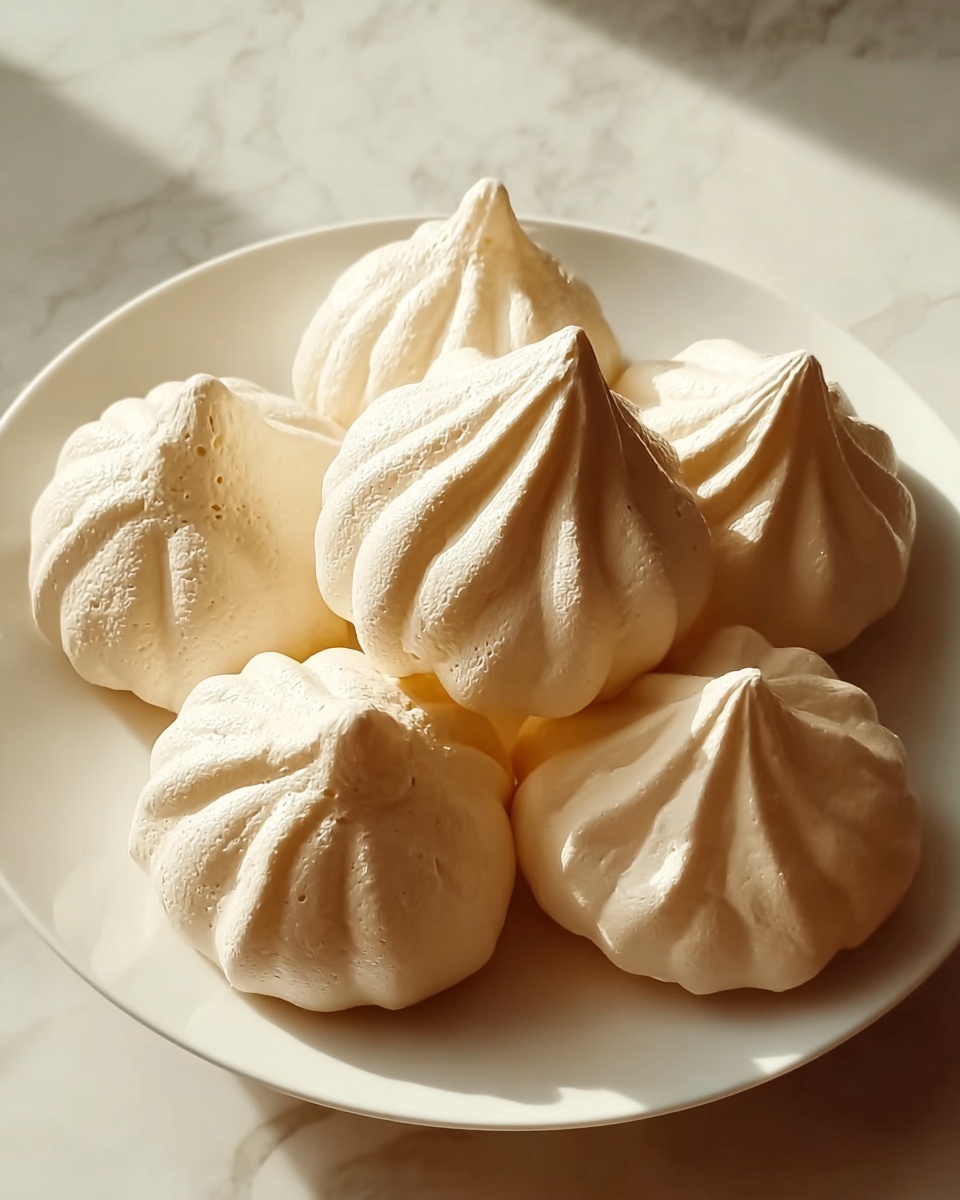
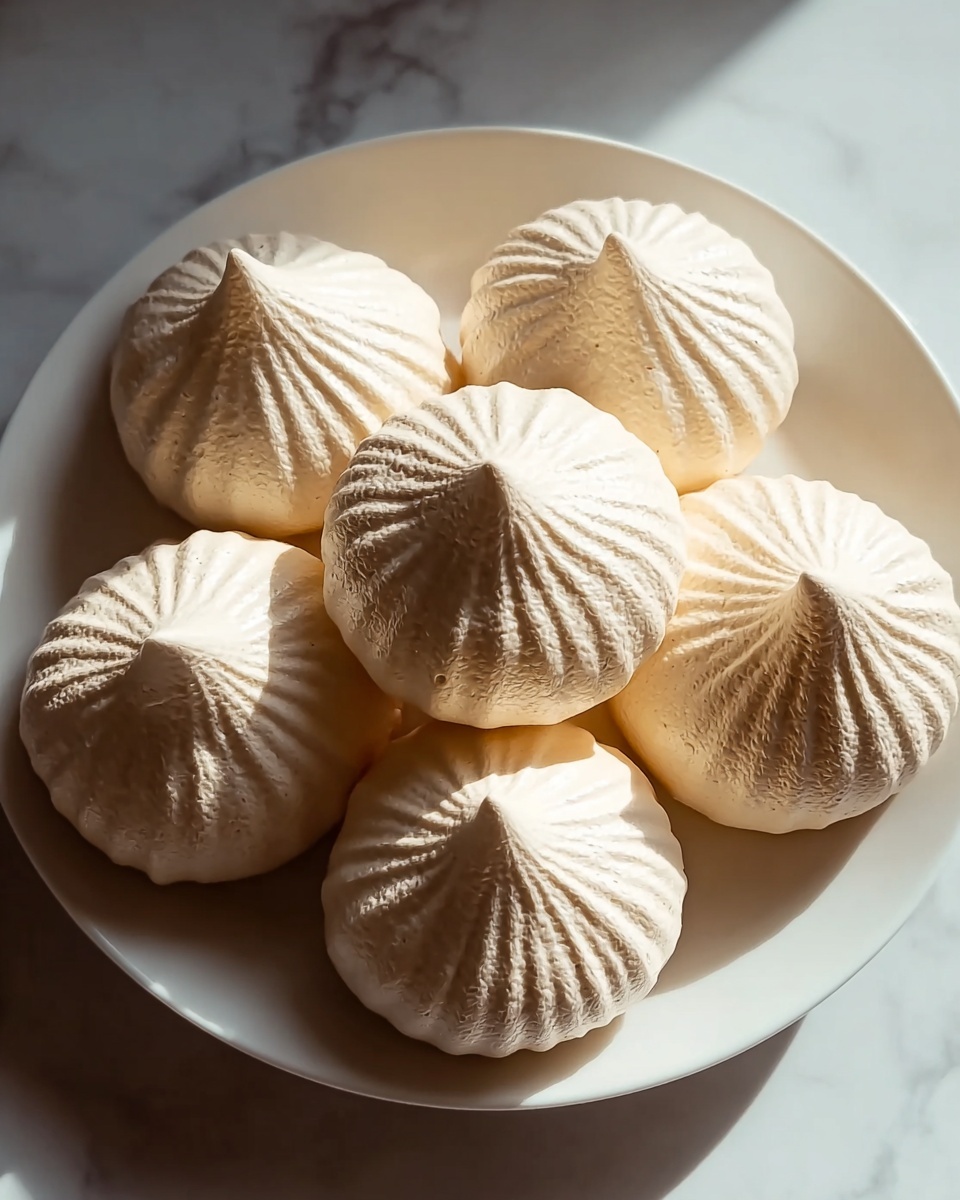
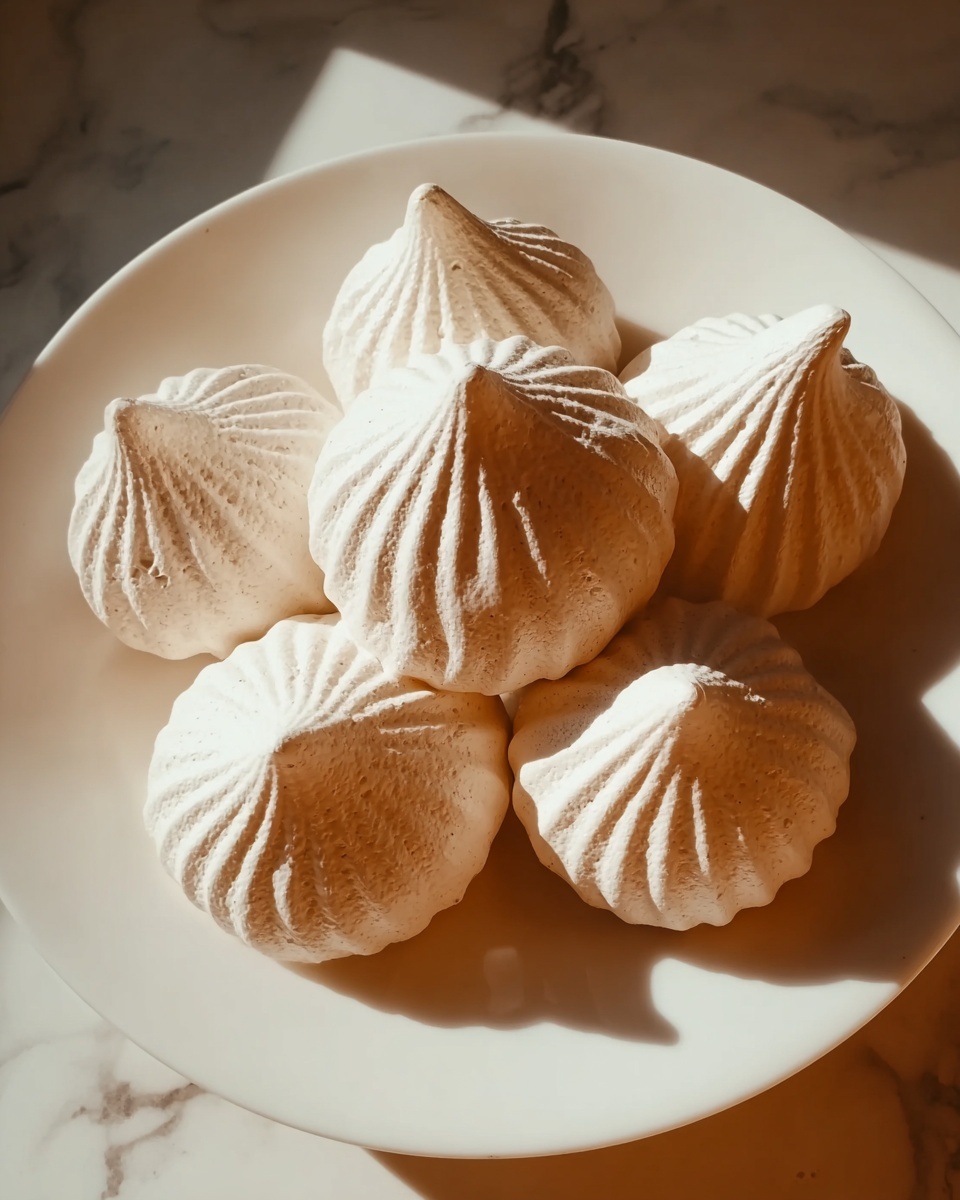
If you have a sweet tooth and appreciate the magic of light, airy desserts, let me introduce you to the wonder of Vegan Meringues: A Delightful Treat for Everyone Recipe. These simple meringues capture the delicate crunch and melt-in-your-mouth texture of traditional meringues but are entirely plant-based, using aquafaba instead of eggs. This recipe is perfect for anyone looking to enjoy a classic French-inspired dessert without compromising vegan principles or flavor, promising a delightful experience that everyone can share and love.
Ingredients You’ll Need
Gathering these few but essential ingredients is the first step to creating your wonderful vegan meringues. Each component plays a key role in crafting the perfect texture and sweetness, ensuring your treats are both beautiful and delicious.
- Aquafaba (1/2 cup): This magical liquid from canned chickpeas whips up just like egg whites, providing the light, airy structure that’s essential for meringues.
- Cream of tartar (1/4 teaspoon): A small amount stabilizes your aquafaba, helping it maintain stiff peaks for that classic meringue shape.
- Granulated sugar (1/2 cup): Sweetens the meringues and contributes to their glossy, firm finish when whipped in gradually.
- Vanilla extract (1/2 teaspoon): Adds a warm, comforting flavor depth that elevates these small bites of joy.
How to Make Vegan Meringues: A Delightful Treat for Everyone Recipe
Step 1: Prepare Your Oven and Station
Begin by preheating your oven to a low 225°F (110°C), essential to gently drying out the meringues without browning them. Line two baking sheets with parchment paper; these will stop your delicate meringues from sticking and ensure easy removal.
Step 2: Whip the Aquafaba
Pour the aquafaba and cream of tartar into a perfectly clean mixing bowl—any grease or residue can prevent it from whipping properly. Using a hand or stand mixer, beat at high speed for about 5 to 7 minutes until stiff peaks form, which means it holds its shape and doesn’t flop over.
Step 3: Sweeten and Perfect the Texture
Slowly add the granulated sugar, just one tablespoon at a time, while continuing to beat. This gradual addition takes around 10 minutes and transforms the mix into a shiny, dense, yet fluffy cloud that holds firm peaks. The sugar also adds that quintessential sweet snap when you bite.
Step 4: Flavor It
Mix in the vanilla extract gently but thoroughly to infuse a lovely aroma and flavor to each meringue. This subtle note takes your vegan meringues from simple to simply irresistible.
Step 5: Shape and Bake
Using a spoon or piping bag, dollop or swirl the meringue mixture onto your lined baking sheets, spacing them about 1½ inches apart to give room for drying. Bake for 1½ to 2 hours until they feel dry to the touch and can be easily lifted from the parchment.
Step 6: Cool and Set
Turn off the oven and leave the door ajar, letting your meringues cool inside for an hour so they finish drying to perfection. This slow cooling locks in their crispness without any cracks or stickiness.
How to Serve Vegan Meringues: A Delightful Treat for Everyone Recipe
Garnishes
These vegan meringues are charming enough to serve plain, but you can dress them up with fresh berries, a sprinkle of powdered sugar, or a drizzle of dark chocolate to bring extra elegance and flavor. A touch of color from natural food coloring before baking can also turn them into stunning bite-sized pieces perfect for any celebration.
Side Dishes
Pair these delicate meringues with vegan whipped cream or a tangy fruit compote to balance the sweetness. A refreshing mint leaf or a small bowl of berry sauce will complement their light texture beautifully, creating a truly memorable dessert experience.
Creative Ways to Present
Try stacking your vegan meringues with layers of dairy-free cream and fresh fruits to build an eye-catching vegan pavlova or crumble them over vegan yogurt for a playful breakfast twist. Their beautiful swirls and crisp texture make them a versatile canvas for endless creativity.
Make Ahead and Storage
Storing Leftovers
Store your vegan meringues in an airtight container at room temperature to keep them crisp and fresh for up to 5 days. Avoid humidity or refrigeration, which can make them soggy or sticky.
Freezing
If you want to save some for later, freeze the meringues in a sealed container. When ready to enjoy, let them thaw at room temperature, and they’ll regain their delightful crunch without losing any charm.
Reheating
These meringues are best enjoyed without reheating. If you find they have softened, you can place them in a low oven for a few minutes to crisp them up again gently, but be careful not to brown or melt them.
FAQs
Can I use fresh chickpea water instead of canned aquafaba?
Yes, you can use the liquid from cooking chickpeas at home, but it often requires longer whipping time and might be less consistent in texture. Canned aquafaba is usually more reliable for perfect meringues.
Is cream of tartar necessary?
Cream of tartar helps stabilize the aquafaba and achieve those stiff peaks. While you can try without it, your meringues might be less stable and more prone to collapsing.
Can I add flavors other than vanilla?
Absolutely! Feel free to experiment with almond extract, lemon zest, or even a hint of peppermint to customize your vegan meringues in fun and flavorful ways.
Why do my vegan meringues turn out sticky?
Sticky meringues usually mean the sugar wasn’t fully dissolved or the meringues didn’t dry out long enough during baking and cooling. Make sure to add sugar slowly and allow plenty of baking and cooling time with the oven door ajar.
Are these meringues gluten-free?
Yes! This vegan meringues recipe is naturally gluten-free, making it suitable for those with gluten sensitivities or allergies.
Final Thoughts
I truly hope you give this Vegan Meringues: A Delightful Treat for Everyone Recipe a try. It’s a simple yet magical way to enjoy a classic dessert in a compassionate and totally scrumptious way. Once you taste these airy, sweet little clouds of joy, I’m confident they’ll become a new favorite in your dessert repertoire.