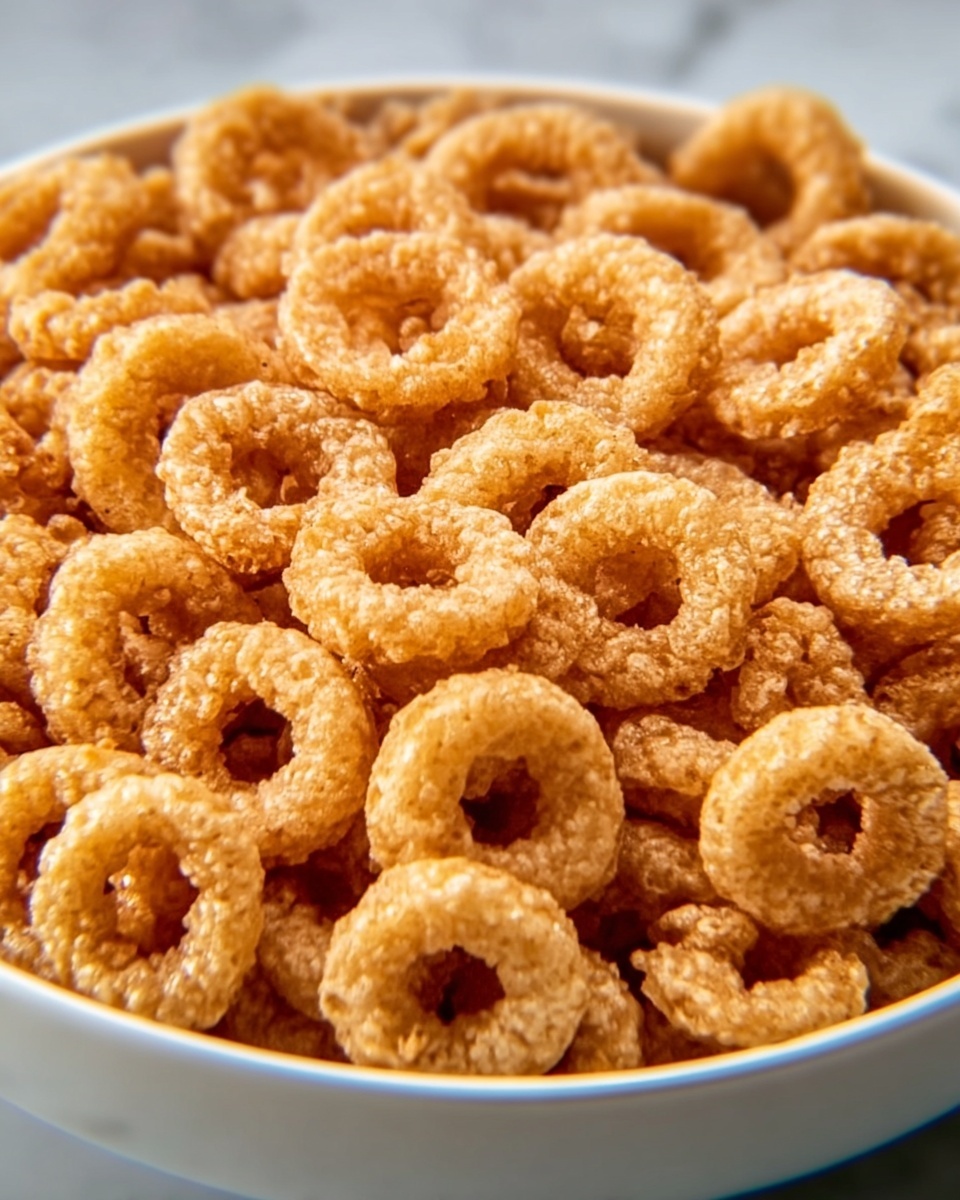
If you’re looking for a snack that’s crunchy, buttery, and irresistibly nostalgic, the Fried Cheerios Recipe is here to steal your heart and your snack time. This simple yet satisfying treat transforms humble Cheerios into a golden, crispy delight that captures the warmth of comfort food with just a handful of pantry staples. Whether you’re craving a late-night nibble or a fun, savory bite, this Fried Cheerios Recipe delivers a perfect balance of buttery richness and crunchy texture that’s truly addictive.
Ingredients You’ll Need
Gathering your ingredients for the Fried Cheerios Recipe is a breeze because each item plays a key role in bringing out the snack’s irresistible flavor and texture. From the crispiness of the cereal to the rich melt of butter, these essentials combine into something truly special.
- 4 cups plain Cheerios cereal: The crunchy base that crisps up beautifully in butter, adding nostalgic charm.
- 4 tablespoons unsalted butter: The golden richness that coats every O with luscious flavor and perfect browning.
- ½ teaspoon salt (optional): Enhances that buttery goodness and balances the flavor for a lightly savory snack.
- ¼ teaspoon garlic powder or onion powder (optional): Adds a subtle savory twist for those who want a little extra depth to their Fried Cheerios Recipe.
How to Make Fried Cheerios Recipe
Step 1: Melt the butter
Start by warming a large skillet over medium heat and gently melting your butter until it’s all liquid and shimmering. This sizzling butter is the magic that will transform the Cheerios from simple cereal to crunchy snack perfection.
Step 2: Add and coat the Cheerios
Pour in your Cheerios and immediately start stirring them to coat evenly in the melted butter. This step ensures each tiny O is saturated with flavor and ready to crisp up nicely.
Step 3: Cook until golden brown
Keep the Cheerios moving in the pan for about 5 to 7 minutes, stirring frequently. Watch closely as they take on a beautiful golden color and develop that irresistible crispy texture that makes this Fried Cheerios Recipe so memorable.
Step 4: Season to taste
If you’re opting for a savory touch, sprinkle in your salt and either garlic or onion powder now. Stir well so all those seasonings melt into the butter and cuddle up with every bite of this crunchy snack.
Step 5: Cool and enjoy
Take the skillet off heat and let your Fried Cheerios cool just a little to set their crispiness. Enjoy them warm for ultimate comfort or at room temperature for a satisfying crunch any time.
How to Serve Fried Cheerios Recipe

Garnishes
Elevate your Fried Cheerios Recipe with simple garnishes like a dusting of smoked paprika for a smoky hint, a sprinkle of parmesan cheese for a savory punch, or even a light drizzle of honey for a sweet-savory combo. These little extras bring fun flavor twists that make snack time feel special.
Side Dishes
While Fried Cheerios shine as a stand-alone snack, pairing them with fresh veggies or a rich dip like ranch or hummus turns them into a party-worthy appetizer. They also make a unique crunchy topping for salads or soups, injecting delightful texture contrasts.
Creative Ways to Present
For a playful presentation, serve Fried Cheerios in small paper cones or mini bowls scattered on a charcuterie board alongside nuts, cheeses, and fruits. Or layer them over creamy yogurt topped with fresh berries for an unexpected twist on breakfast or brunch.
Make Ahead and Storage
Storing Leftovers
To keep your Fried Cheerios crisp and delicious, store any leftovers in an airtight container at room temperature. Avoid refrigerating as it can introduce moisture and soften the crunch. Try to enjoy them within two days for the best texture and flavor.
Freezing
While freezing is possible, it’s not ideal since the texture can suffer. If you do freeze Fried Cheerios, make sure they are completely cool and stored in a tightly sealed container. Thaw them at room temperature and re-crisp in a dry skillet if needed.
Reheating
For that fresh-out-of-the-pan crunch after storage, reheat Fried Cheerios gently in a dry skillet over low heat. Stir frequently until they’re warmed through and regain their buttery crispness, just like fresh.
FAQs
Can I use flavored Cheerios for this recipe?
Absolutely! Using flavored Cheerios can add an exciting twist to your Fried Cheerios Recipe. Just keep in mind that sweet varieties might caramelize faster, so watch them closely to avoid burning.
Is there a way to make this recipe gluten-free?
Yes, if you use gluten-free Cheerios, your Fried Cheerios will be gluten-free as well. Just double-check that your seasonings and butter don’t contain gluten additives.
Can I make this snack sweet instead of savory?
Definitely! Swap salt and spices for cinnamon sugar or a sprinkle of nutmeg to turn your Fried Cheerios Recipe into a warm, sweet treat that’s perfect alongside a cup of tea or coffee.
How long do Fried Cheerios last after cooking?
For optimal crunch and flavor, enjoy your Fried Cheerios within two days. Storing them airtight at room temperature helps maintain their crispiness.
Is this snack suitable for kids?
Yes, Fried Cheerios make a fun, crunchy snack that kids usually love. Just be mindful of seasonings like garlic or onion powder, which you can leave out to keep the flavor mild and kid-friendly.
Final Thoughts
There is something truly heartwarming about this Fried Cheerios Recipe — it combines simplicity with that unbeatable buttery crunch you crave. I hope you give it a try soon and discover how this nostalgic snack can brighten your day and snack moments alike. Trust me, once you make it, it’ll become one of your favorite easy treats to whip up whenever the snack attack strikes!