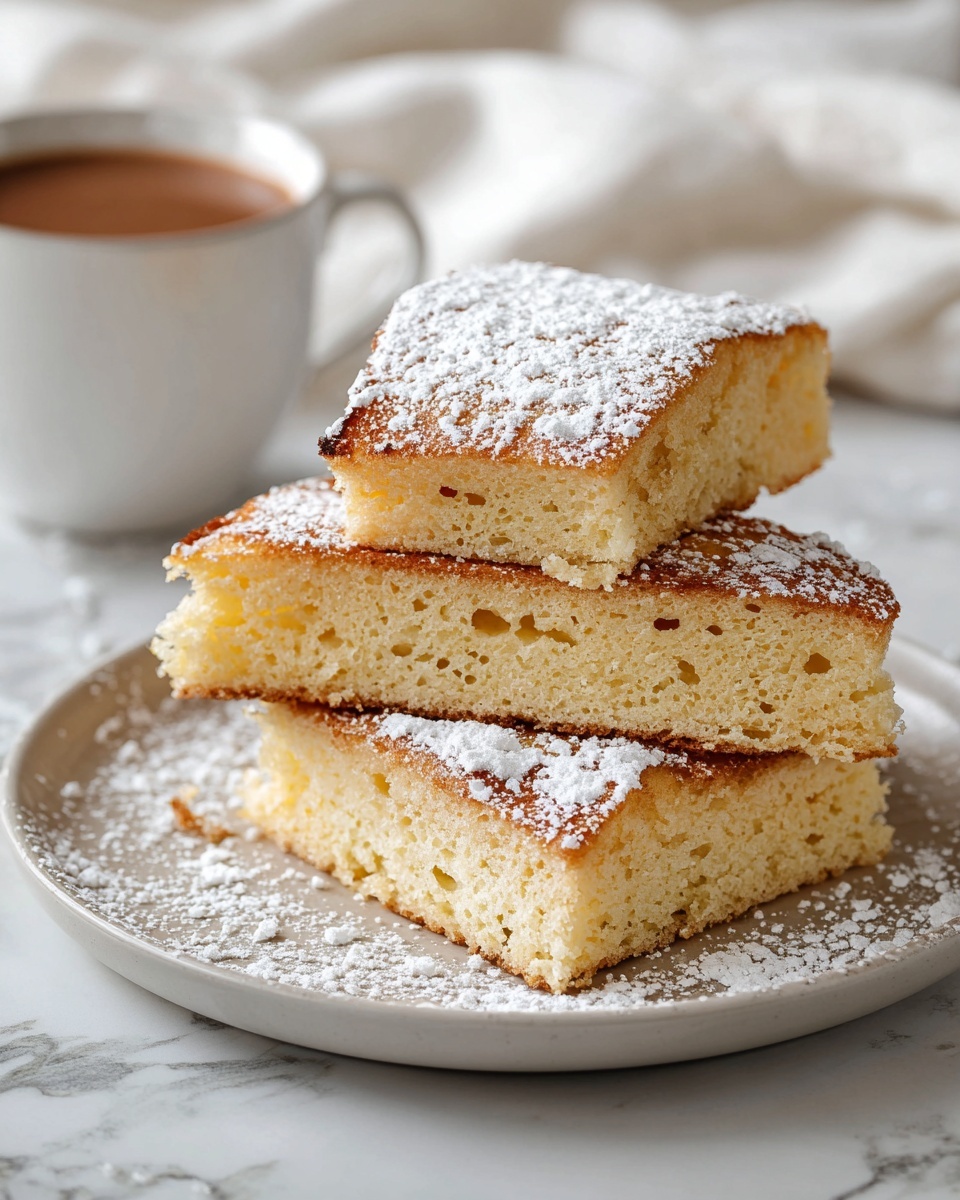
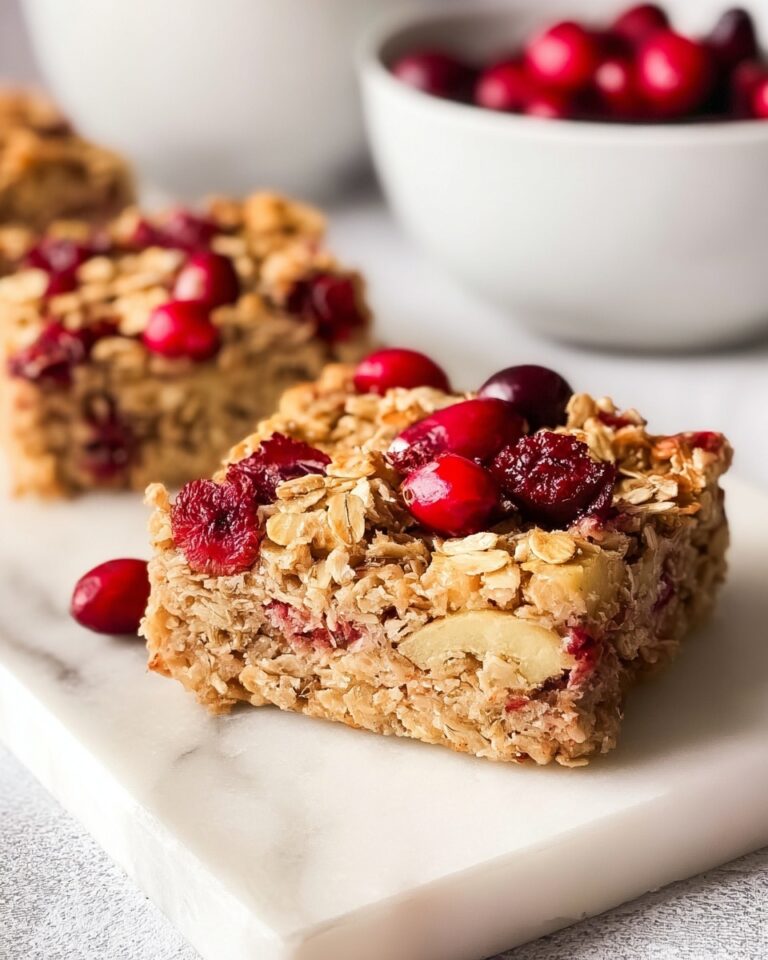
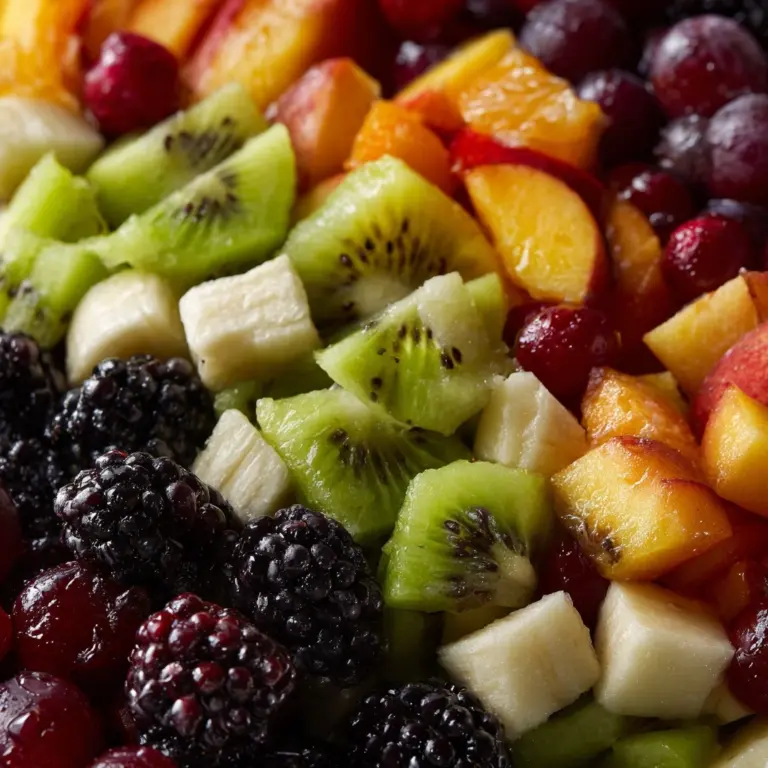
If you’ve ever wanted to master the art of scone making and tailor each batch to whatever flavor tickles your fancy, this Basic Scones Recipe (Customizable for Any Flavor) Recipe is your new best friend. With a simple, fail-proof base that’s buttery, tender, and just the right balance of crumbly and flaky, these scones are endlessly adaptable — whether you crave sweet bursts of berries, melty pockets of cheese, or vibrant herbs. Once you get the hang of this recipe, you’ll be whipping up fresh, delicious scones for breakfast, tea time, or snacks, custom-fitted to your mood and pantry staples. Let’s jump into the magic of baking scones that everyone will rave about!
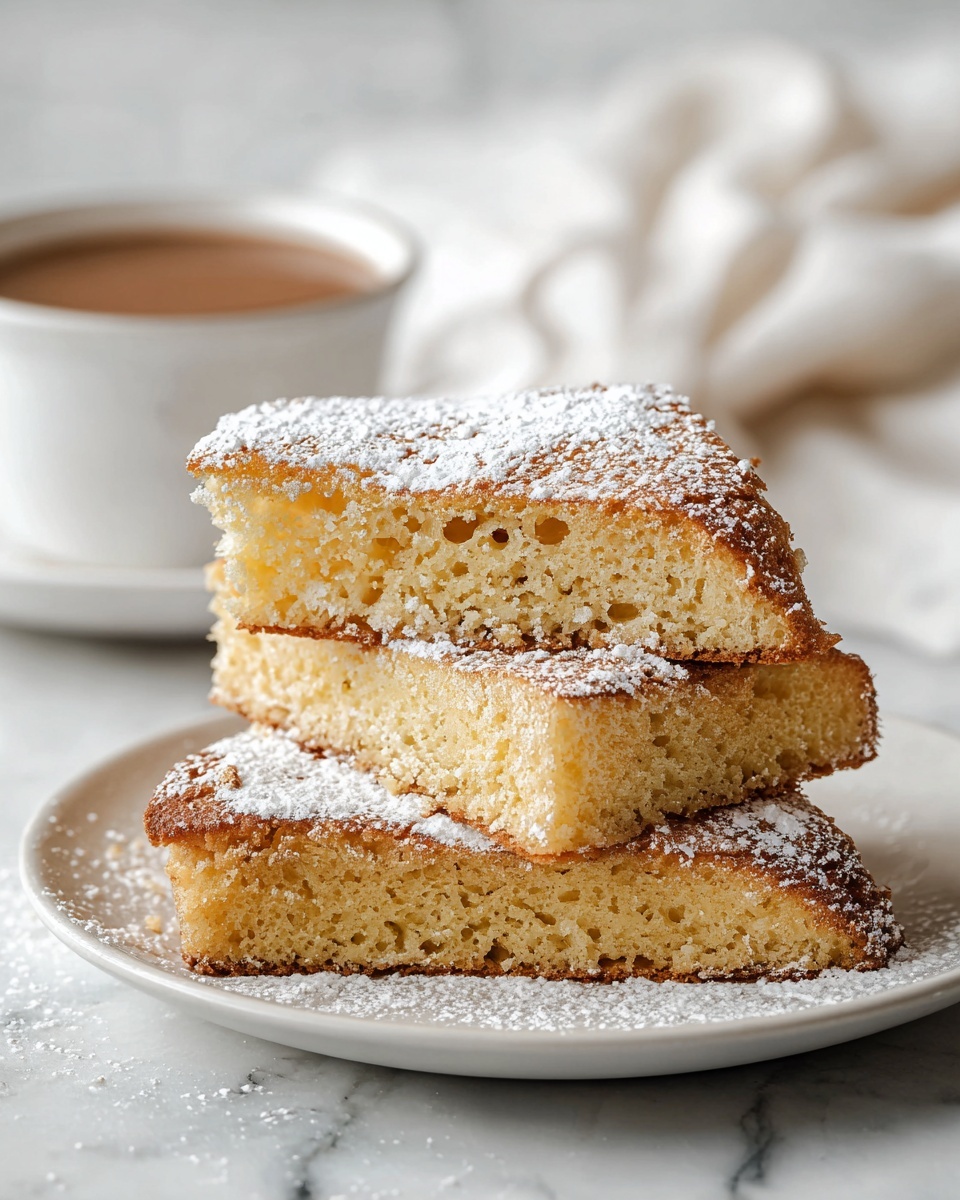
Ingredients You’ll Need
This recipe calls for simple pantry staples that work harmoniously to create that perfect scone texture and flavor. Each ingredient plays a key role — flour for structure, baking powder for rise, butter for richness, and heavy cream for tenderness. With just a handful of basics, you have endless possibilities.
- 2 cups all-purpose flour: The backbone of your scones, providing structure and a tender crumb.
- 1/4 cup granulated sugar: Adds just enough sweetness, adjustable depending on your mix-ins.
- 1 tablespoon baking powder: Ensures your scones rise beautifully and become light and fluffy.
- 1/2 teaspoon salt: Enhances overall flavor and balances the sweetness.
- 1/2 cup cold unsalted butter (cut into small cubes): Crucial for that flaky, tender texture when cut into the dry ingredients.
- 2/3 cup heavy cream (plus extra for brushing): Adds moisture and richness, producing a moist crumb.
- 1 large egg: Binds the dough and lends a lovely golden color.
- 1 teaspoon vanilla extract: A subtle flavor enhancer, especially for sweet scones.
- Optional mix-ins (1/2 to 1 cup): Customize with chocolate chips, blueberries, dried fruit, lemon zest, shredded cheese, or herbs — the sky’s the limit!
How to Make Basic Scones Recipe (Customizable for Any Flavor) Recipe
Step 1: Preheat and Prepare
Start by heating your oven to 400°F (200°C) and lining a baking sheet with parchment paper. This ensures your scones bake evenly and don’t stick, making clean-up a breeze and your scones perfectly golden.
Step 2: Mix Dry Ingredients
In a large bowl, whisk together the flour, sugar, baking powder, and salt. This evenly distributes your leavening and seasoning, setting the stage for a well-risen, flavorful scone.
Step 3: Cut in the Butter
Add your cold cubed butter into the dry mix. Use a pastry cutter or your fingers to combine until the texture resembles coarse crumbs. Those buttery bits create delightful layers and flaky pockets in every bite.
Step 4: Whisk the Wet Ingredients
In a separate bowl, beat together the heavy cream, egg, and vanilla extract. This rich mixture adds moisture and helps bring your scones together nicely.
Step 5: Combine and Fold in Mix-Ins
Pour the wet ingredients into the dry, stirring just until everything is combined — overmixing will toughen your scones, so be gentle. Fold in your chosen mix-ins here, whether sweet berries or savory cheese and herbs.
Step 6: Shape and Cut
Turn the dough onto a lightly floured surface and gently knead a few times until it just comes together. Pat it into a 1-inch thick round. Then cut into 8 wedges, preparing these classic shapes that bake evenly and look inviting.
Step 7: Bake to Golden Perfection
Arrange the wedges on your baking sheet, leaving some space between them. Brush the tops with a little cream to help them develop a shiny, golden crust. Bake for 15–18 minutes until your scones are beautifully browned and cooked through. Let them cool slightly — patience pays off!
How to Serve Basic Scones Recipe (Customizable for Any Flavor) Recipe
Garnishes
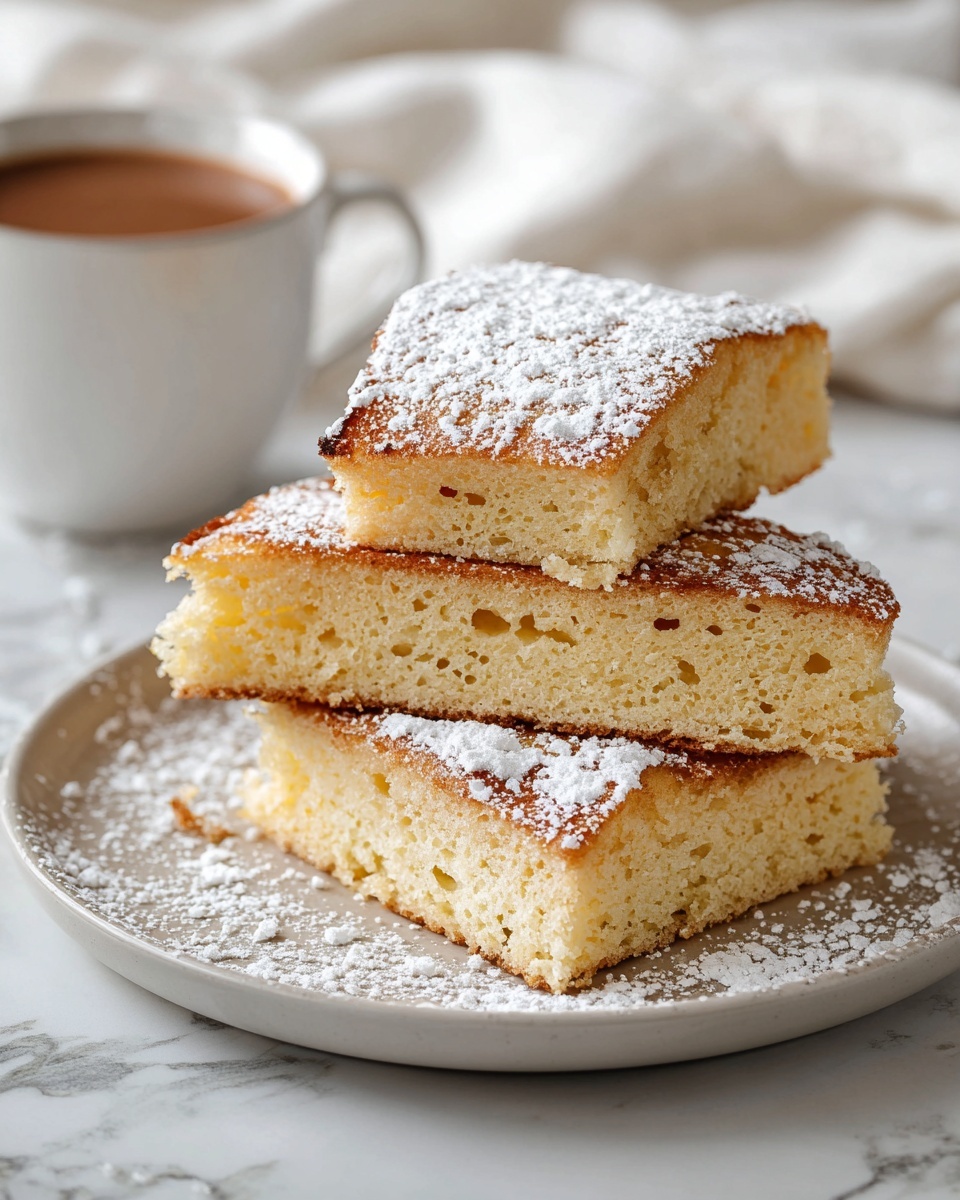
Enhance your scones with simple, tasty touches. For sweet scones, a dusting of powdered sugar or a drizzle of glaze can add that extra wow factor. Savory ones shine with a sprinkle of flaky sea salt or a brush of melted butter right after baking.
Side Dishes
Scones are delightful on their own, but pairing them with clotted cream and jam turns them into a mini celebration. For savory variations, consider cream cheese spreads, smoked salmon, or a fresh salad to balance the richness.
Creative Ways to Present
Try slicing scones horizontally and making small sandwiches filled with lemon curd, honey, or your favorite cheese. Serve on a tiered platter at brunch or wrap individually in parchment for a charming take-along treat. The versatility of this Basic Scones Recipe (Customizable for Any Flavor) Recipe shines through in presentation as much as taste.
Make Ahead and Storage
Storing Leftovers
Fresh scones are best enjoyed the same day, but if you have leftovers, store them in an airtight container at room temperature for up to 2 days to keep them moist and soft.
Freezing
These scones freeze beautifully. After baking and cooling, wrap them tightly in plastic wrap and place in a freezer bag. They’ll keep for up to 3 months, ready whenever you need a quick homemade treat.
Reheating
To revive your scones, warm them in a 350°F (175°C) oven for 5–7 minutes. This restores that fresh-baked flakiness and warmth, almost like they just came out of the oven.
FAQs
Can I make these scones dairy-free?
Yes! Swap the butter for a dairy-free alternative and use a non-dairy cream or milk substitute. The texture may vary slightly, but the scones will still be delicious and customizable.
What are the best mix-ins for beginners?
Classic choices like chocolate chips, blueberries, or shredded cheddar are foolproof and provide familiar flavors that complement the basic scone perfectly.
How can I make my scones more savory?
Simply omit the sugar and vanilla, and add savory ingredients like chopped herbs, crumbled bacon, or shredded cheeses. A pinch of black pepper can also add a nice touch.
Is it necessary to use cold butter?
Yes, cold butter is essential because it creates pockets of steam as it bakes, which results in flaky layers. Using room temperature butter will produce a denser scone.
Can I use whole wheat flour instead of all-purpose?
You can, but whole wheat flour will make the scones denser and give a nuttier flavor. Consider substituting half the flour with whole wheat to maintain a lighter texture.
Final Thoughts
This Basic Scones Recipe (Customizable for Any Flavor) Recipe is a wonderful canvas for creativity and comfort. Whether you prefer sweet or savory, simple or adventurous, mastering this recipe means you’ll always have a delicious homemade treat ready to brighten your mornings or afternoon tea. Don’t hesitate to experiment and make it your own — once you try it, scones will never be just a fancy bakery treat again!

