If you have a soft spot for silky, rich desserts that feel like a warm hug, then this Homemade Vanilla Custard Recipe is about to become your new best friend in the kitchen. There’s something truly magical about the way smooth custard melts on your tongue, bringing together creamy textures with the gentle sweetness of vanilla. This classic dessert combines just a handful of simple ingredients to create a luscious treat that can stand alone or beautifully complement a variety of sweets. Whether you’re craving a comforting bowl on a quiet evening or looking to impress guests with an elegant dessert, this recipe delivers consistent, creamy perfection every single time.
Ingredients You’ll Need
One of the joys of this Homemade Vanilla Custard Recipe is how straightforward the ingredient list is. Each component plays a key role — from the creamy whole milk and rich heavy cream to the smooth egg yolks and fragrant vanilla that bring the custard to life.
- Whole milk (2 cups): The base of the custard, providing creamy texture and volume without overwhelming richness.
- Heavy cream (1/2 cup): Adds indulgent richness and a velvety mouthfeel that makes the custard truly luxurious.
- Granulated sugar (1/2 cup): Balances the flavors with just the right amount of sweetness to enhance the vanilla.
- Large egg yolks (4): The thickening agent and heart of custard, egg yolks give smoothness and that classic custardy color.
- Cornstarch (2 tablespoons): Helps stabilize the custard so it sets perfectly without scrambling the eggs.
- Unsalted butter (1 tablespoon): Stirred in to add silkiness and a subtle depth of flavor once the cooking is complete.
- Pure vanilla extract (1 1/2 teaspoons): The star flavor, infusing the custard with warm, aromatic notes that make it unforgettable.
- Pinch of salt: Enhances all the flavors and balances the sweetness for a well-rounded finish.
How to Make Homemade Vanilla Custard Recipe
Step 1: Warm the milk and cream
Begin by combining your whole milk and heavy cream in a medium saucepan. Warm this mixture over medium heat until it is hot to the touch but not boiling — you want it steamy and ready for the next step without scalding.
Step 2: Whisk the egg yolks with dry ingredients
While the milk and cream heat up, whisk together the egg yolks, granulated sugar, cornstarch, and a pinch of salt in a separate bowl. This mixture should become smooth and slightly pale, setting the foundation for your creamy custard.
Step 3: Temper the eggs
Slowly drizzle about half a cup of the warm milk mixture into the egg yolk blend, whisking constantly. This gentle tempering process warms the eggs gradually, preventing them from curdling when combined with the rest of the milk.
Step 4: Combine and cook
Gradually whisk in the remaining warm milk mixture, then pour everything back into the saucepan. Cook over medium heat, whisking continuously for about 4 to 6 minutes. The custard will thicken and coat the back of a spoon — just be sure it never reaches a boil, or the eggs will scramble.
Step 5: Finish the custard
Remove the saucepan from heat and stir in the butter and pure vanilla extract until fully melted and smooth. This final step enriches the custard’s flavor and texture to silky perfection.
Step 6: Chill and set
Pour your custard into a serving bowl and press a piece of plastic wrap directly onto the surface to prevent a skin from forming. Refrigerate for at least two hours to allow it to chill and set beautifully before serving.
How to Serve Homemade Vanilla Custard Recipe

Garnishes
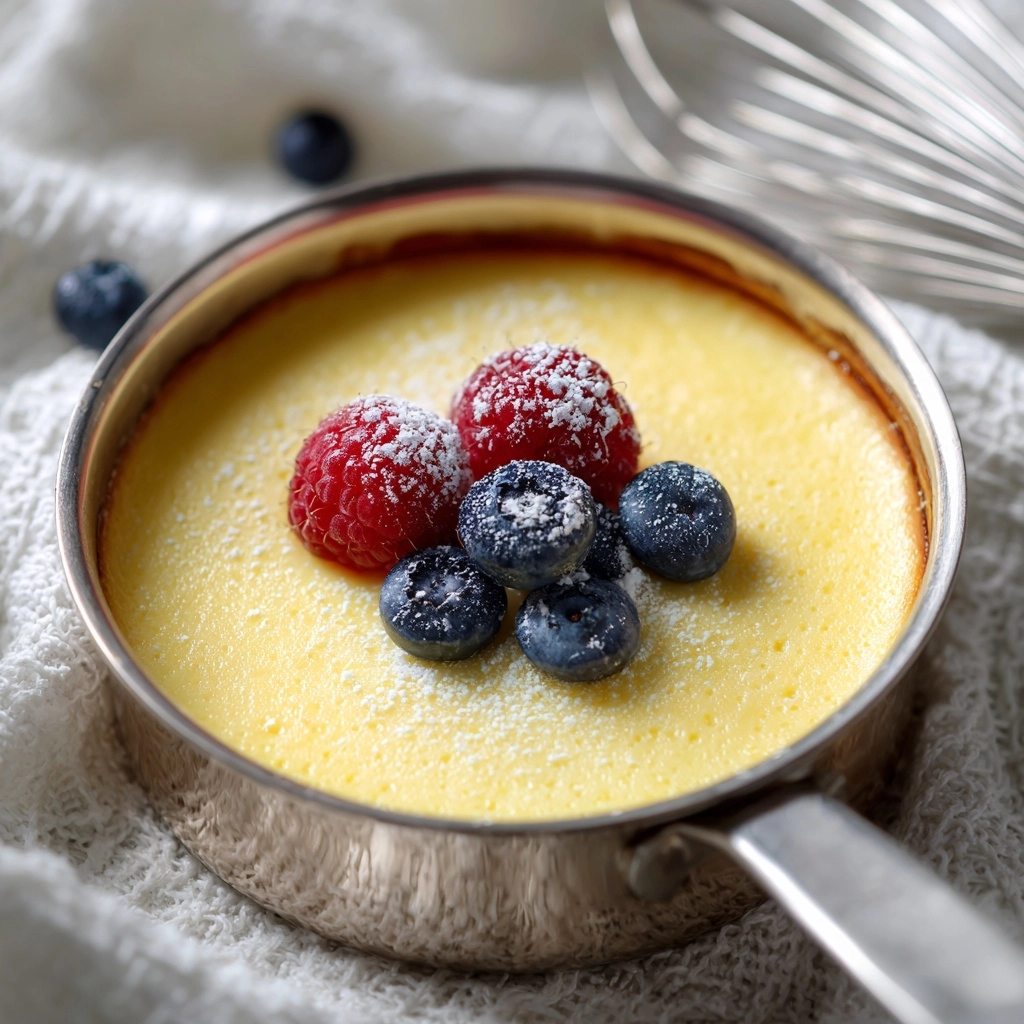
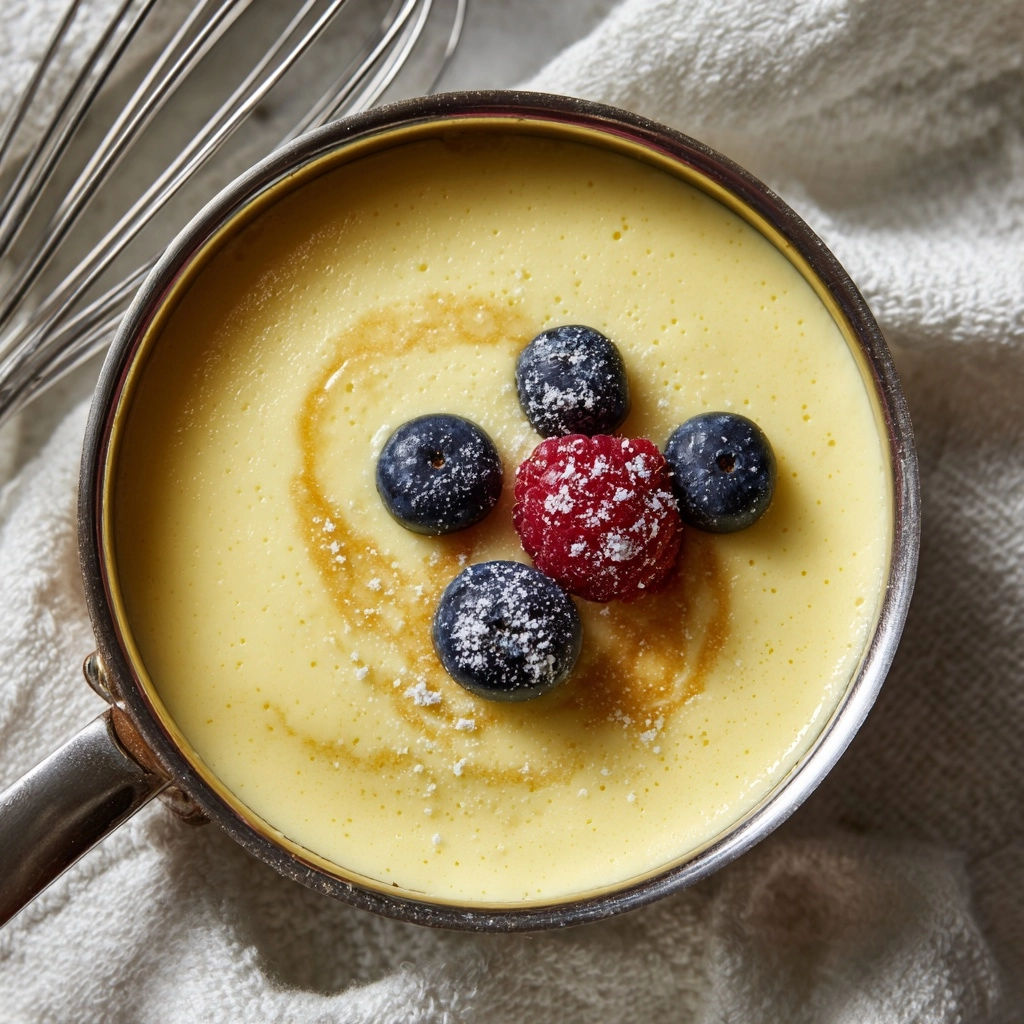
The beauty of this custard is how wonderfully it pairs with simple garnishes. Fresh berries, a sprinkle of cinnamon, or a drizzle of caramel sauce instantly elevate the dish. Even a few chopped toasted nuts add delightful texture and contrast.
Side Dishes
Serving custard alongside baked goods like buttery shortbread cookies or flaky fruit tarts creates a harmonious balance of flavors and textures. It also shines as a creamy counterpoint to warm apple crisps or poached pears.
Creative Ways to Present
For a special occasion, layer the custard in elegant glasses with crushed cookies and fruit to create homemade trifles. You could also use it as a luscious filling for éclairs, cream puffs, or as a base for decadent parfaits. The possibilities are endless and fun to explore!
Make Ahead and Storage
Storing Leftovers
Homemade vanilla custard can be stored in an airtight container in the refrigerator for up to three days. Keeping the plastic wrap pressed on the surface when chilling helps maintain its smooth texture and prevent skin formation.
Freezing
Freezing is not recommended for this custard recipe as it can change the texture, making it grainy or watery once thawed. It’s best enjoyed fresh or within a few days of making.
Reheating
If you prefer your custard warm, gently reheat it over low heat on the stovetop, stirring constantly to avoid curdling. Reheating should be done carefully and only for a short time to preserve the silky texture.
FAQs
Can I use milk instead of cream?
Yes, but whole milk alone may result in a less rich custard. The heavy cream adds that signature richness and silkiness, so if you skip it, expect a lighter texture and flavor.
What if my custard lumps or curdles?
This usually happens if the heat is too high or if the eggs are added without tempering. Whisk constantly and keep the temperature moderate to prevent lumps. If it occurs, straining the custard can help smooth it out.
Can I use vanilla beans instead of extract?
Absolutely! Infusing the milk with the seeds and pod of a split vanilla bean while warming it adds a deeper, more complex vanilla flavor you’ll love. Just remove the pod before mixing with the eggs.
Is this recipe suitable for vegetarians?
Yes, this custard recipe is vegetarian-friendly as it contains no meat or gelatin. It’s a comforting dessert option for many dietary preferences.
How long does it take for the custard to set?
Chilling the custard for at least two hours ensures it has time to thicken fully and develop that creamy consistency perfect for serving.
Final Thoughts
I can’t encourage you enough to give this Homemade Vanilla Custard Recipe a try. With its simple ingredients and straightforward steps, it offers a deeply satisfying dessert experience that feels both timeless and special. Once you master it, you’ll find countless ways to enjoy your rich, velvety custard in everything from classic desserts to creative treats. Trust me, your taste buds will thank you!