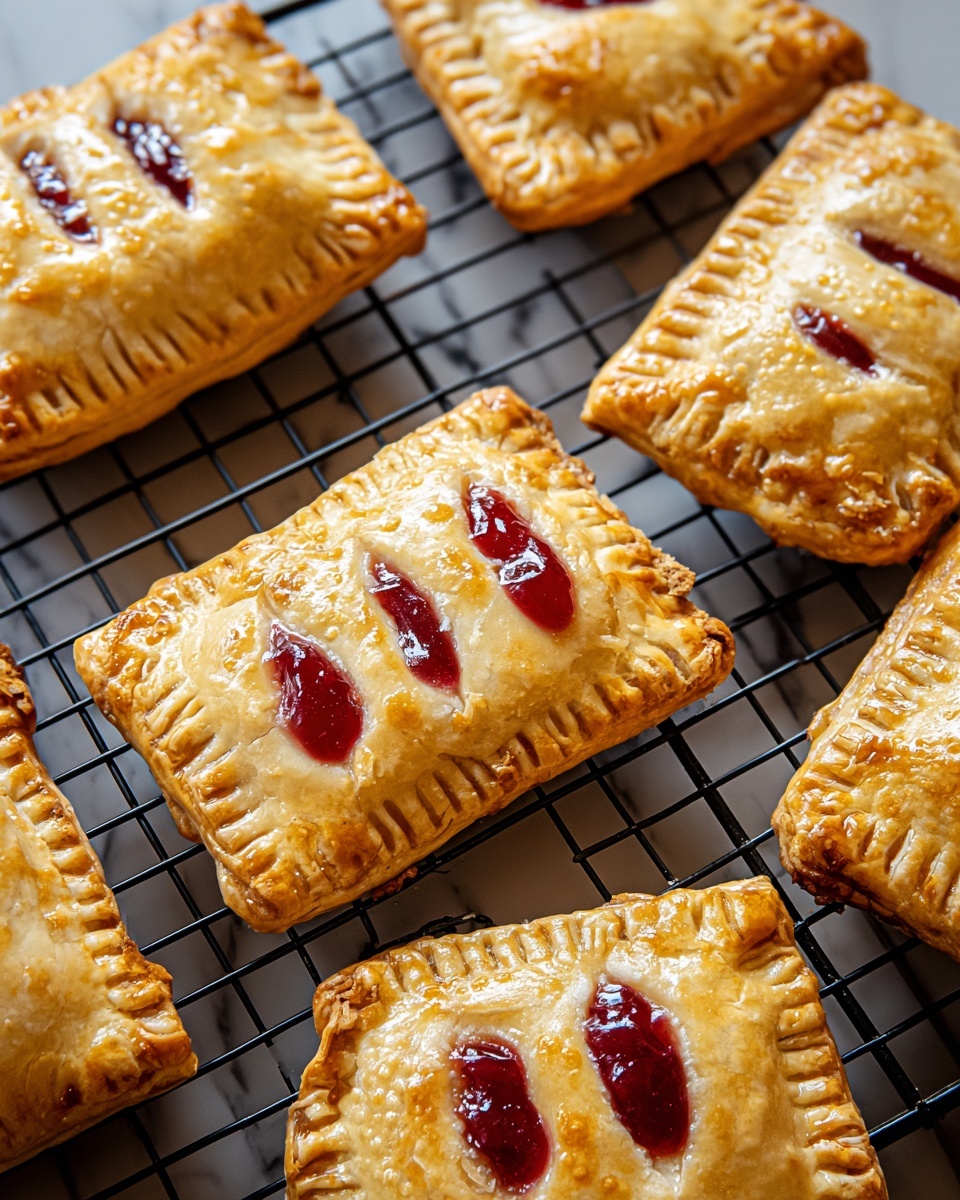
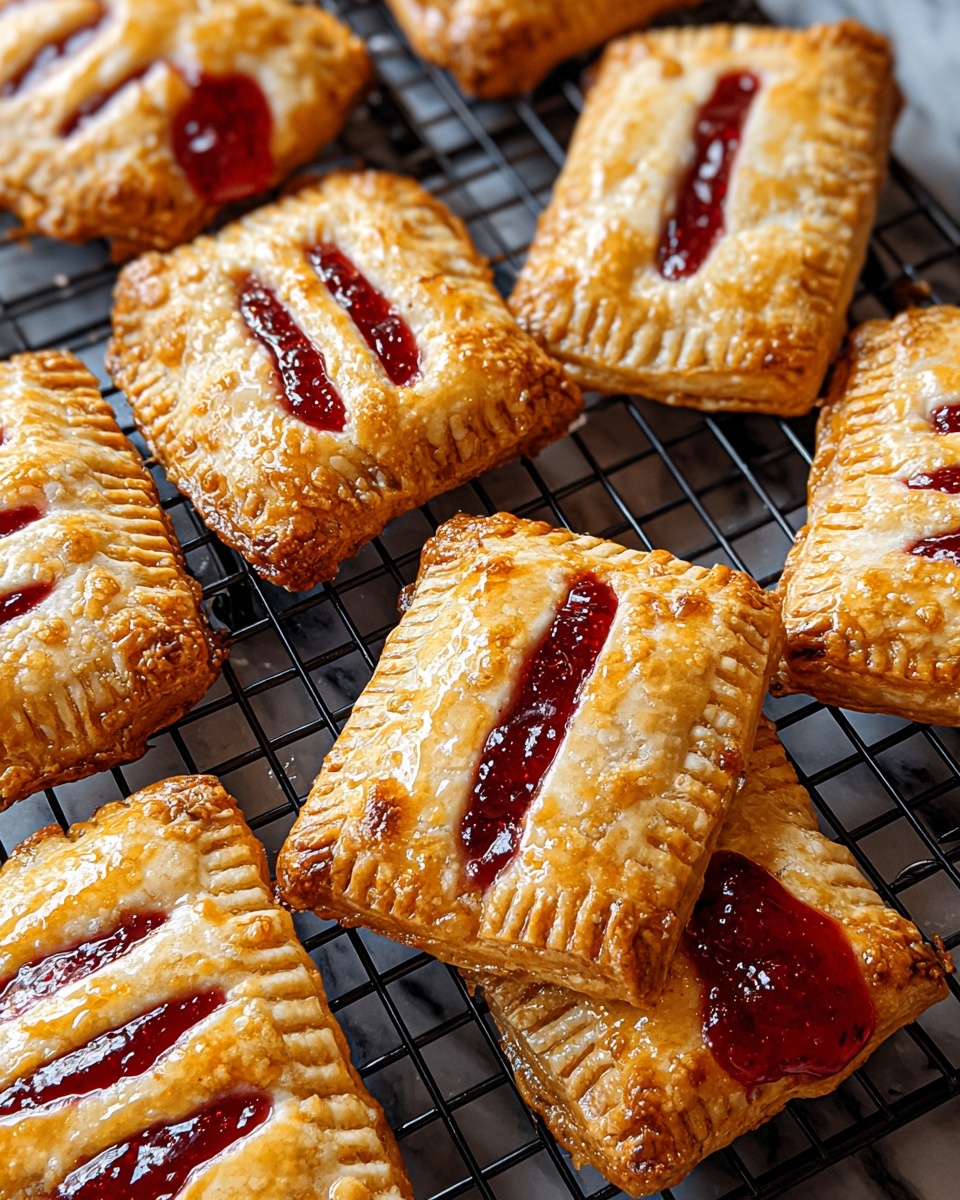
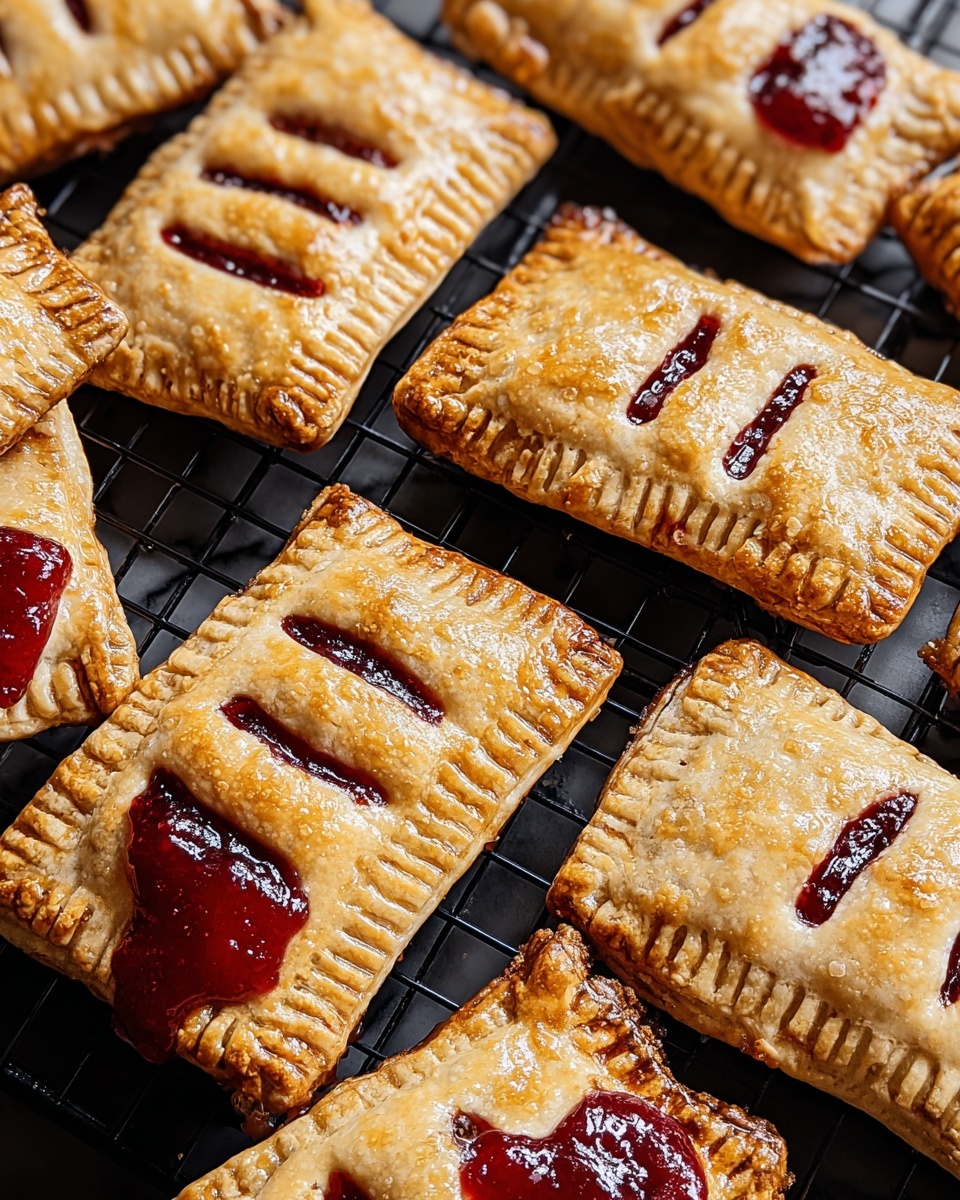
If you have a soft spot for anything fruity and flaky, then this Cherry Hand Pies Recipe is sure to become your new favorite treat. Imagine tender, buttery crust enveloping a sweet-tart cherry filling that bursts with every bite. These hand pies are perfect little pockets of joy you can enjoy any time, whether as a quick dessert or a charming snack to share with friends. The best part? They’re incredibly straightforward to make, yet they deliver that homemade warmth and charm that’s hard to beat.
Ingredients You’ll Need
Every ingredient in this Cherry Hand Pies Recipe plays a crucial role in building the perfect balance of flavor and texture. You’ll find the list simple but thoughtfully picked to bring out the best in every pie.
- Refrigerated pie crusts (2): These provide a flaky and tender base with minimal effort, though homemade crust works beautifully too.
- Cherry pie filling (1½ cups): The star of the show, bursting with juicy, sweet-tart cherries that give these pies their signature flavor.
- Cornstarch (1 tablespoon, optional): A handy ingredient to thicken the filling, ensuring it isn’t too runny when baked.
- Egg (1, beaten): This creates a beautiful golden glaze on the pies, making them irresistibly shiny and inviting.
- Water (1 tablespoon): Used both to mix with the egg for the wash and to help seal the pie edges perfectly.
- Granulated sugar (2 tablespoons): Sprinkled on top, it adds a subtle crunch and extra touch of sweetness.
- Cinnamon (½ teaspoon, optional): A pinch of warmth that enhances the flavor complexity and pairs wonderfully with cherries.
How to Make Cherry Hand Pies Recipe
Step 1: Prepare Your Workstation
Start by preheating your oven to 400°F and lining a baking sheet with parchment paper for easy cleanup. Lightly flour your countertop and roll out the pie crusts to ensure they’re thin enough to bake into crisp, flaky shells. Cut the dough into 4-inch squares or circles—whichever shape feels right to you. This first step sets the stage for the whole baking adventure.
Step 2: Make the Filling
In a small bowl, give the cherry pie filling a good stir, and if you prefer a more sponge-like, not-too-runny filling, mix in 1 tablespoon of cornstarch. This simple trick keeps the filling perfectly thickened, so it won’t ooze out when you bite into your hand pies.
Step 3: Assemble Your Hand Pies
Place about 1½ tablespoons of the cherry filling in the center of each dough piece, making sure to leave a border around the edges. Lightly brush the edges with water to help the dough stick together beautifully. Then, top each filled piece with another cutout dough piece or fold it over if you want half-moon shapes. Press the edges firmly with a fork to seal them completely, and don’t forget to cut a few small slits on top—this little detail lets steam escape, keeping your pies from bursting during baking.
Step 4: Add the Finishing Touches
Whisk the egg and water together to make a gorgeous glossy egg wash, then brush it gently over each hand pie. This step is what gives the pies their beautiful golden shine. Finally, sprinkle the tops with sugar and cinnamon for that perfect touch of sweetness and aroma that makes your kitchen smell incredible.
Step 5: Bake to Perfection
Place your hand pies on the prepared baking sheet and slide them into the oven. Bake for 18 to 22 minutes until they turn a gorgeous golden brown and the crust is delightfully crisp. Let them cool just slightly before diving in—the filling will be warm and gooey, just how you want it.
How to Serve Cherry Hand Pies Recipe
Garnishes
Cherry Hand Pies are fantastic on their own, but if you want to add a little extra flair, consider a dusting of powdered sugar or a drizzle of a simple glaze made from powdered sugar and milk. A small scoop of vanilla ice cream or a dollop of whipped cream takes these hand pies from delicious to downright indulgent.
Side Dishes
These hand pies shine alongside a cup of freshly brewed coffee or tea for a perfect afternoon pick-me-up. They’re also delightful served with a fresh fruit salad or a light, creamy yogurt to balance the sweetness and add some refreshing contrast on the plate.
Creative Ways to Present
If you want to impress guests, arrange the hand pies on a charming platter lined with a colorful napkin. Try serving them in individual mini baskets or wrapping them in parchment paper tied with twine for a rustic picnic-style treat. You can even experiment with different pie crust shapes to add a personal touch to your Cherry Hand Pies Recipe presentation.
Make Ahead and Storage
Storing Leftovers
Leftover hand pies keep beautifully in an airtight container at room temperature for up to two days. This way, they remain crisp on the outside and flavorful inside, ready to be enjoyed without fuss.
Freezing
For longer storage, you can freeze the assembled hand pies before baking. Arrange them on a baking sheet in a single layer, freeze until solid, then transfer to a freezer-safe bag. They’ll keep for up to two months and bake straight from the freezer, adding a few extra minutes to the baking time.
Reheating
To revive your hand pies, pop them in a preheated oven at 350°F for about 10 minutes. This refreshes the crust’s flakiness and warms the filling perfectly. Avoid microwaving as it can make the crust soggy.
FAQs
Can I use frozen cherries instead of canned pie filling?
Absolutely! Just thaw and drain the frozen cherries, then toss them with sugar, a bit of cornstarch, and a splash of lemon juice before filling your pies. This way, you control the sweetness and get that fresh cherry flavor right from the fruit.
Is it necessary to use cornstarch in the filling?
Not necessarily. Cornstarch is optional and mainly used to thicken the filling, preventing it from becoming too runny. If you prefer a looser filling, you can skip it, especially if your pie filling is already thick.
Can I make these hand pies gluten-free?
Yes! Simply substitute the pie crust with a gluten-free version. Just be mindful that gluten-free dough can be a bit more delicate, so handle it gently during rolling and assembly.
How do I prevent the crust from getting soggy?
Sealing the edges well and cutting slits on top helps release steam, which reduces sogginess. Also, a quick egg wash helps create a barrier that keeps moisture away from the crust.
Can I customize the filling with other fruits?
Definitely! While cherries are classic, this recipe works wonderfully with apples, blueberries, peaches, or even a mixed berry blend. Experiment to find your favorite twist on this Cherry Hand Pies Recipe.
Final Thoughts
Now that you’ve got the lowdown on this charming Cherry Hand Pies Recipe, it’s time to roll up your sleeves and whip up these delightful treats. Whether for family gatherings, an easy dessert, or simply a sweet snack to brighten your day, these hand pies promise to bring a warm smile with every bite. Enjoy the process and most of all, enjoy every flaky, fruity morsel!