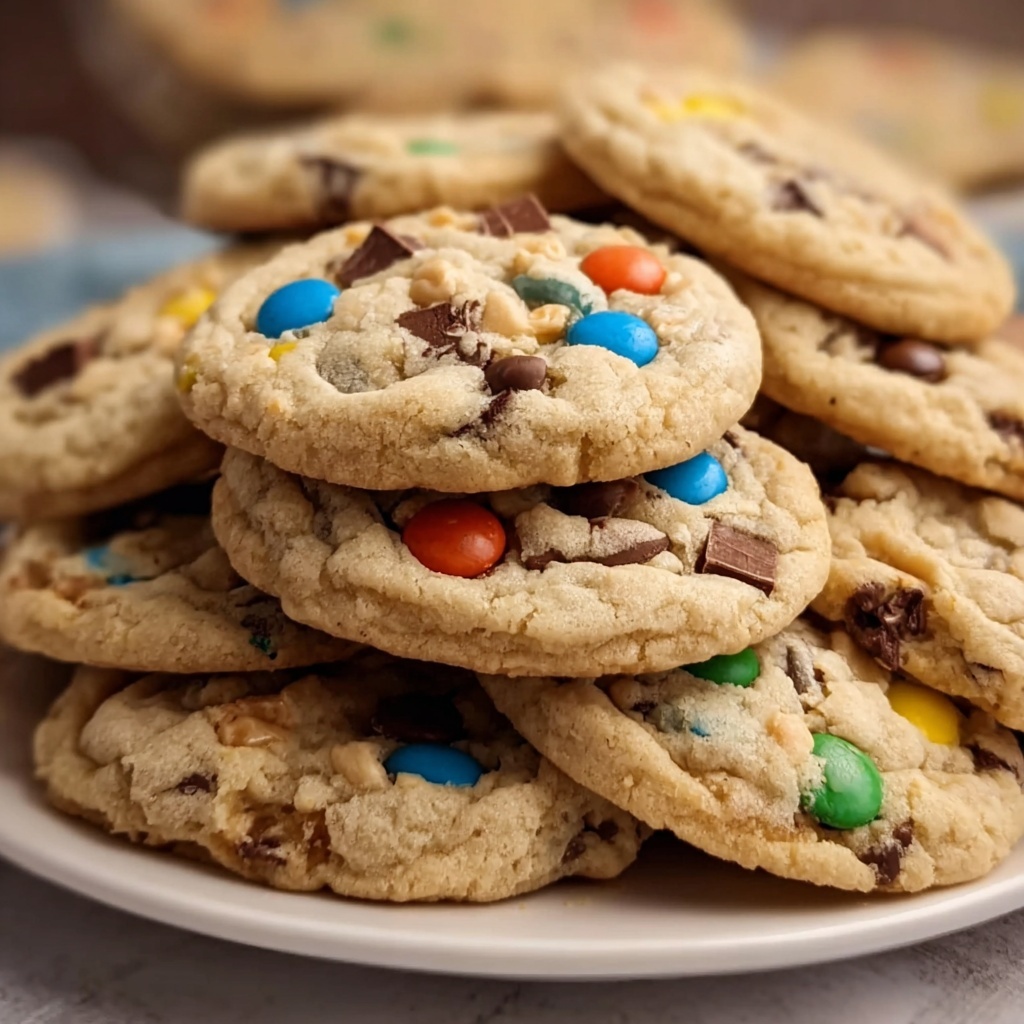
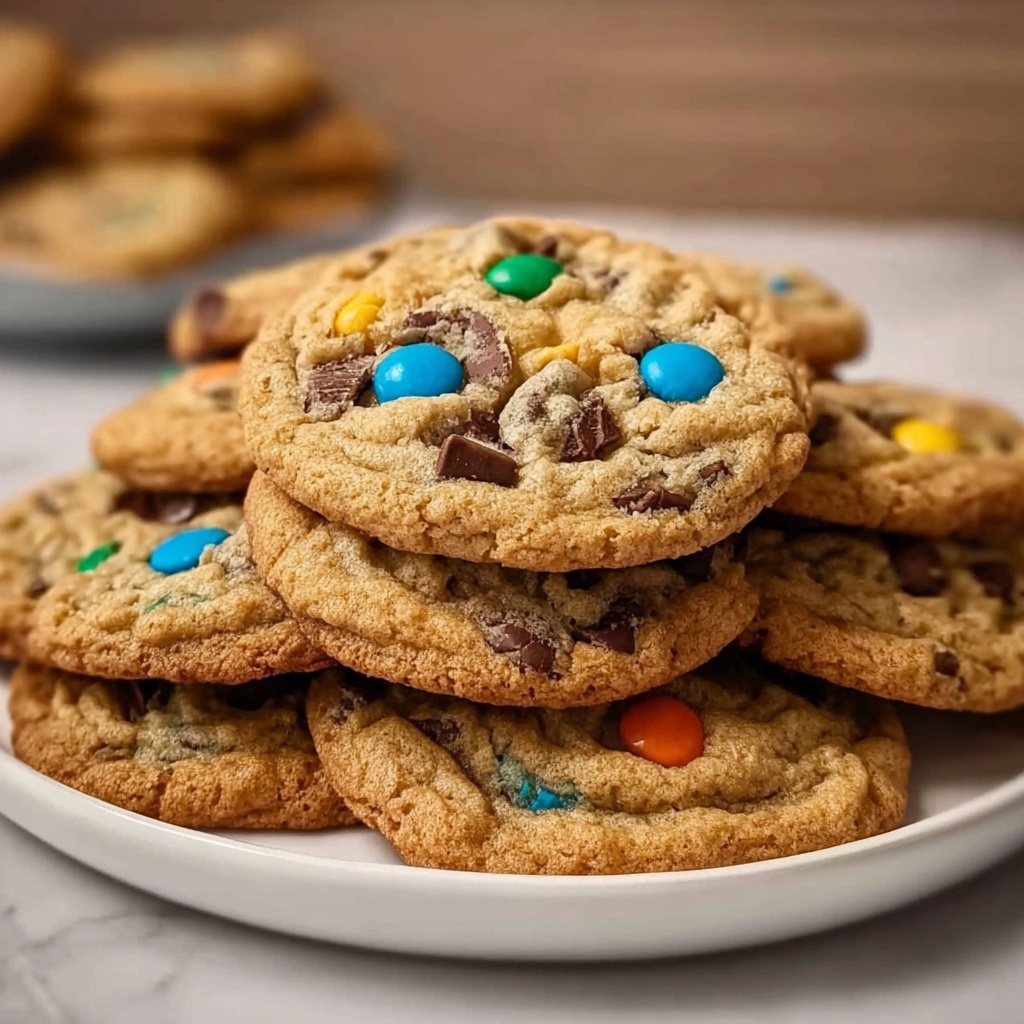
If you are ready to embark on a flavor adventure that combines sweet, salty, crunchy, and utterly irresistible textures, then the Brown Butter Trash Can Cookies Recipe is exactly what you need. These cookies are a perfect storm of browned butter richness infused into a chewy cookie base with unexpected add-ins like crushed potato chips, pretzels, peanut butter M&M’s, and milk chocolate chips. Every bite delivers a delightful surprise, making them a beloved treat for family gatherings, casual snacks, or any time you want to impress with a cookie that’s as fun to make as it is to eat.
Ingredients You’ll Need
Though the Brown Butter Trash Can Cookies Recipe sounds extravagant, it actually relies on simple, pantry-friendly ingredients. Each one plays a key role: the butter adds a rich depth, the sugars provide sweetness and moisture, and the mix-ins give texture and bursts of flavor that make these cookies stand out.
- 1 cup unsalted butter: Browned carefully for its nutty aroma and complex flavor base.
- 1 cup cane sugar: Adds sweetness with a clean, fine texture.
- 1 cup brown sugar, packed: Brings moisture and a hint of caramel depth.
- 2 large eggs: Bind everything together and add richness.
- 2 teaspoons vanilla extract: Enhances all the flavors with a warm, sweet note.
- 2 1/4 cups all-purpose flour: Forms the sturdy yet tender structure of the cookies.
- 1/2 teaspoon salt: Balances sweetness and highlights flavors.
- 1 teaspoon baking powder: Gives the cookies a slight lift.
- 1/2 teaspoon baking soda: Helps with browning and texture.
- 1/2 cup crushed wavy potato chips: Adds a salty crunch and a bit of whimsy.
- 1/2 cup crushed pretzels: Infuses an additional layer of savory crunch.
- 1/2 cup mini peanut butter M&M’s: Brings pockets of peanut butter sweetness and color.
- 1/2 cup milk chocolate chips: Melts into gooey, sweet bites throughout.
How to Make Brown Butter Trash Can Cookies Recipe
Step 1: Brown the Butter
Start by melting the butter over medium heat, stirring frequently to prevent burning. Watch as it transforms to a beautiful golden brown with a nutty, toasted aroma. This step is crucial because brown butter adds richness and a deeper flavor profile you’ll absolutely love. Once browned, let it cool slightly before moving on.
Step 2: Mix Sugars and Butter
Next, whisk together the browned butter with cane sugar and brown sugar until fully combined and smooth. This combination ensures your cookies have a perfect balance of sweetness and moisture, helping the final texture stay wonderfully soft and chewy.
Step 3: Add Eggs and Vanilla
Whisk in the eggs one at a time, ensuring they’re fully incorporated before adding the next. Then mix in the vanilla extract, which will brighten up the cookie flavor and complement the nutty brown butter beautifully.
Step 4: Prepare Dry Ingredients
In a separate bowl, whisk together the all-purpose flour, salt, baking powder, and baking soda. Taking a moment to sift or whisk these dry ingredients helps with even distribution and avoids clumping, leading to a consistent cookie structure.
Step 5: Combine Wet and Dry Ingredients
Gradually fold the dry ingredients into the wet mixture. Be careful not to over-mix; just combine until you no longer see flour streaks. This keeps the cookies tender and prevents toughness.
Step 6: Add Mix-Ins
This is where the magic happens — gently fold in the crushed potato chips, pretzels, mini peanut butter M&M’s, and milk chocolate chips. Each add-in packs a unique texture and flavor burst, turning a classic cookie into a playful adventure.
Step 7: Scoop and Bake
Roll your cookie dough into generous balls and place them on a parchment-lined baking sheet, giving each enough room to spread. Bake in a preheated oven at 350°F (175°C) for 10 to 12 minutes until the edges are set but the center is still soft. This timing ensures the perfect chewy interior.
Step 8: Cool
Let your cookies cool for about 5 minutes on the baking sheet, which allows them to firm up enough to transfer without breaking. Then finish cooling them completely on a wire rack to maintain their ideal texture and prevent sogginess.
How to Serve Brown Butter Trash Can Cookies Recipe
Garnishes
While these cookies are showstoppers on their own, you can elevate the presentation by lightly dusting with a sprinkle of flaky sea salt just before serving. It enhances the salty-sweet contrast and makes each bite pop in a splendid way.
Side Dishes
A glass of cold milk or a cup of rich coffee pairs heavenishly well with the Brown Butter Trash Can Cookies Recipe. The milk cools down the warm, rich flavors, while coffee adds depth and complexity, creating a perfect pairing that will make your snack time feel indulgent.
Creative Ways to Present
Try stacking these cookies on a rustic wooden board with little bowls of the mix-ins used — potato chips, pretzels, and mini peanut butter M&M’s — for guests to assemble their own “trash can” mix experience. It’s interactive and doubles as a conversation starter at any gathering.
Make Ahead and Storage
Storing Leftovers
Keep your leftover Brown Butter Trash Can Cookies Recipe fresh by storing them in an airtight container at room temperature. They will remain soft and flavorful for up to 5 days, making for an easy grab-and-go treat during the week.
Freezing
You can freeze these cookies either baked or as dough balls. For baked cookies, layer them between parchment paper in a freezer-safe container. Frozen cookies last up to 3 months and thaw quickly at room temperature. For dough balls, freeze on a sheet then transfer to a bag for convenience — bake straight from frozen, just add a few extra minutes to the baking time.
Reheating
To enjoy these cookies warm, pop them into a preheated oven at 300°F (150°C) for about 5 minutes or microwave for 10-15 seconds. The chocolate chips will melt delightfully and the cookie texture will be soft and inviting as if freshly baked.
FAQs
Can I substitute the mix-ins in the Brown Butter Trash Can Cookies Recipe?
Absolutely! This recipe is very flexible. You can swap the potato chips, pretzels, or peanut butter M&M’s with your favorite nuts, candies, or even dried fruit to customize it to your taste.
Why is browning the butter important in this recipe?
Brown butter adds a deep, nutty flavor and complex richness that plain melted butter cannot provide. It elevates the cookie’s taste making them far more aromatic and indulgent.
Will these cookies be crunchy or soft?
Thanks to the perfect combination of ingredients and baking time, these cookies are soft and chewy in the center with slightly crisp edges, balanced beautifully by the crunchy mix-ins.
Can I make this recipe gluten-free?
Yes, you can replace the all-purpose flour with a gluten-free flour blend suitable for baking. Just be sure your baking powder and other ingredients are gluten-free as well.
How many cookies does this recipe yield?
This Brown Butter Trash Can Cookies Recipe yields approximately 24 cookies, perfect for sharing or enjoying over several days.
Final Thoughts
If you want to bake something unforgettable that’s bursting with fun textures and rich flavor, I wholeheartedly encourage you to try the Brown Butter Trash Can Cookies Recipe. It not only fills your kitchen with an irresistible aroma but delivers joyous bites that will have everyone begging for more. Happy baking, and enjoy every delicious moment!