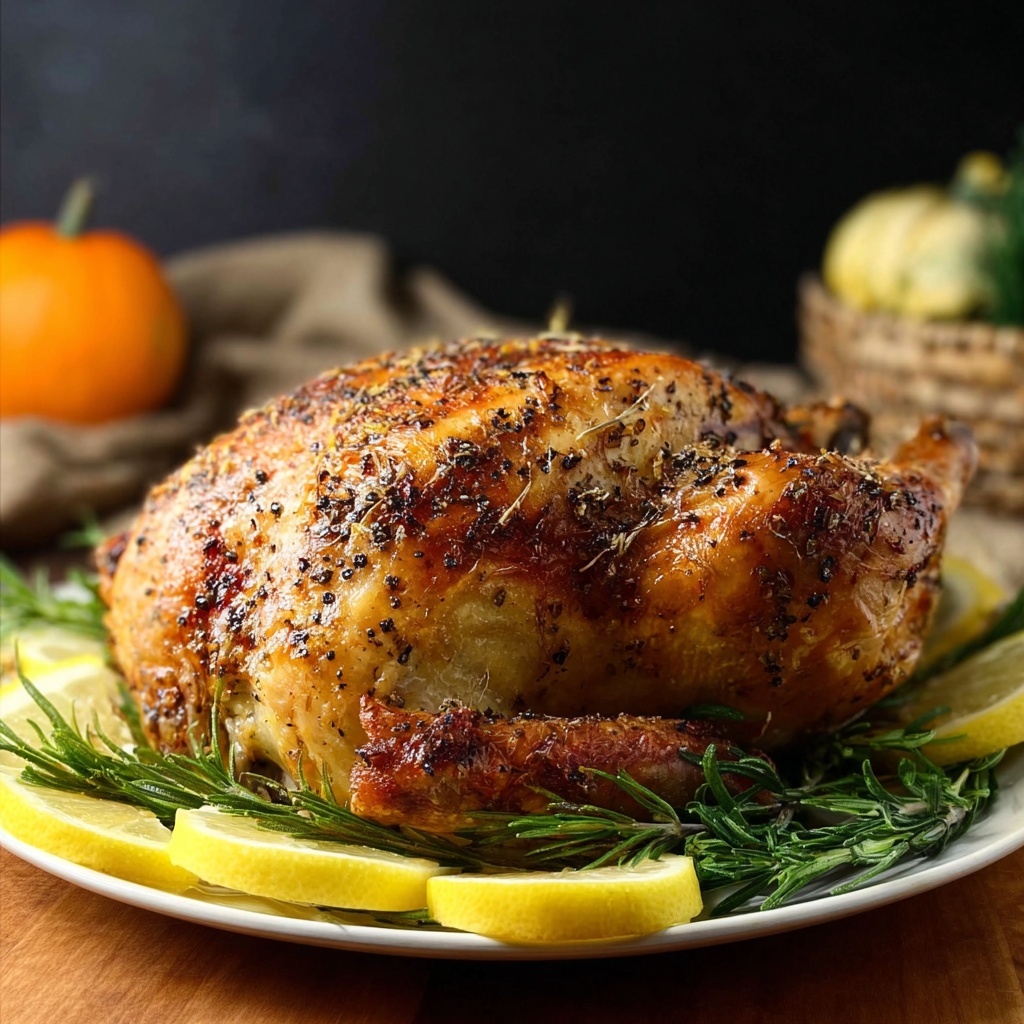
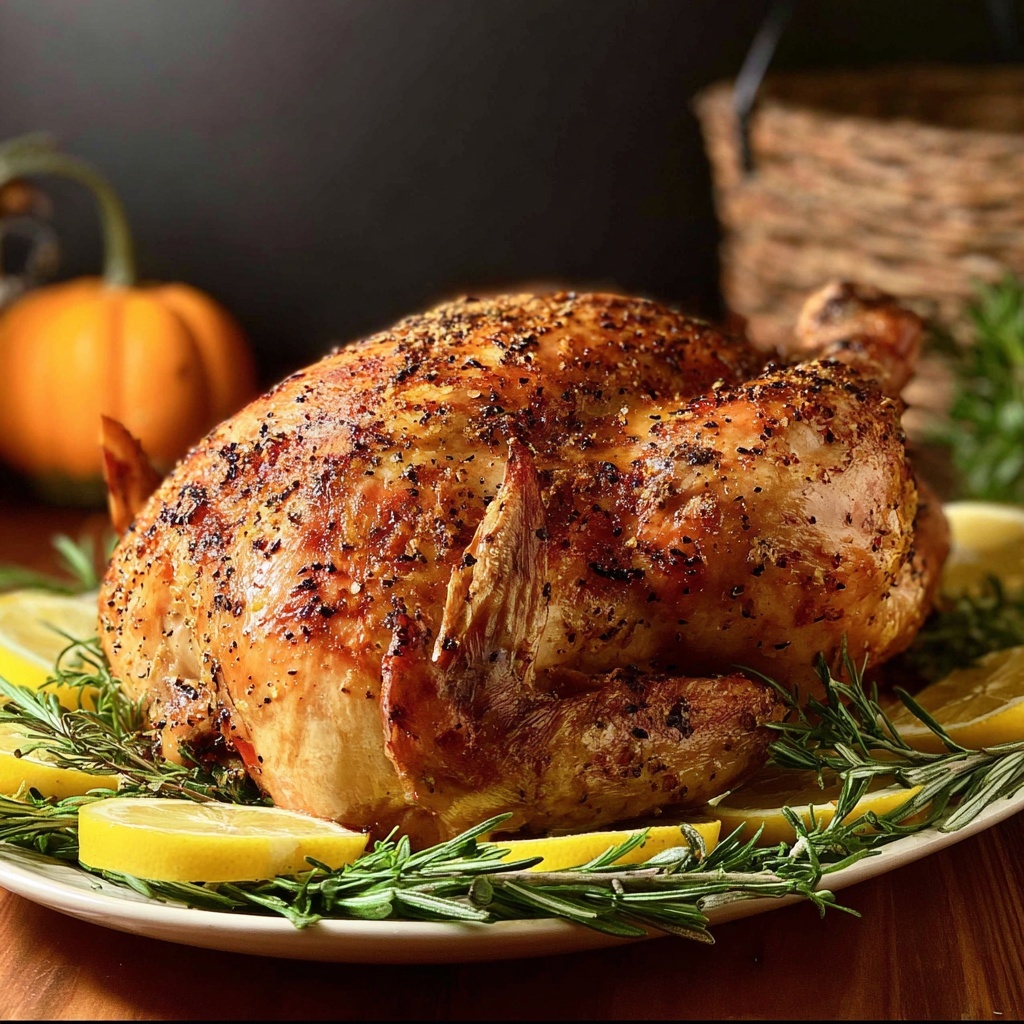
If you’ve been searching for a way to enjoy all the crispy, flavorful goodness of fried turkey without the mess and heaviness of oil, then this Dry Brined and Fried Turkey without Oil Recipe is about to become your new favorite. It delivers a juicy, tender bird with a beautifully seasoned, crisp skin that’s every bit as mouthwatering as its deep-fried counterpart but with a lighter, healthier twist. Plus, the dry brine locks in all the moisture and vibrant flavors, making this turkey a real star at any gathering or special occasion.
Ingredients You’ll Need
Don’t let the simplicity of this list fool you—each ingredient plays an essential role in building the perfect turkey. Every element is chosen to enhance the flavor, texture, or appearance, creating a dish that feels both effortless and impressive.
- 10 lbs whole turkey: Make sure it’s not kosher or self-basting and check for no added salt to keep the brining process pure.
- 2 Tbsp kosher salt: The key to the dry brine, it helps tenderize the meat and deepens the flavor.
- 2-3 Tbsp peanut oil: Used sparingly to help crisp the skin without full deep frying.
- 1 Tbsp Cajun or Creole seasoning: Adds a lively, savory kick with a hint of spice – Zatarain’s Creole seasoning is a fantastic choice if you want to mimic the classic flavor.
How to Make Dry Brined and Fried Turkey without Oil Recipe
Step 1: Prepare Your Turkey
Start by placing the turkey on a cutting board, removing the giblets and neck from the cavity. Don’t forget to take out any plastic bits or pop-up thermometers so your bird cooks evenly and safely.
Step 2: Clean and Dry the Bird
Rinse the turkey thoroughly and then pat it completely dry inside and out using paper towels. This step is crucial because dry skin helps the brine penetrate and crisp up better during cooking.
Step 3: Apply the Salt for Dry Brining
Take about 1 teaspoon of kosher salt and sprinkle it inside the turkey cavity first. Then, distribute the remaining salt evenly over the entire surface of the bird and under the skin wherever you can reach. This technique ensures juicy meat and layers of well-seasoned flavor.
Step 4: Refrigerate to Brine
Place your turkey breast-side up on a wire rack set over a rimmed baking sheet or roasting pan. Refrigerate it uncovered for at least one day, but ideally three days for optimal brining effect. There’s no need to rinse or dry it before cooking afterward.
Step 5: Oil and Season the Skin
Before cooking, brush 2 to 3 tablespoons of peanut oil all over the turkey’s skin. This light coating helps achieve that crispy, golden finish without deep frying. Then, evenly sprinkle your chosen Cajun or Creole seasoning over the whole bird for a punch of bold flavor.
Step 6: Cook in the Oil-Less Fryer
Place the turkey breast-side up in the basket of your oil-less fryer. Unlike traditional frying, your fryer doesn’t require preheating. Follow the general guideline of cooking about 9-10 minutes per pound, but please rely on an instant-read meat thermometer to avoid overcooking. The turkey is done when the thickest part of the breast registers 160°F (make sure your probe doesn’t touch bone).
Step 7: Achieve Perfect Browning
During the last 15 minutes, cover the turkey with the wire mesh lid to promote even, beautiful browning on the skin. This step adds that irresistible crust everyone looks forward to.
Step 8: Rest Before Carving
Remove your turkey from the fryer, loosely cover it with foil, and let it rest for at least 30 minutes. Resting allows the juices to redistribute and the internal temperature to gently rise to a safe and juicy 165°F, making every bite succulent and tender.
How to Serve Dry Brined and Fried Turkey without Oil Recipe
Garnishes
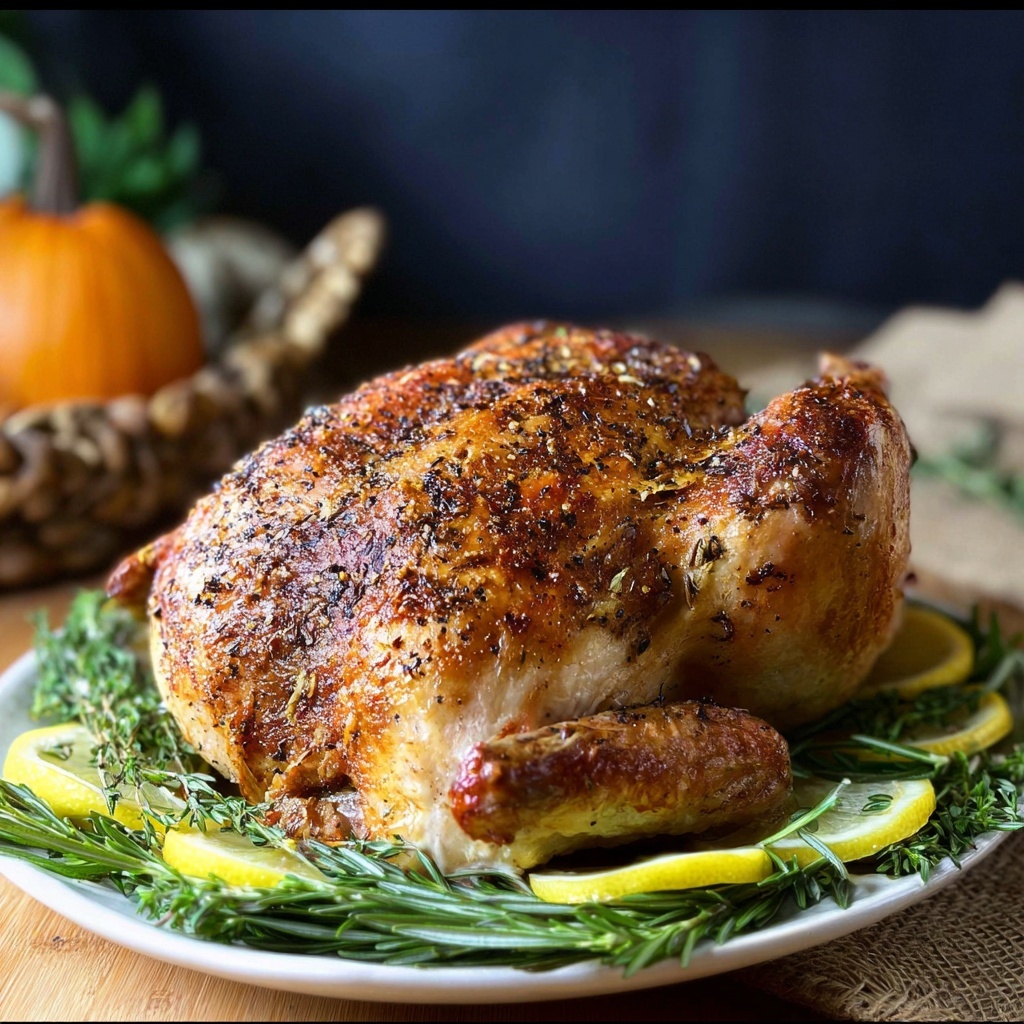
A turkey this stunning deserves simple yet fresh garnishes to complement it. Think fragrant sprigs of rosemary or thyme and slices of vibrant citrus like oranges or lemons. These colorful additions brighten the plate and add a refreshing aroma that pairs beautifully with the seasoned crust.
Side Dishes
Rich, hearty sides work fantastic with this turkey. Consider classic mashed potatoes with garlic and herbs, roasted Brussels sprouts tossed in balsamic glaze, or a savory cornbread stuffing. The crispy skin and juicy meat pair well with both traditional and slightly adventurous sides that bring warmth and comfort to the meal.
Creative Ways to Present
For a show-stopping presentation, carve your turkey into thick, juicy slices and arrange on a large wooden board surrounded by your chosen garnishes and sides. Or serve family-style in a warm platter with autumnal decorations like cranberries and fresh sage, making your meal table both inviting and festive.
Make Ahead and Storage
Storing Leftovers
Once your turkey is carved, store leftovers in airtight containers in the refrigerator for up to four days. This keeps the meat moist and flavorful, perfect for quick sandwiches or reheated dinners.
Freezing
If you want to keep turkey longer, slice or chop it, then freeze in freezer-safe bags or containers. Properly stored, it will maintain its quality for up to three months. Thaw overnight in the refrigerator when ready to use.
Reheating
The best way to reheat your turkey is gently in the oven at 300°F, covered loosely with foil to keep moisture in. Avoid microwaving if possible to prevent drying out. Adding a splash of broth to your reheating container can help keep the meat juicy and tender.
FAQs
What makes this a Dry Brined and Fried Turkey without Oil Recipe?
This recipe uses a dry brining technique with kosher salt to tenderize and flavor the turkey, then cooks it in an oil-less fryer, which crisps the skin using very little peanut oil brushed on instead of deep frying.
Can I use different oils or seasoning blends?
Yes, while peanut oil is great for crisping skin without heavy frying, you can substitute with other light oils like avocado if you prefer. Similarly, your favorite seasoning blends can customize the flavor to your liking.
How long should I dry brine the turkey?
For best results, refrigerate the turkey uncovered for at least 24 hours, ideally up to 3 days. This time allows the salt to penetrate deeply and tenderize the meat beautifully.
Do I need an oil-less fryer specifically?
An oil-less fryer is highly recommended for this recipe as it provides the crispy skin texture without excessive oil. However, you may adapt it to an air fryer large enough to accommodate your turkey.
How can I tell when the turkey is perfectly cooked?
Use an instant-read meat thermometer inserted into the thickest part of the breast without touching bone. When it reaches 160°F, it is safe and ready to rest, where it will rise to 165°F, ensuring juicy tenderness.
Final Thoughts
There is something so satisfying about a golden, crispy turkey that’s packed with flavor and perfectly juicy inside. This Dry Brined and Fried Turkey without Oil Recipe offers all that goodness without the hassle or heaviness of traditional frying. It’s a wonderful way to impress your family and friends with a healthier, fuss-free feast that tastes incredible. Give it a try—you’ll be amazed at how effortlessly delicious turkey can be!