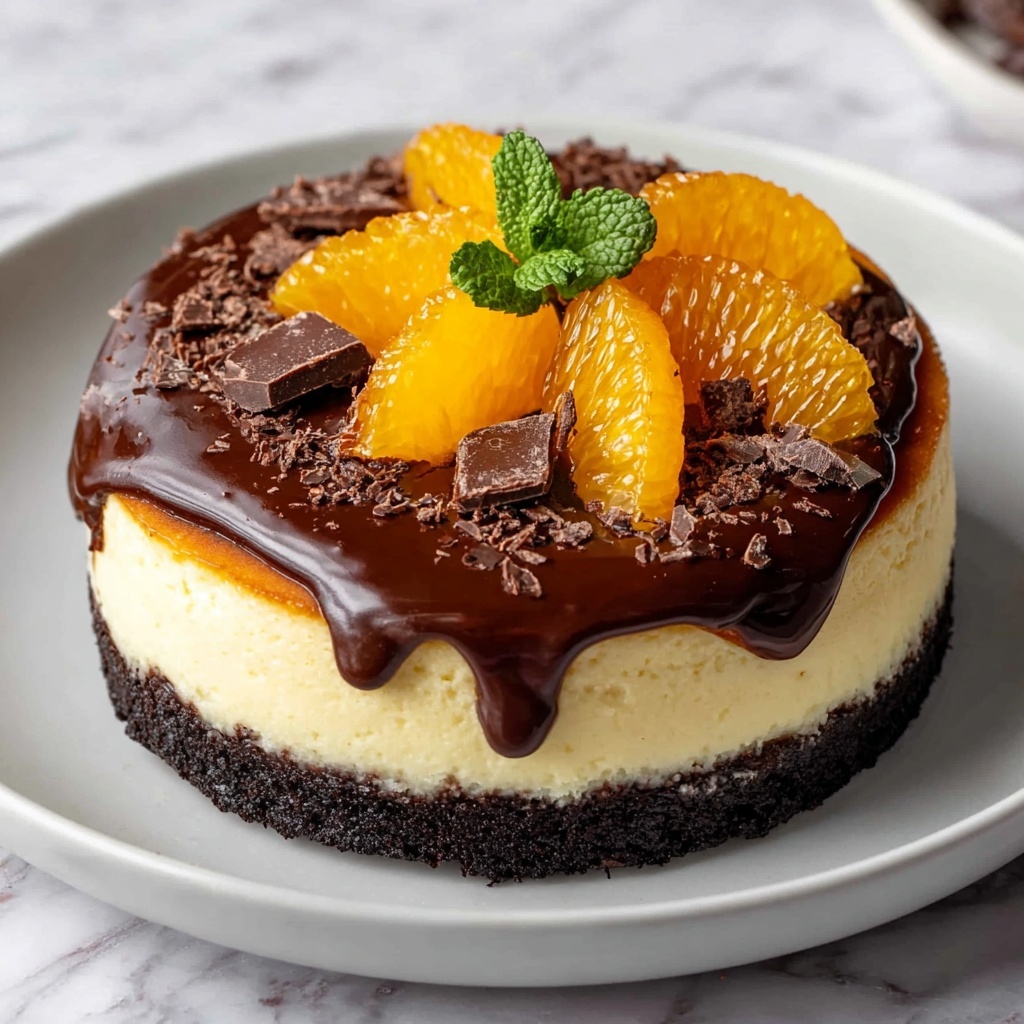
If you adore the luscious combination of citrus and chocolate, then this Chocolate Orange Cheesecake Recipe is going to become one of your absolute favorite desserts. It brings together a silky cream cheese filling infused with fresh orange zest and juice, rich dark chocolate, and a subtle sweetness that dances on your taste buds. The crunchy biscuit base offers the perfect contrast to the creamy center, while the hint of orange liqueur (if you choose to add it) lifts the flavor profile to something truly special. This recipe is a crowd-pleaser with a personality, and I can’t wait for you to try it yourself.
Ingredients You’ll Need
The beauty of this Chocolate Orange Cheesecake Recipe is in its simplicity. Each ingredient is essential, playing a role in creating the perfect balance of flavor, texture, and color. From the buttery biscuit base to the zesty orange and silky chocolates, every component elevates this cheesecake to something extraordinary.
- 200 g digestive biscuits: These create a crunchy, buttery crust that forms the perfect base for the cheesecake.
- 100 g unsalted butter, melted: Helps bind the biscuit crumbs and adds a rich flavor to the crust.
- 300 g cream cheese, softened: The creamy heart of the cheesecake, providing that signature smooth texture.
- 150 g caster sugar: Adds the sweet balance to cut through the tartness of the orange and richness of the cheese.
- 3 eggs: Acts as a natural binder, giving the cheesecake structure and a silky finish.
- 200 ml double cream: Enriches the filling, making it decadently creamy and indulgent.
- Zest and juice of 1 large orange: Bursts of fresh citrus flavor that brighten and lift every bite.
- 50 g dark chocolate, melted: Provides a deep, bittersweet chocolate depth to contrast the orange.
- 100 g orange-flavored milk chocolate, chopped: Adds sweet, melty pockets of orange chocolate bliss throughout the cheesecake.
- 1 teaspoon vanilla extract: Enhances the overall flavor complexity with warm, aromatic notes.
- Orange liqueur (optional): For those who want to take the orange flavor to the next level with a liquor kick.
How to Make Chocolate Orange Cheesecake Recipe
Step 1: Prepare Your Oven and Pan
Start by preheating your oven to 160°C (320°F). Grease a 9-inch springform pan thoroughly and line the base with parchment paper. This prep work ensures your cheesecake won’t stick and will bake evenly.
Step 2: Make the Biscuit Base
Mix the crushed digestive biscuits with the melted butter until the mixture looks like damp, sandy crumbs. Press this mixture evenly into the base of your prepared pan. This simple crust forms the crunchy foundation that perfectly complements the velvety filling.
Step 3: Beat the Cream Cheese and Sugar
In a large bowl, use an electric mixer or a sturdy whisk to beat the cream cheese and caster sugar together until you have a smooth, creamy mixture with no lumps. This step is key to a silky cheesecake texture.
Step 4: Add the Eggs
Add your eggs one at a time, beating well after each addition. This gradual mixing helps keep the batter light and airy, avoiding any cracking during baking.
Step 5: Combine Cream, Orange, Chocolate, and Vanilla
Stir in the double cream, fresh orange zest and juice, melted dark chocolate, and vanilla extract. Mix everything gently but thoroughly until it is perfectly combined. The interplay of orange and chocolate here is what makes this cheesecake so enchanting.
Step 6: Fold in the Orange-Flavored Milk Chocolate
Gently fold in the chopped orange-flavored milk chocolate to create pockets of melty sweetness throughout the cheesecake. This adds a delightful surprise with every bite.
Step 7: Optional Orange Liqueur Boost
If you’re feeling adventurous, add a splash of orange liqueur. This little touch sharpens and intensifies the orange notes for a grown-up twist without overpowering the dessert.
Step 8: Pour and Smooth the Batter
Pour the luscious batter over your biscuit base, smoothing the surface with a spatula for an even bake and beautiful finish.
Step 9: Bake Your Cheesecake
Bake in the preheated oven for 45 minutes to 1 hour. You’re looking for the cheesecake to be set but still have a tiny wobble in the center—this ensures it will be creamy, not dry.
Step 10: Cool Slowly
Turn off the oven and leave the cheesecake inside with the door slightly open to cool gradually. This avoids sudden temperature changes that can cause cracks.
Step 11: Chill Before Serving
Once cooled, cover and refrigerate the cheesecake for at least 4 hours or overnight. This chilling time helps the flavors develop and the texture to set beautifully.
Step 12: Serve with Care
Before serving, gently remove the cheesecake from the springform pan and transfer it to a serving plate. This is where the magic comes together to impress your guests or simply treat yourself.
How to Serve Chocolate Orange Cheesecake Recipe
Garnishes
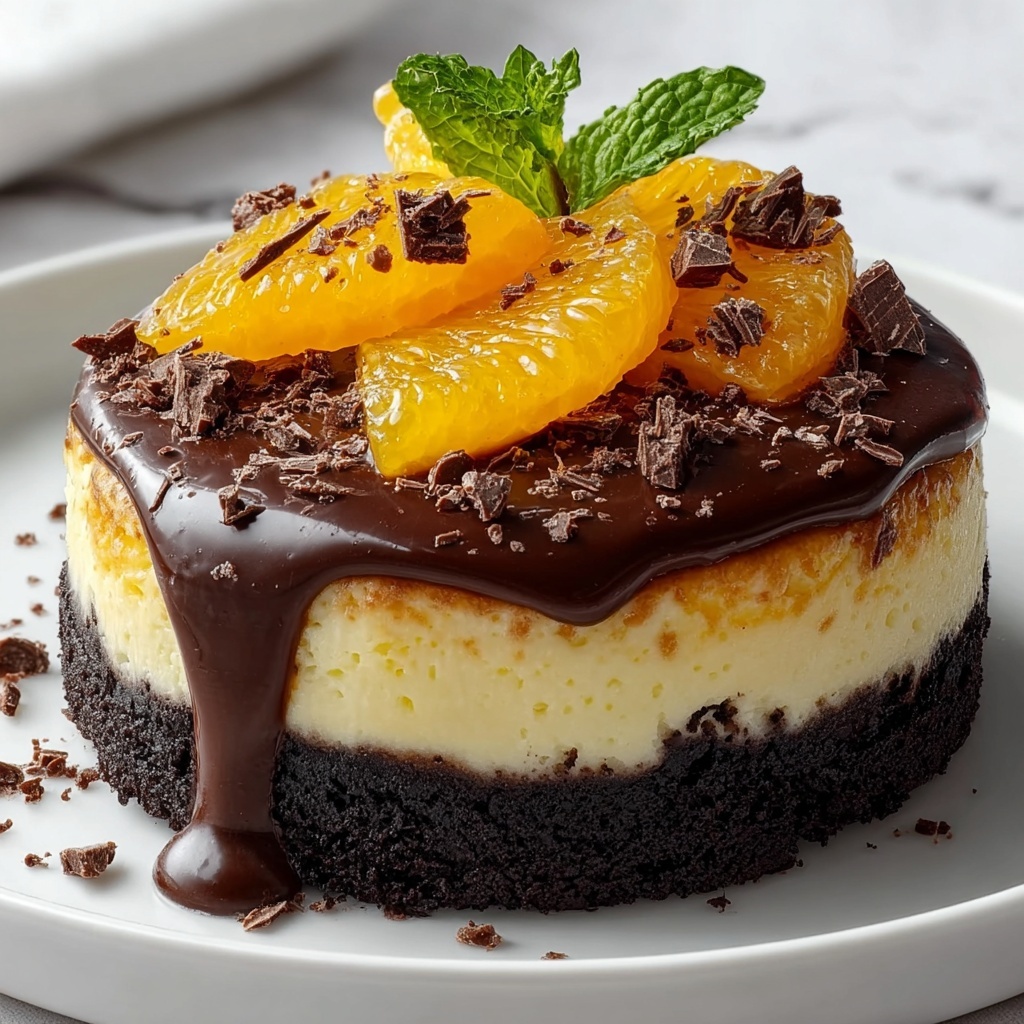
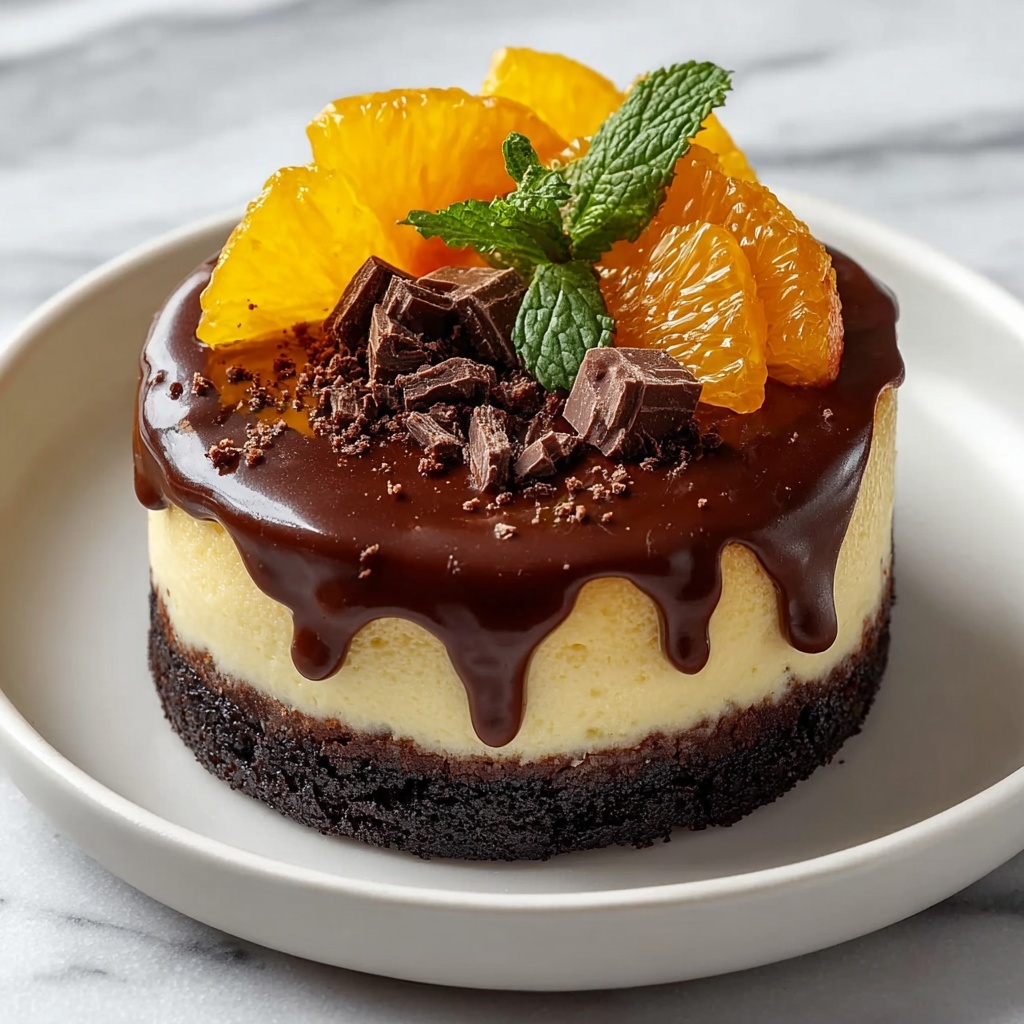
Decorate your masterpiece with fresh orange segments or thin slices of orange zest to echo the vibrant citrus flavor. A drizzle of melted dark chocolate or a sprinkle of chopped, toasted nuts also adds an elegant touch and extra texture.
Side Dishes
This cheesecake pairs wonderfully with a dollop of softly whipped cream or a scoop of vanilla bean ice cream. For something lighter, fresh berries such as raspberries or strawberries provide a fruity contrast that complements the chocolate orange flavors beautifully.
Creative Ways to Present
Try serving slices with a fun twist: layer them with thin slices of candied orange or present mini individual cheesecakes in ramekins topped with chocolate shards. Creating a chocolate and orange tasting board alongside the cheesecake can also offer an interactive experience for your guests.
Make Ahead and Storage
Storing Leftovers
Keep your leftover Chocolate Orange Cheesecake Recipe covered in the fridge where it will stay fresh for up to 4 days. Use an airtight container or cover with plastic wrap to prevent it from absorbing other fridge odors.
Freezing
You can freeze cheesecake slices wrapped tightly in cling film and then foil to protect them from freezer burn. Frozen cheesecake will maintain its quality for up to 2 months. Thaw slices overnight in the fridge before serving for the best results.
Reheating
Cheesecake is best enjoyed cold or at room temperature, so reheating is not recommended. If you prefer it slightly softened, leave it on the counter for 20 to 30 minutes before serving to bring out the full creaminess.
FAQs
Can I use low-fat cream cheese for this Chocolate Orange Cheesecake Recipe?
While you can substitute low-fat cream cheese, the texture and richness will be affected. Full-fat cream cheese offers the silky smoothness and depth that make this cheesecake so indulgent, so it’s best to stick to the original ingredient for the best results.
Is it necessary to use a springform pan?
A springform pan makes removing the cheesecake easier and helps maintain its shape. If you don’t have one, use a regular cake tin lined with parchment, but be extra careful when transferring the cheesecake to avoid breaking it.
Can I make this cheesecake vegan or dairy-free?
Making a vegan or dairy-free version would require several substitutions such as using vegan cream cheese, plant-based cream, and egg replacers. While possible, the texture and flavor will deviate significantly from the classic Chocolate Orange Cheesecake Recipe.
What if I don’t have orange-flavored milk chocolate?
No worries! You can substitute with plain milk chocolate and add extra orange zest to boost the citrus flavor, or use regular orange zest and chopped candied orange peel for similar bursts of sweetness.
How long does the baking time vary?
The approximate baking time can vary depending on your oven and pan. Start checking at 45 minutes—look for a set edge and a gently wobbly center. This slight wiggle means the center will set as the cheesecake cools and ensures a creamy texture.
Final Thoughts
This Chocolate Orange Cheesecake Recipe is truly a celebration of flavors and textures that can brighten any occasion or simply add something special to your dessert repertoire. With its irresistible combination of citrus and chocolate, it’s a recipe you’ll want to make again and again. So go ahead, dive into the kitchen and enjoy creating this delightful treat — your taste buds will thank you.