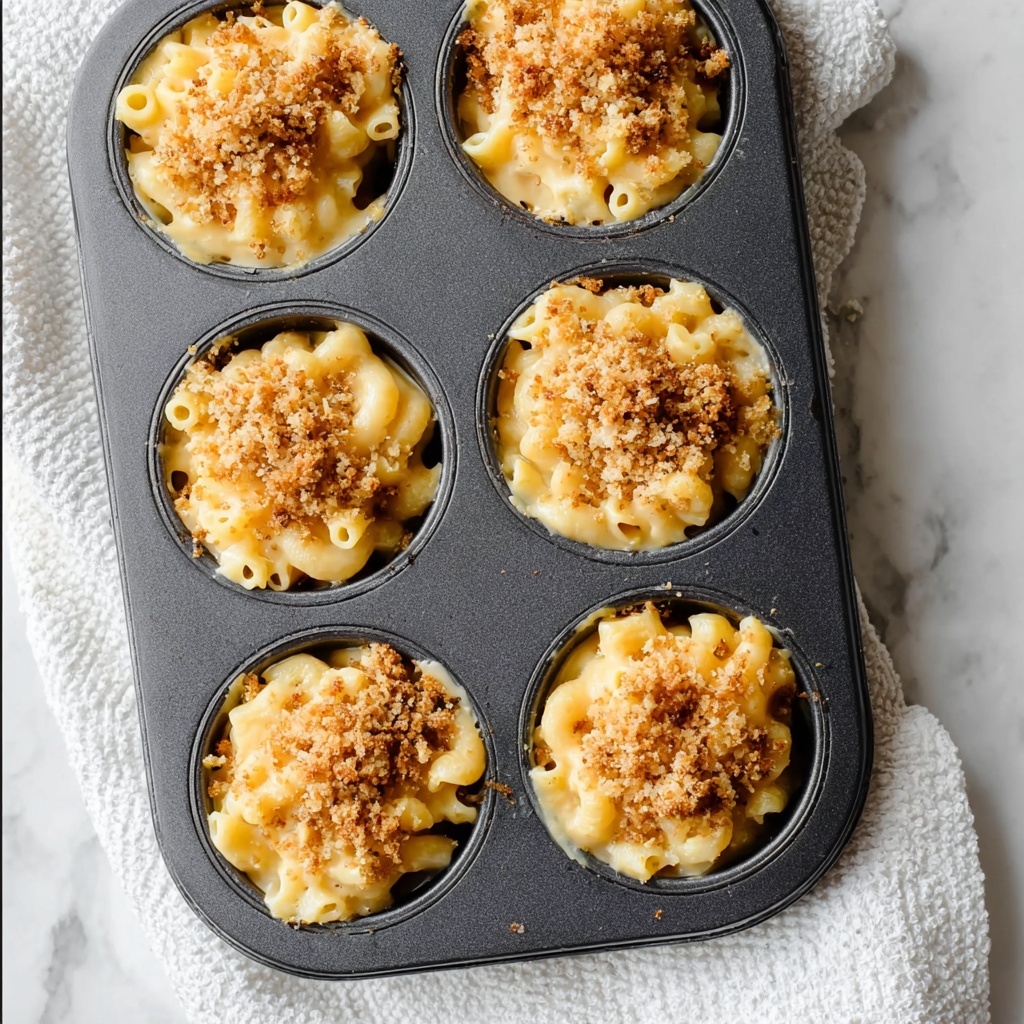
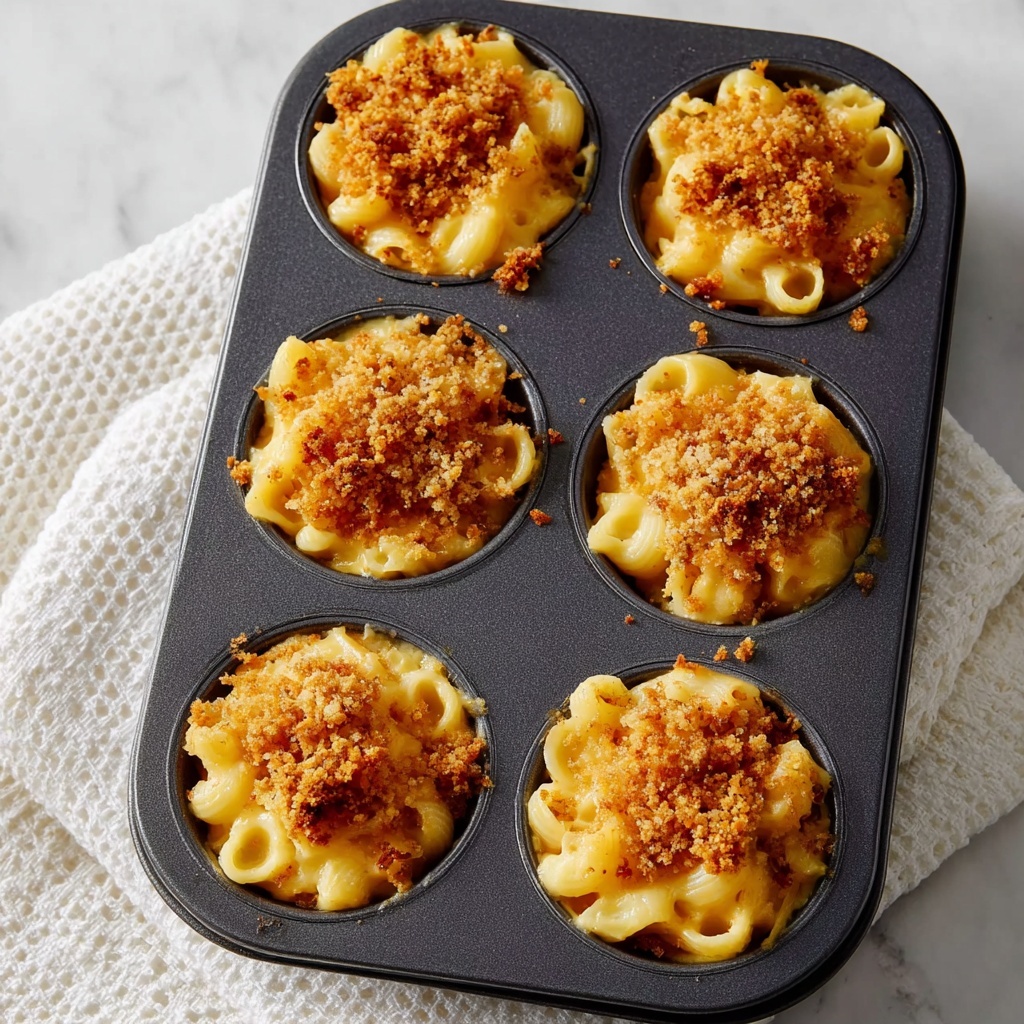
If you adore classic comfort food but crave a fun, handheld twist, this Crispy Baked Mac & Cheese Cups Recipe is going to become your new favorite indulgence. These golden, bite-sized wonders deliver all the creamy, cheesy goodness of traditional mac and cheese with an irresistible crisp on top. Perfect for parties, snacks, or just jazzing up your weeknight dinner, each cup holds a scrumptiously smooth cheddar filling encased in a satisfyingly crunchy shell. Trust me, once you make these delightful cups, you’ll wonder how you ever enjoyed mac and cheese any other way.
Ingredients You’ll Need
Getting ready to whip up this Crispy Baked Mac & Cheese Cups Recipe is delightfully easy because it relies on simple, pantry-friendly ingredients that come together to create magic. Each one plays a key role — from the creamy cheese texture to the crunchy breadcrumb topping, these essentials ensure every bite is perfectly balanced in flavor and mouthfeel.
- 2 cups elbow macaroni (uncooked): The classic pasta shape that holds sauce beautifully and fits just right into muffin tins.
- 2 cups sharp cheddar cheese (shredded): Provides that rich, tangy depth of flavor that’s the soul of mac and cheese.
- 1 cup whole milk: Adds creamy moisture for the perfect sauce consistency.
- 2 tablespoons all-purpose flour: Acts as a thickening agent, creating that luscious cheese sauce that clings to the pasta.
- 3 tablespoons unsalted butter: Used both in the roux and breadcrumb topping to add richness and golden color.
- 1/2 teaspoon salt: Enhances all the flavors without overwhelming the dish.
- 1/4 teaspoon black pepper: Brings a subtle, gentle spice to round out the taste.
- 1/2 cup breadcrumbs: The secret behind the crispy, textured topping that makes these cups unforgettable.
- 1 large egg: Binds the macaroni and cheese mixture so the cups hold their shape perfectly.
- 1/4 cup grated Parmesan cheese (optional): Adds an extra layer of savory, nutty flavor if you want to take your cups to the next level.
How to Make Crispy Baked Mac & Cheese Cups Recipe
Step 1: Prep Your Oven and Muffin Tin
Start by preheating your oven to 375°F (190°C). Generously grease a 12-cup muffin tin to ensure your mac and cheese cups will pop right out after baking without sticking. This step saves you frustration and keeps the bottoms beautifully crispy.
Step 2: Cook the Macaroni
Bring a large pot of salted water to a boil, and cook the elbow macaroni until al dente — that lovely texture where the pasta is tender yet still has a tiny bite. Once cooked, drain the pasta well and set it aside to cool slightly while you prepare the cheese sauce.
Step 3: Make the Cheese Sauce
In a medium saucepan, melt 3 tablespoons of unsalted butter over medium heat. Whisk in the flour and cook for about one minute to form a roux, which thickens the sauce. Slowly pour in the milk, whisking constantly to avoid lumps. Keep cooking and stirring until the sauce thickens into a smooth, creamy consistency that will perfectly coat the macaroni.
Step 4: Combine Cheese and Pasta
Remove your thickened sauce from heat and stir in the shredded sharp cheddar cheese until it melts into a velvety mixture. Season with salt and black pepper, adjusting to your taste. Finally, fold in your cooked macaroni along with a beaten large egg, which will help bind everything together when baked.
Step 5: Fill the Muffin Tin
Spoon the mac and cheese mixture into each of the greased muffin cups, pressing gently to compact the filling so the cups hold their shape well after baking. This step helps ensure each bite has that perfect combination of creamy inside and crispy crust.
Step 6: Add the Crispy Topping
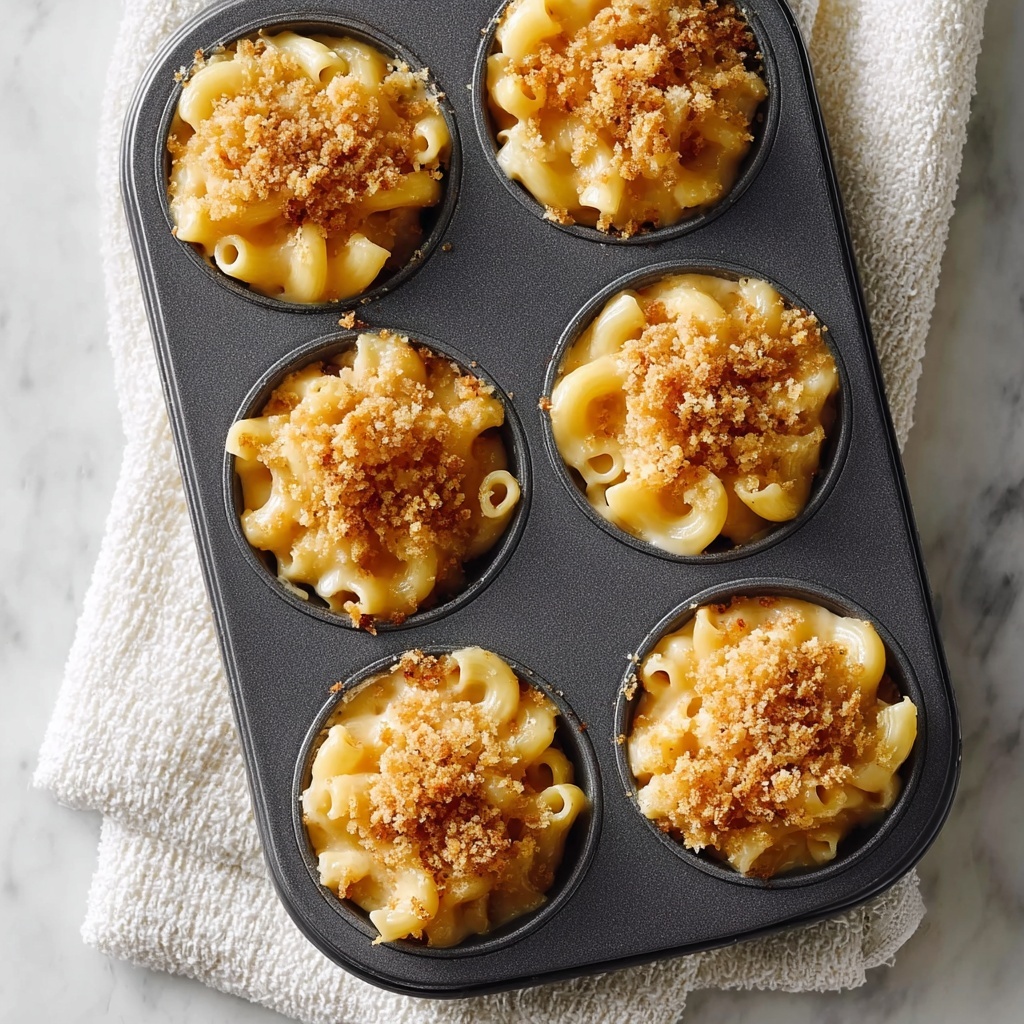
Mix the breadcrumbs with a tablespoon of melted butter to add both flavor and golden color. Sprinkle this buttery breadcrumb mixture evenly over each cup. For an optional cheesy boost, grate some Parmesan cheese on top. This topping is what makes the Crispy Baked Mac & Cheese Cups Recipe so irresistible.
Step 7: Bake
Place the muffin tin in your preheated oven and bake for 20 to 25 minutes. Keep an eye out until the tops turn a beautiful golden brown and the edges bubble with cheesy goodness, signaling they are ready to wow your taste buds.
Step 8: Cool and Serve
Let the mac and cheese cups cool for 5 to 10 minutes in the tin. This allows them to firm up slightly, making it easier to remove them without breaking. Serve warm and get ready for everyone’s delighted compliments!
How to Serve Crispy Baked Mac & Cheese Cups Recipe
Garnishes
Sprinkle freshly chopped parsley or chives over the top for a pop of color and a subtle fresh flavor contrast. A dash of smoked paprika or a drizzle of hot sauce adds a smoky or spicy kick that pairs wonderfully with the richness of the cheese.
Side Dishes
These cups are incredibly versatile and pair beautifully with a simple green salad dressed in something zesty like lemon vinaigrette to cut through the richness. For a heartier meal, roast some vegetables or serve alongside crispy bacon or sausage for a comfort-food feast.
Creative Ways to Present
Serve these mac and cheese cups as fun appetizers at your next gathering or line them up on a platter with little toothpicks for easy grabbing. If you’re feeling festive, top each cup with a tiny cherry tomato or a dollop of sour cream for a playful presentation that will impress your guests.
Make Ahead and Storage
Storing Leftovers
After cooling completely, place any leftover mac and cheese cups in an airtight container in the refrigerator. They will stay fresh for up to 3 days and retain most of their texture and flavor when properly stored.
Freezing
If you want to save these delights for later, you can freeze them. Arrange the cooled cups on a baking sheet and freeze until solid, then transfer them to a freezer-safe container or bag. They will keep well for up to 2 months without losing their crispy charm.
Reheating
To reheat, pop them back in a preheated 350°F oven for about 10 to 15 minutes until heated through and the topping is crisp again. Avoid the microwave if possible, as it tends to make the topping soggy and the cheese less appealing.
FAQs
Can I use a different type of cheese?
Absolutely! While sharp cheddar gives the best classic flavor, you can try a mix like mozzarella for gooeyness or Gruyère for a nuttier taste. Just make sure your cheese melts well.
Is it possible to make this recipe dairy-free?
Yes, substitute the milk with unsweetened plant-based milk and use a dairy-free cheese alternative. Just note that the flavor and texture will be a bit different but still delicious.
Can I prepare the mixture in advance and bake later?
You can mix everything up to step 5 and refrigerate the filled muffin tin covered tightly with plastic wrap for up to 12 hours before baking.
How do I prevent the cups from sticking in the muffin tin?
Generously grease your muffin tin with butter or nonstick spray, or line with silicone muffin cups for an easy release.
Can I add mix-ins like bacon or vegetables?
Definitely! Cooked bacon bits, sautéed mushrooms, or finely chopped spinach make delicious additions that bring more flavor and texture to the cups.
Final Thoughts
This Crispy Baked Mac & Cheese Cups Recipe is the kind of dish that brings joy with every bite, combining creamy comfort and crispy satisfaction in one easy-to-eat package. Whether you’re serving them up for a crowd or simply treating yourself to something special, these cups never fail to impress. Give them a try, and watch how quickly they disappear — trust me, these will be a new staple in your recipe collection.